Network > DNS Plus > Console User Guide
This guide describes how to manage DNS Zones and record sets in the console.
Manage DNS Zones
You can manage DNS Zones on the DNS screen of the menu.
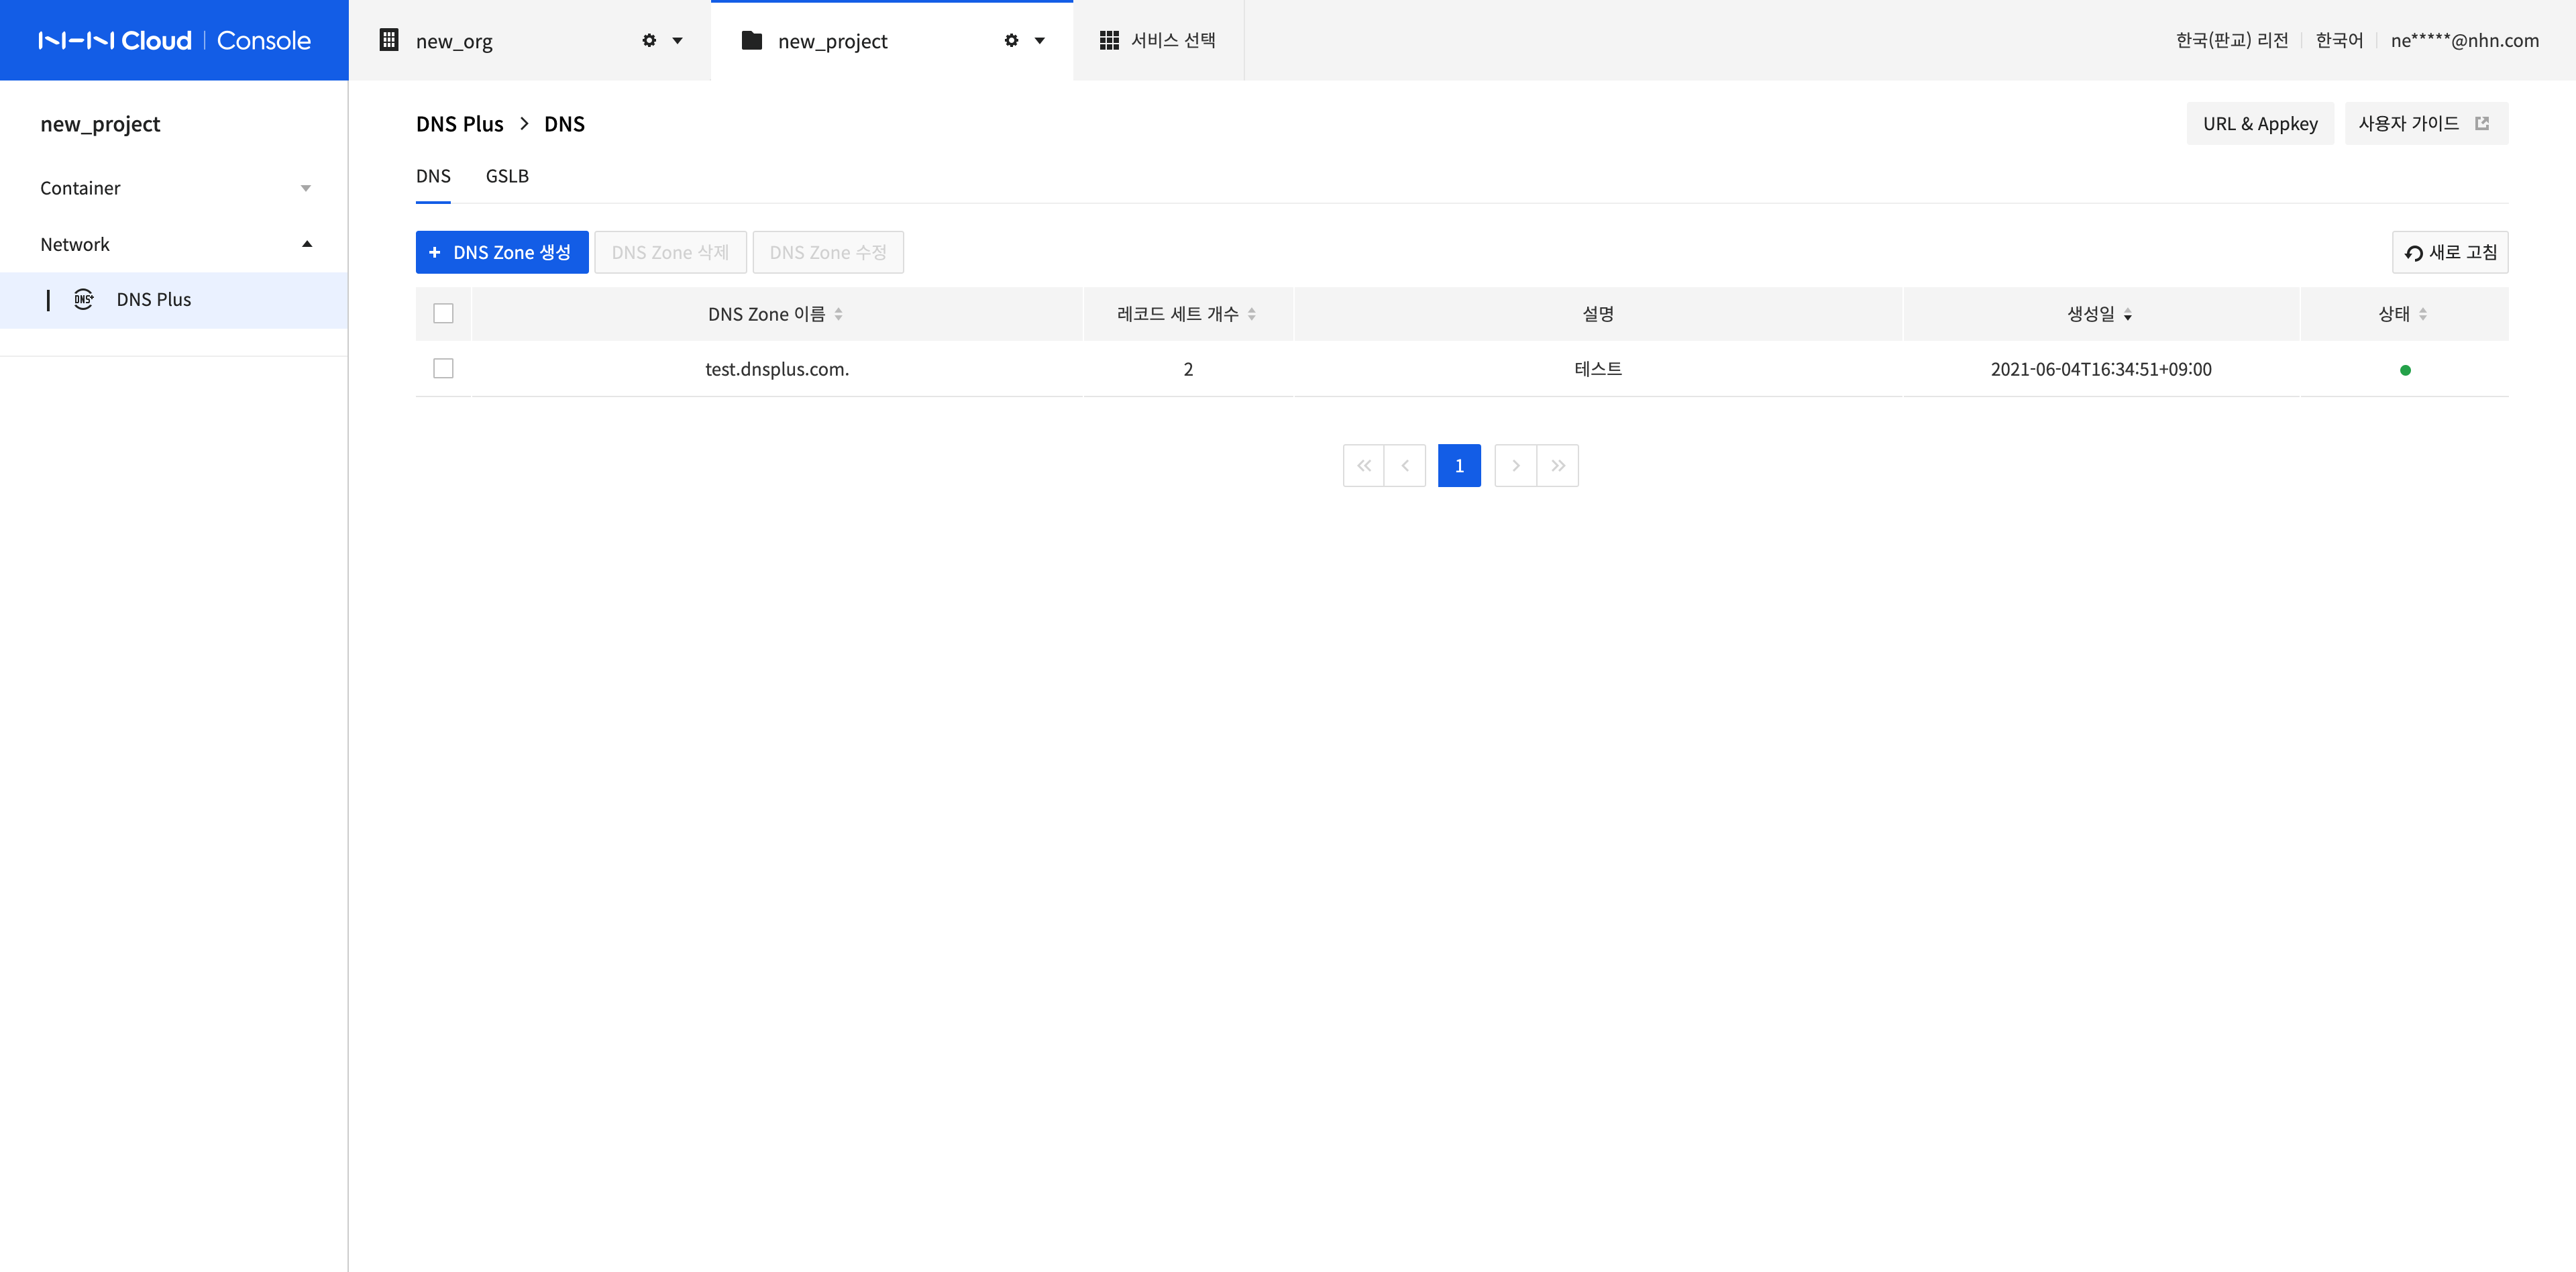
Create a DNS Zone
-
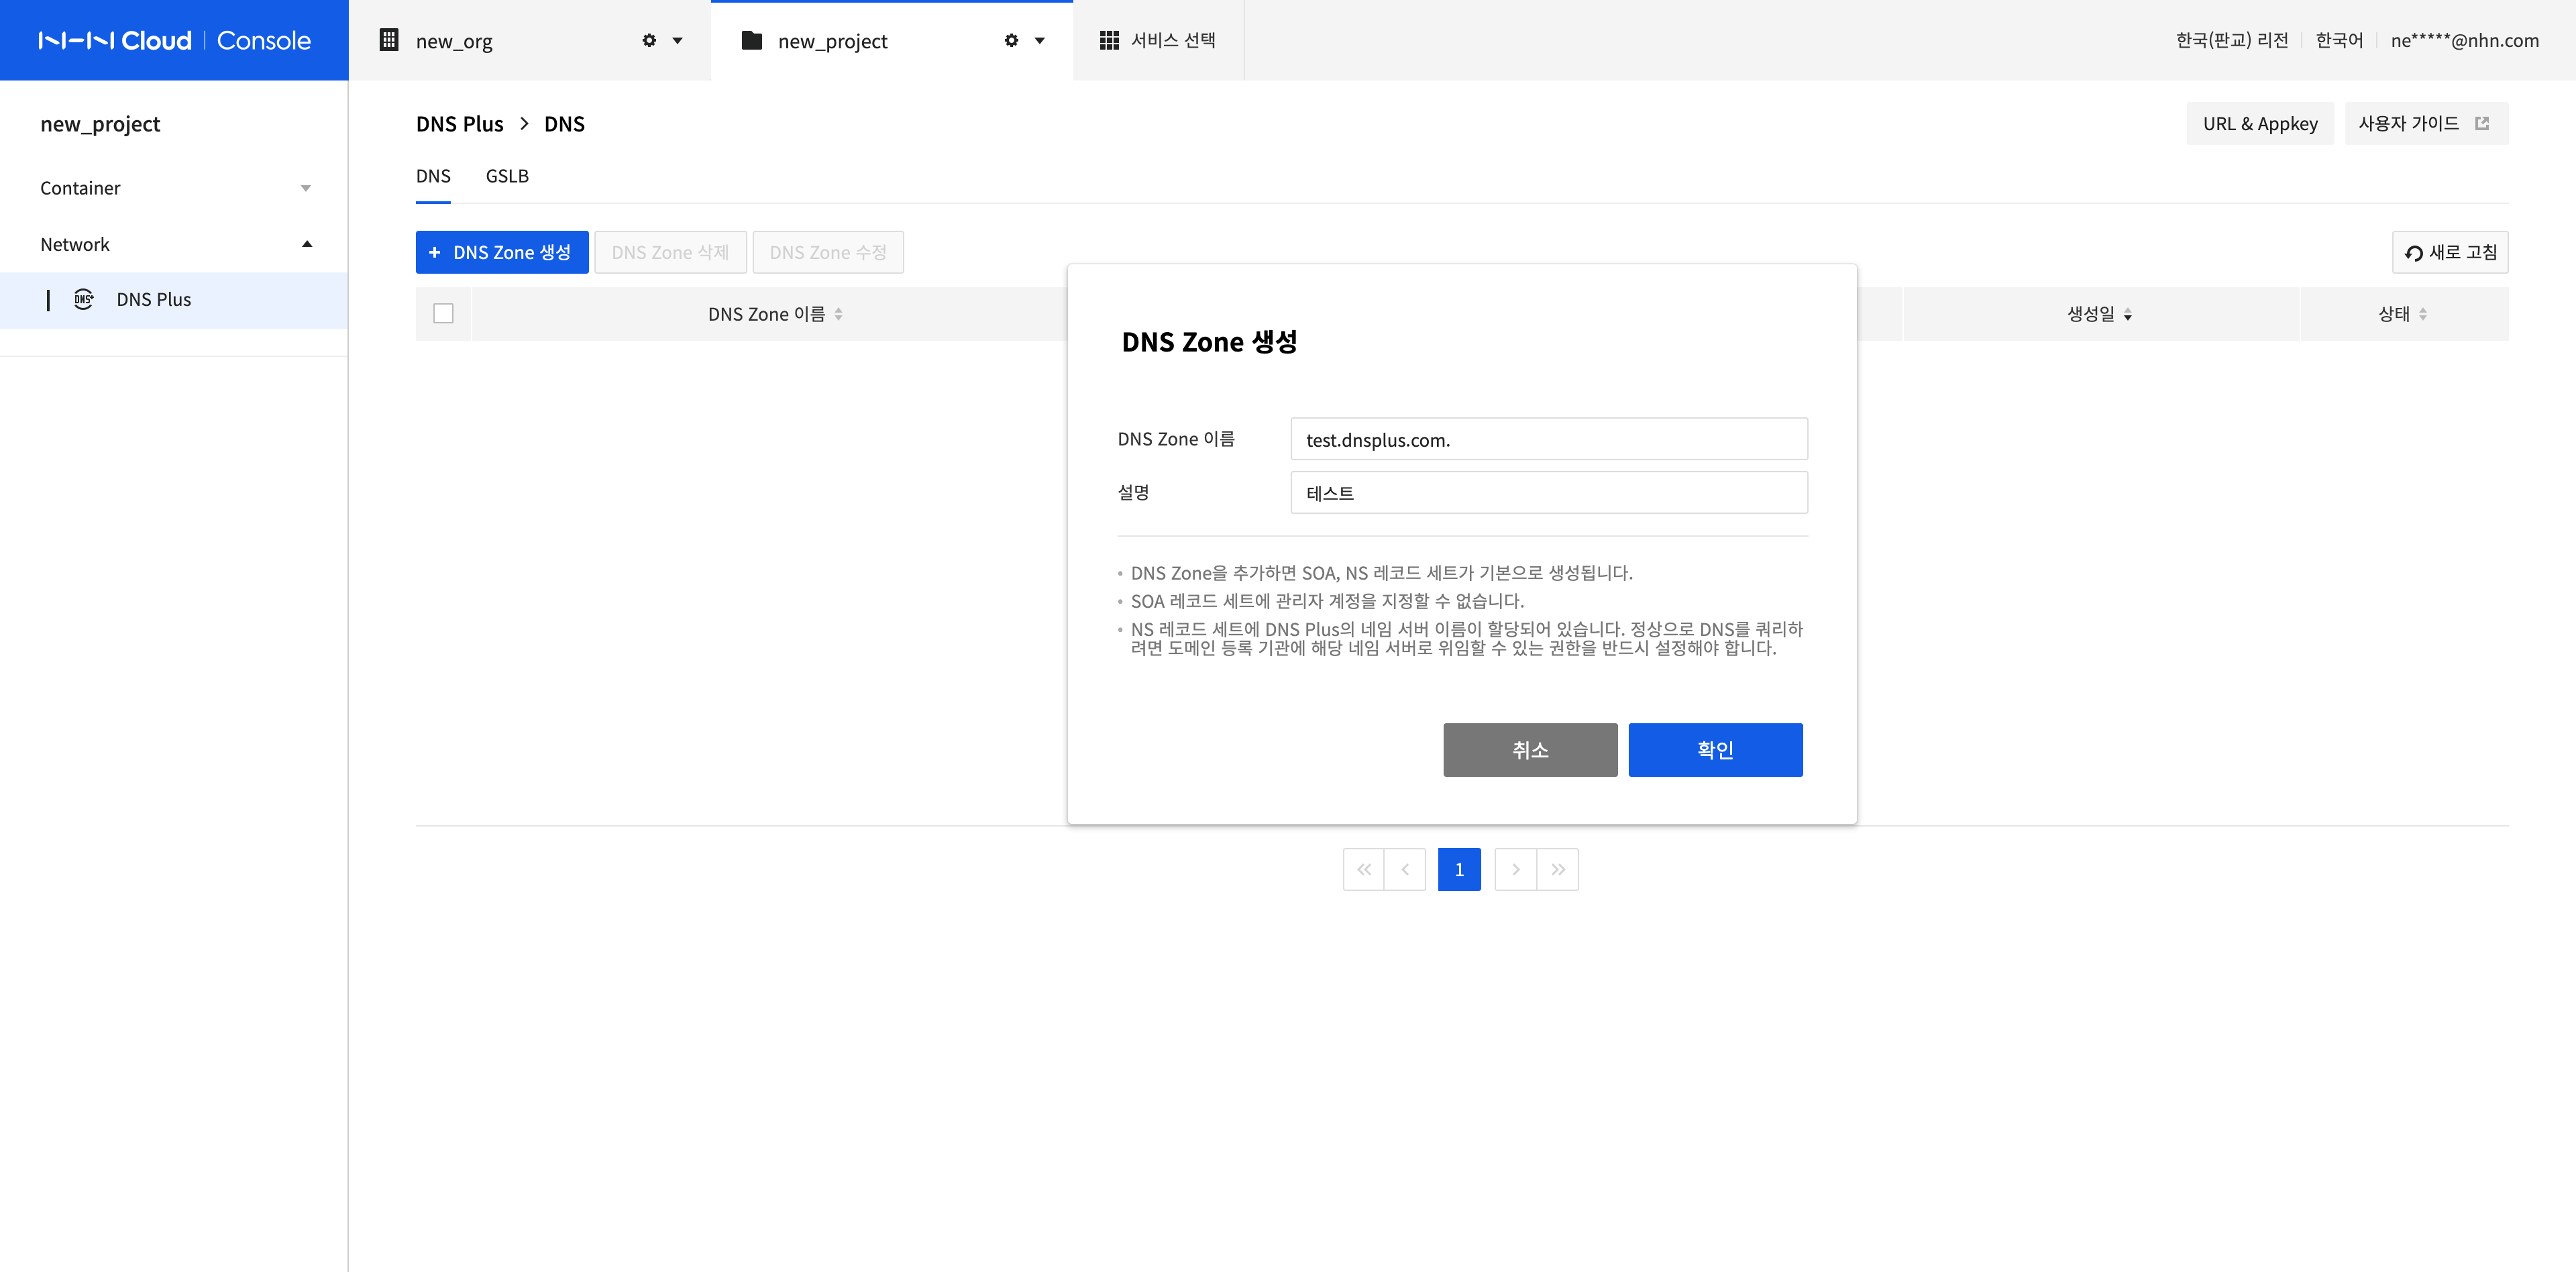
A DNS Zone is a container for record sets, which is a domain zone for hosts served by DNS. Click Create DNS Zone to create a DNS Zone.
-
Enter DNS Zone Name and Description, and click Confirm.
- In DNS Zone Name, enter the domain or subdomain you own as fully qualified domain name (FQDN).
- DNS Zone Name must be unique on the DNS server.
- The same DNS Zone Name can be created as many as the number of DNS servers. There are 3 DNS servers.
- After the DNS Zone is created, you must set the name server information of the NS record set that is created by default to the domain. For the record sets created by default, see Manage Record Sets.
- If the DNS Zone was created with a newly registered domain, you must set the name server information to the corresponding name server in the domain registrar.
- If the DNS Zone was created with a subdomain of a domain currently in operation, you must create an NS record set in your operating domain with the subdomain name and its name server.
Modify a DNS Zone
-
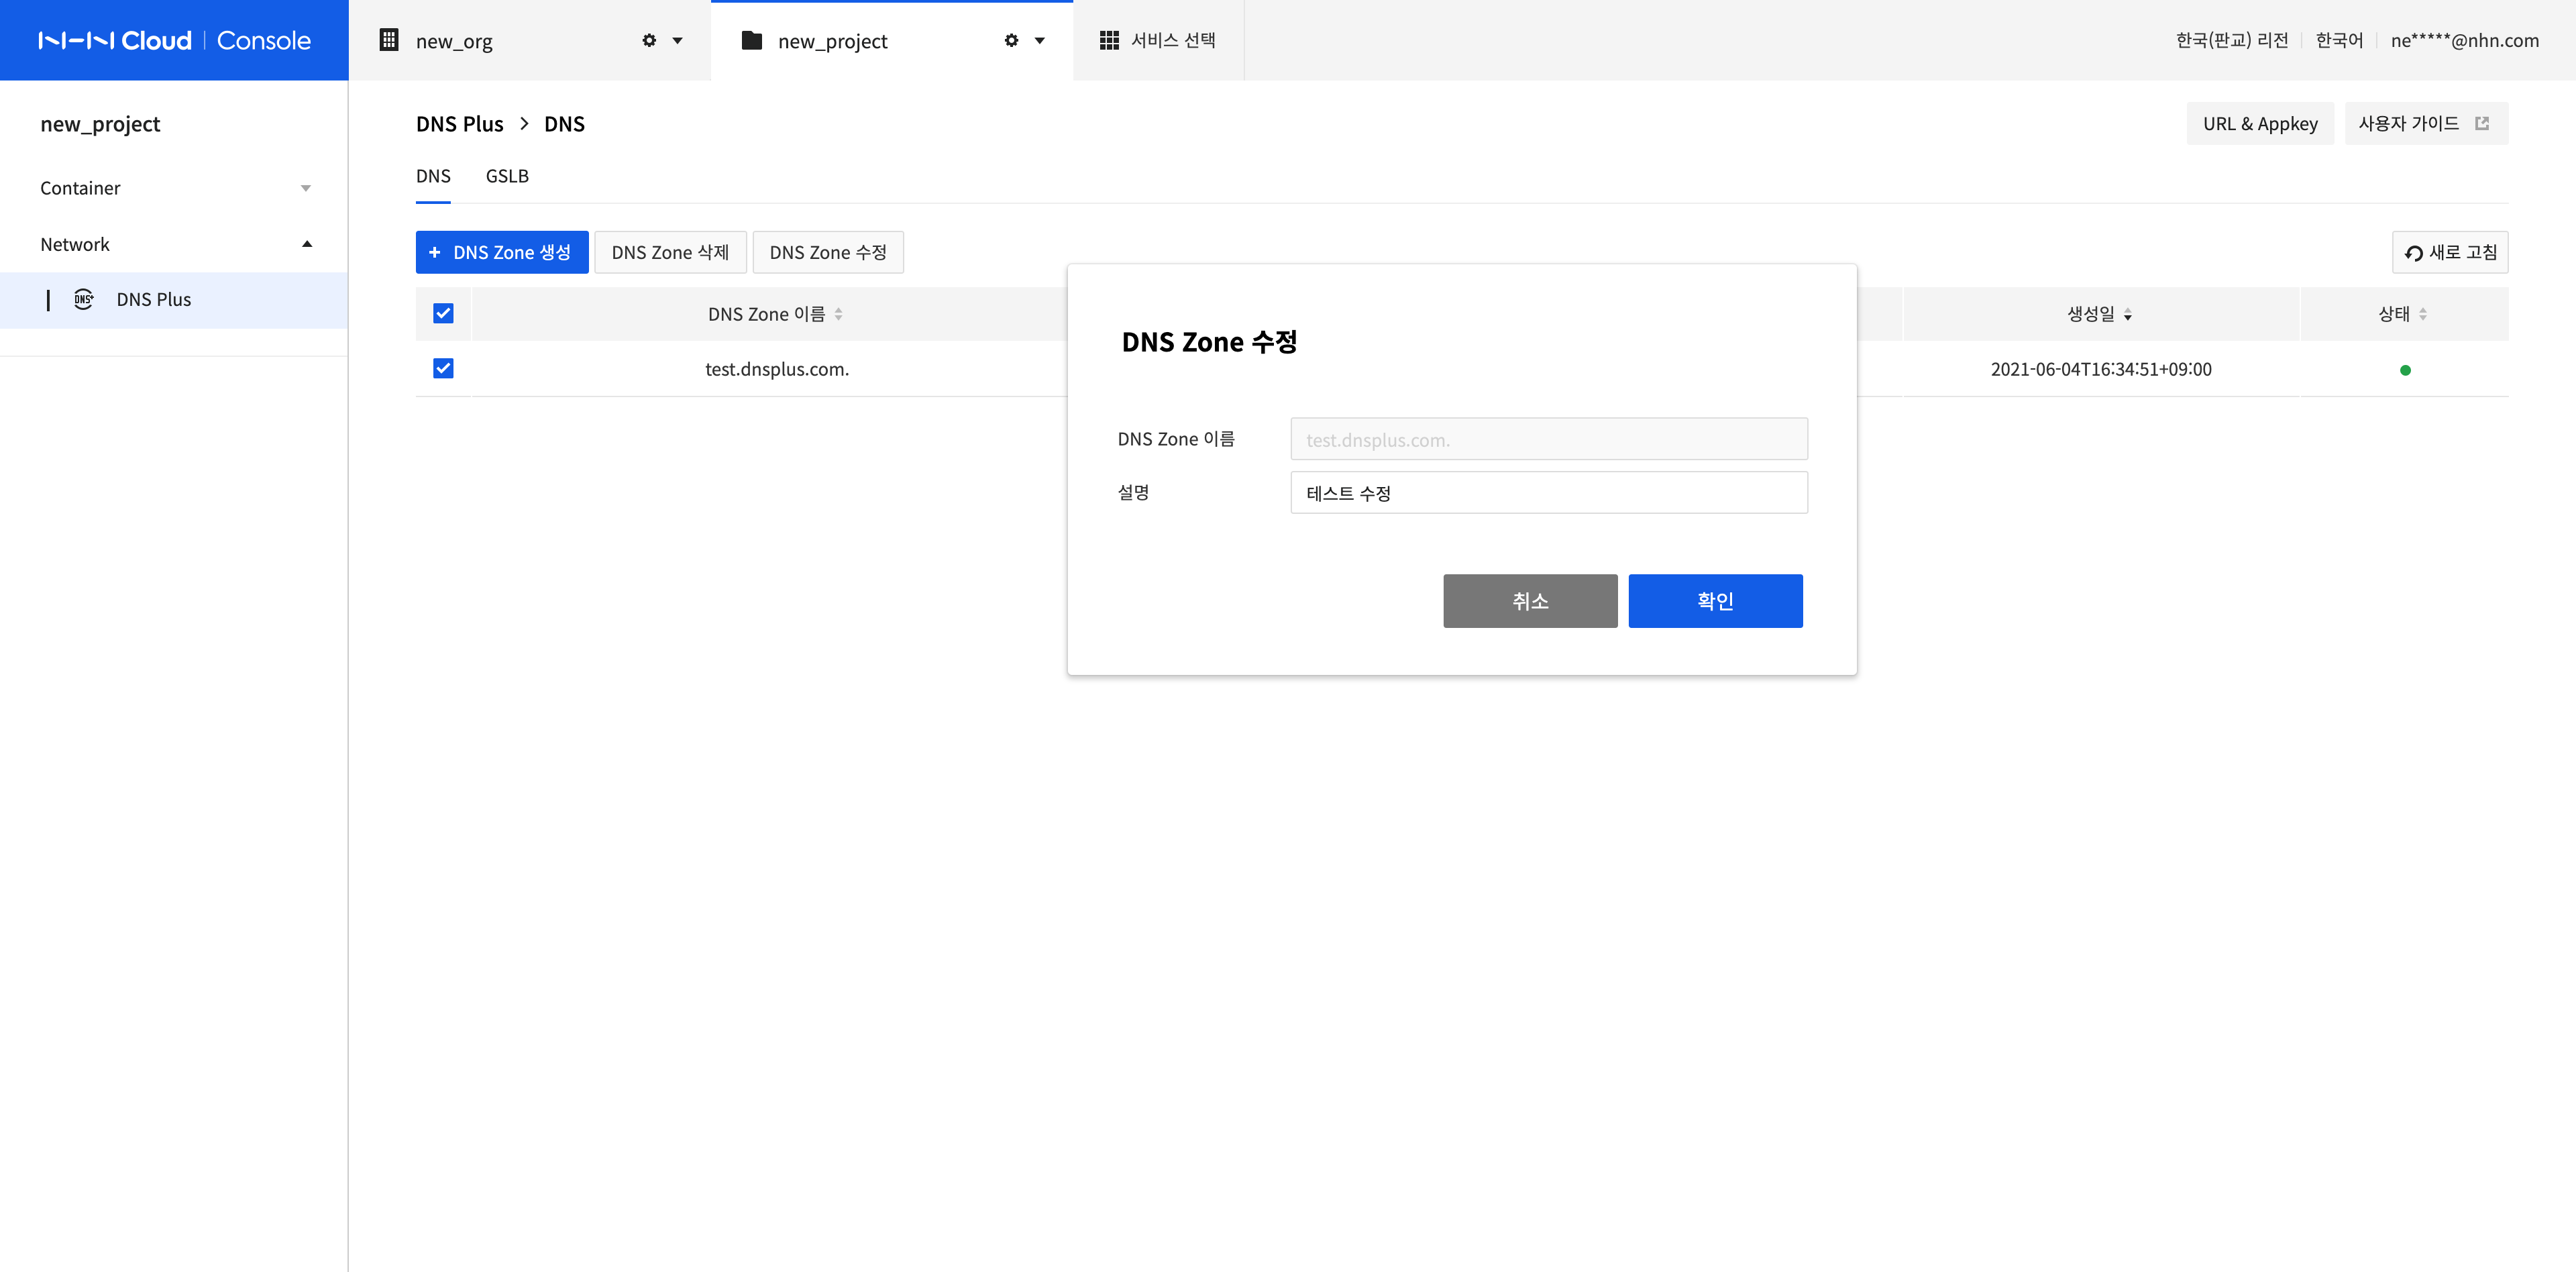
Select the DNS Zone to modify and click Modify DNS Zone.
-
Modify Description and click Confirm.
Delete DNS Zones
-
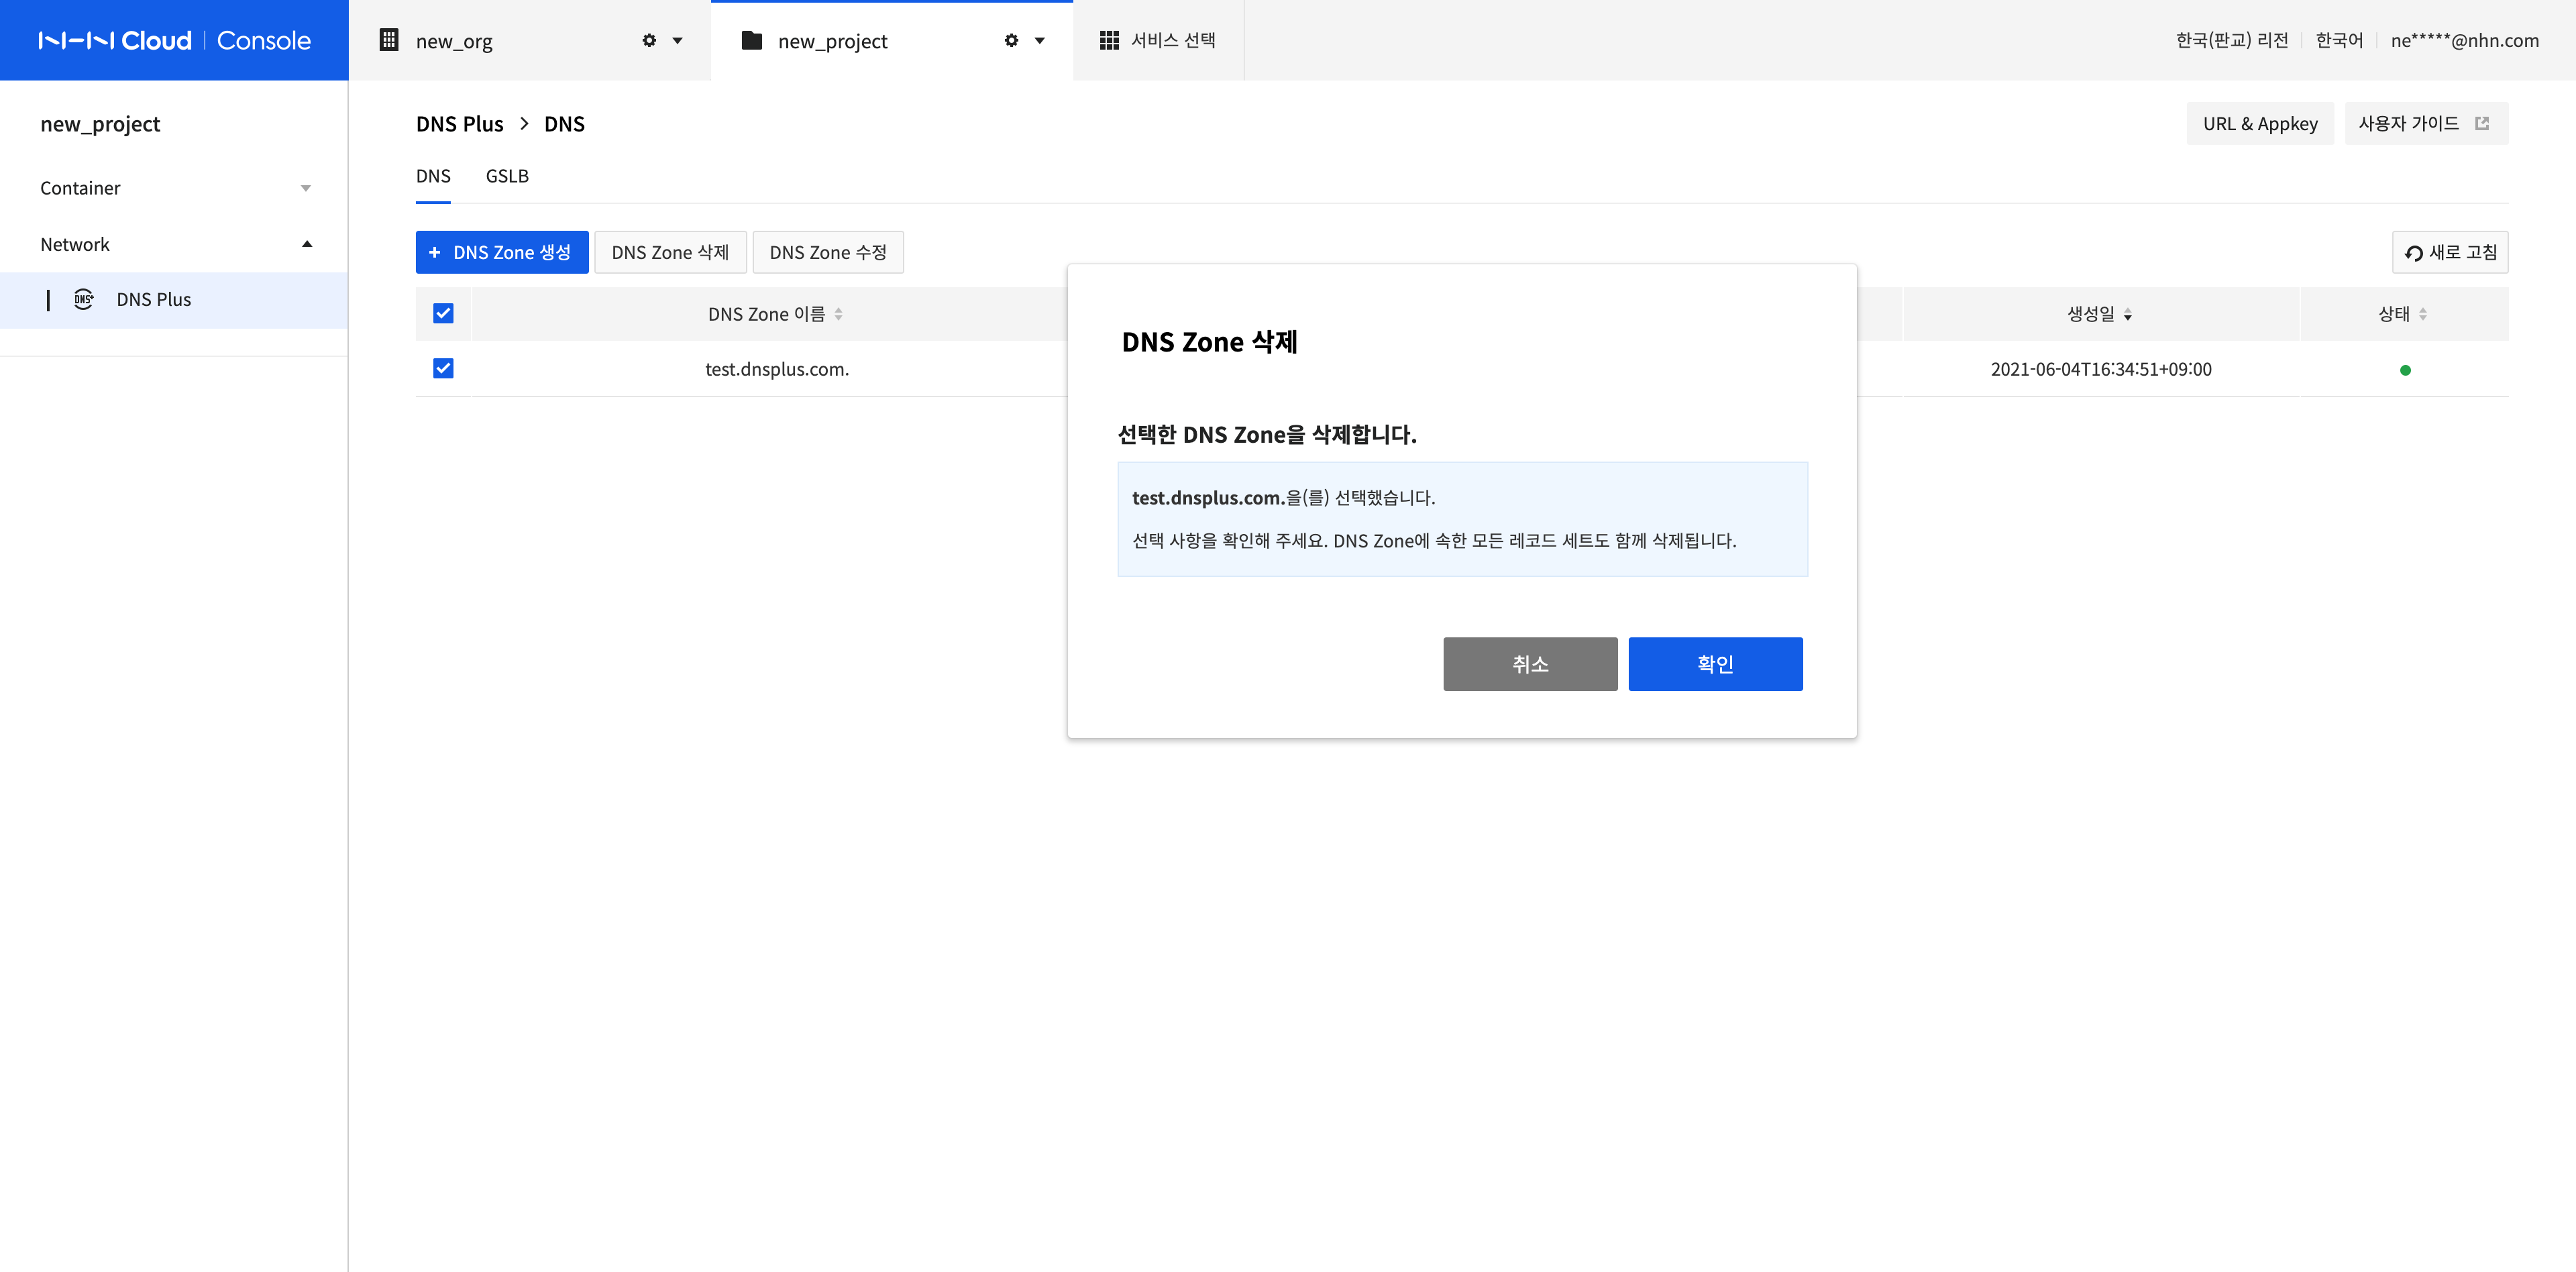
Select all DNS Zones to delete and click Delete DNS Zone.
-
Click Confirm. All record sets within the DNS Zone will be deleted and it will take some time to finish the job.
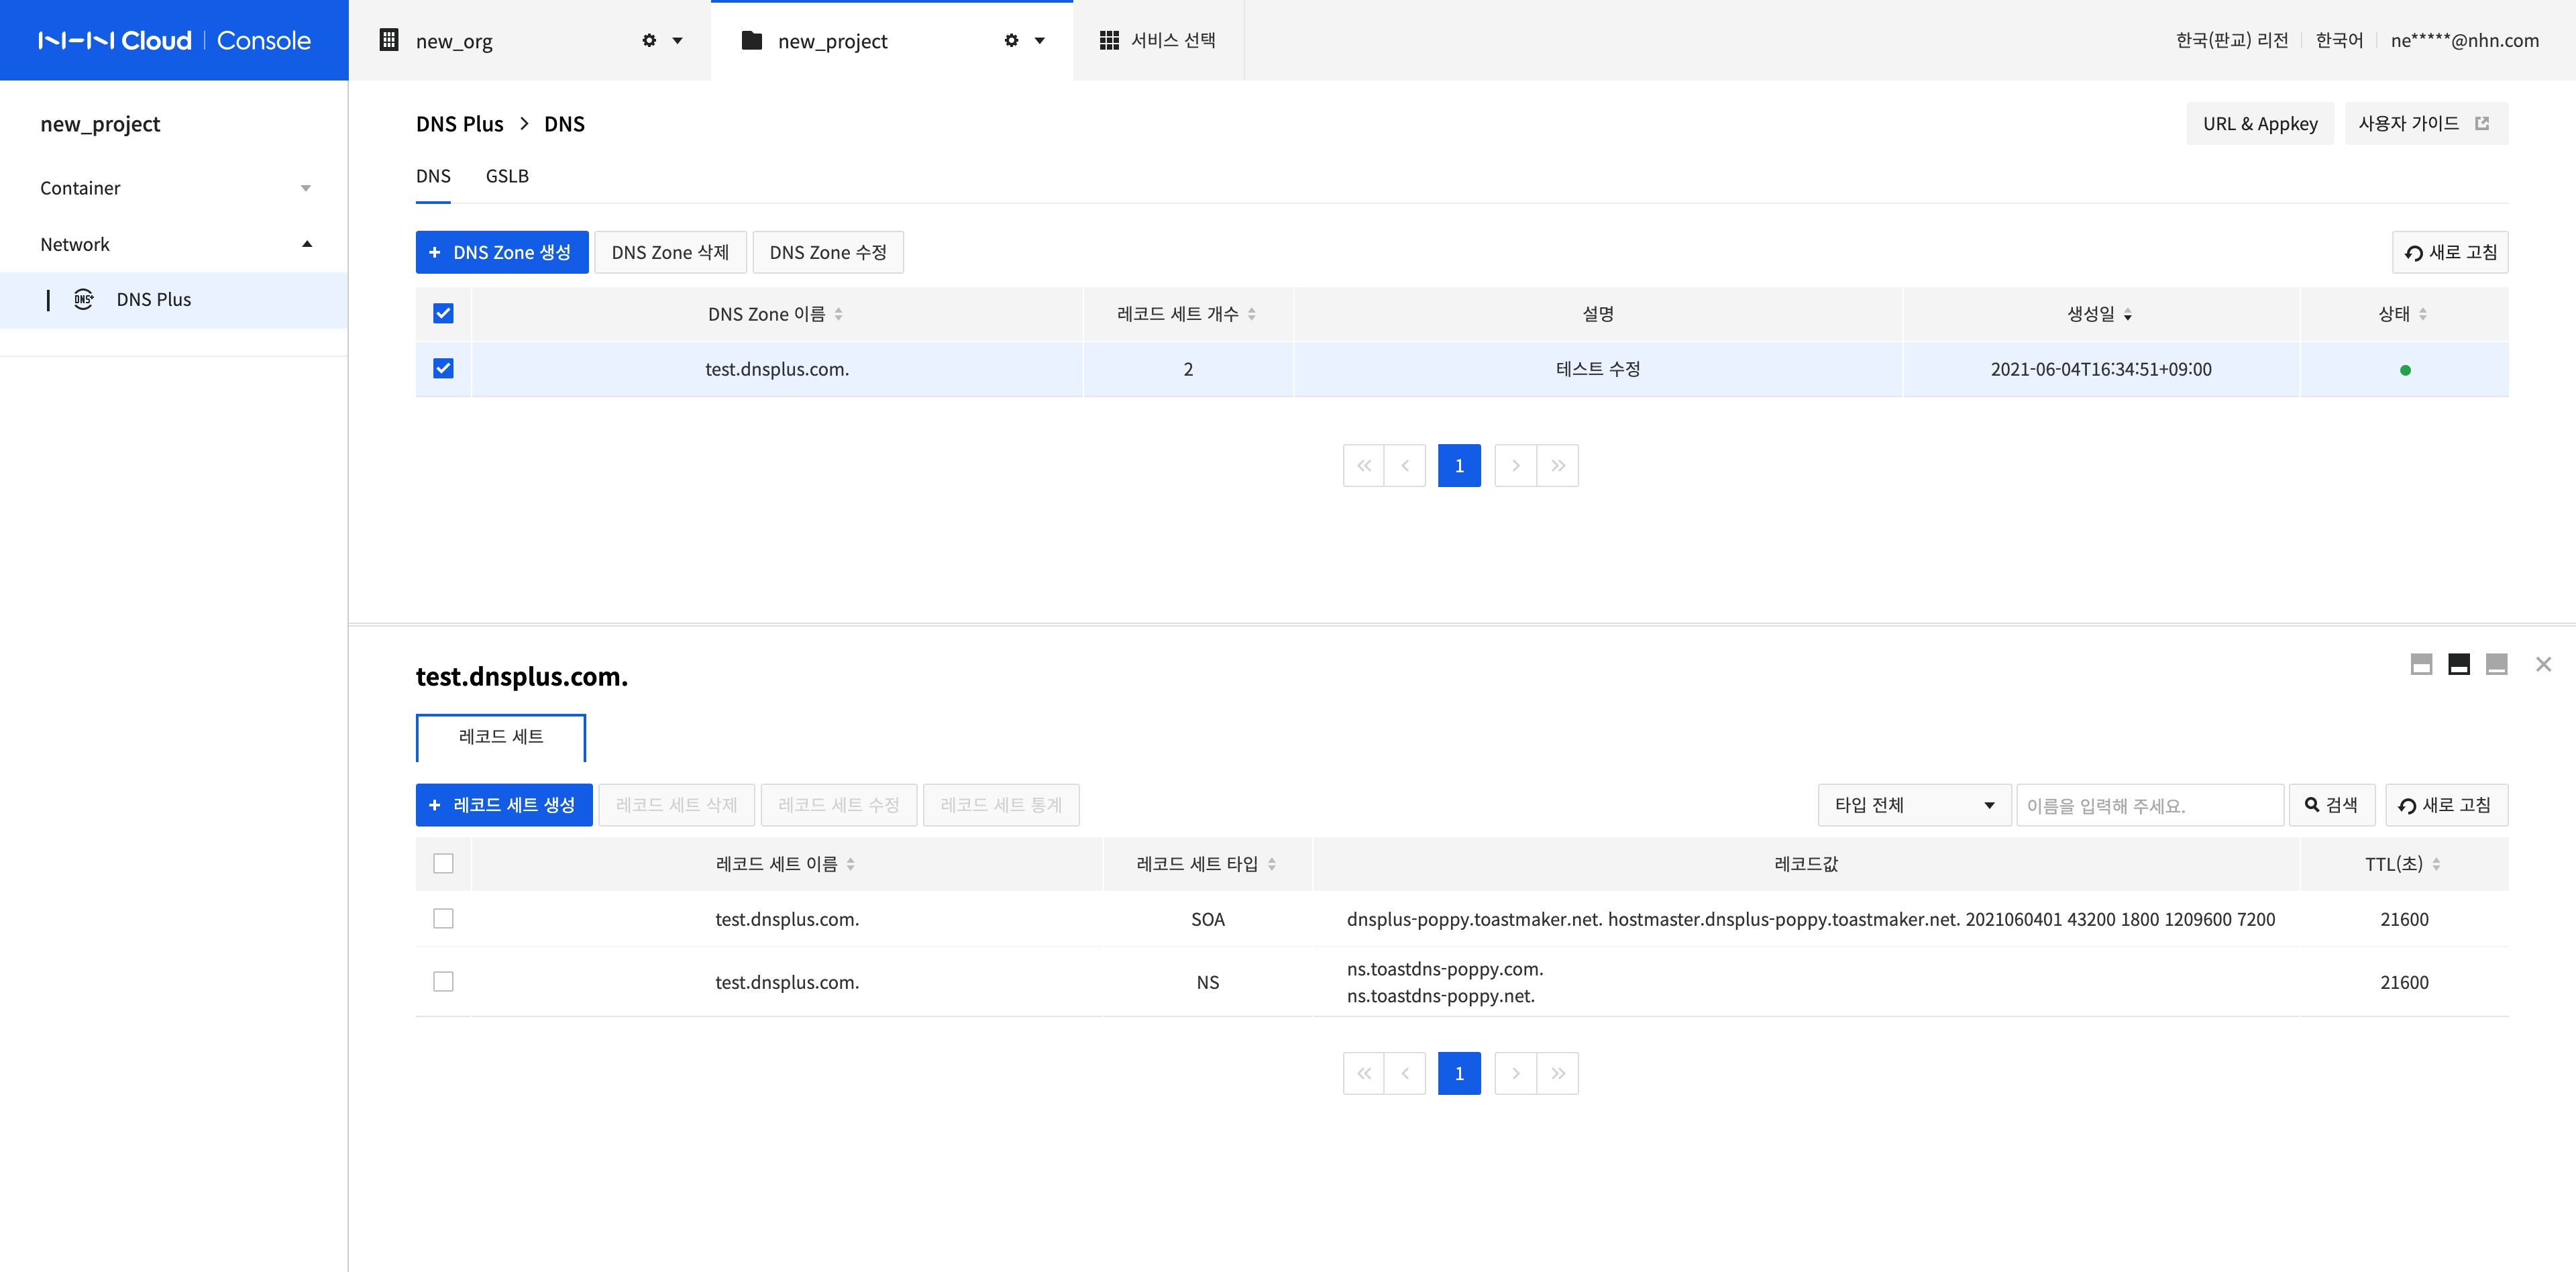
Manage Record Sets
You can manage record sets of the DNS Zone selected on the DNS screen of the menu.
- You can create record sets for DNS Zone Name or sub-name by record set type.
- SOA and NS record sets for DNS Zone Name are created by default and cannot be modified or deleted.
- SOA record sets cannot be created, modified, or deleted, and NS record sets cannot be created, modified, or deleted using DNS Zone Name.
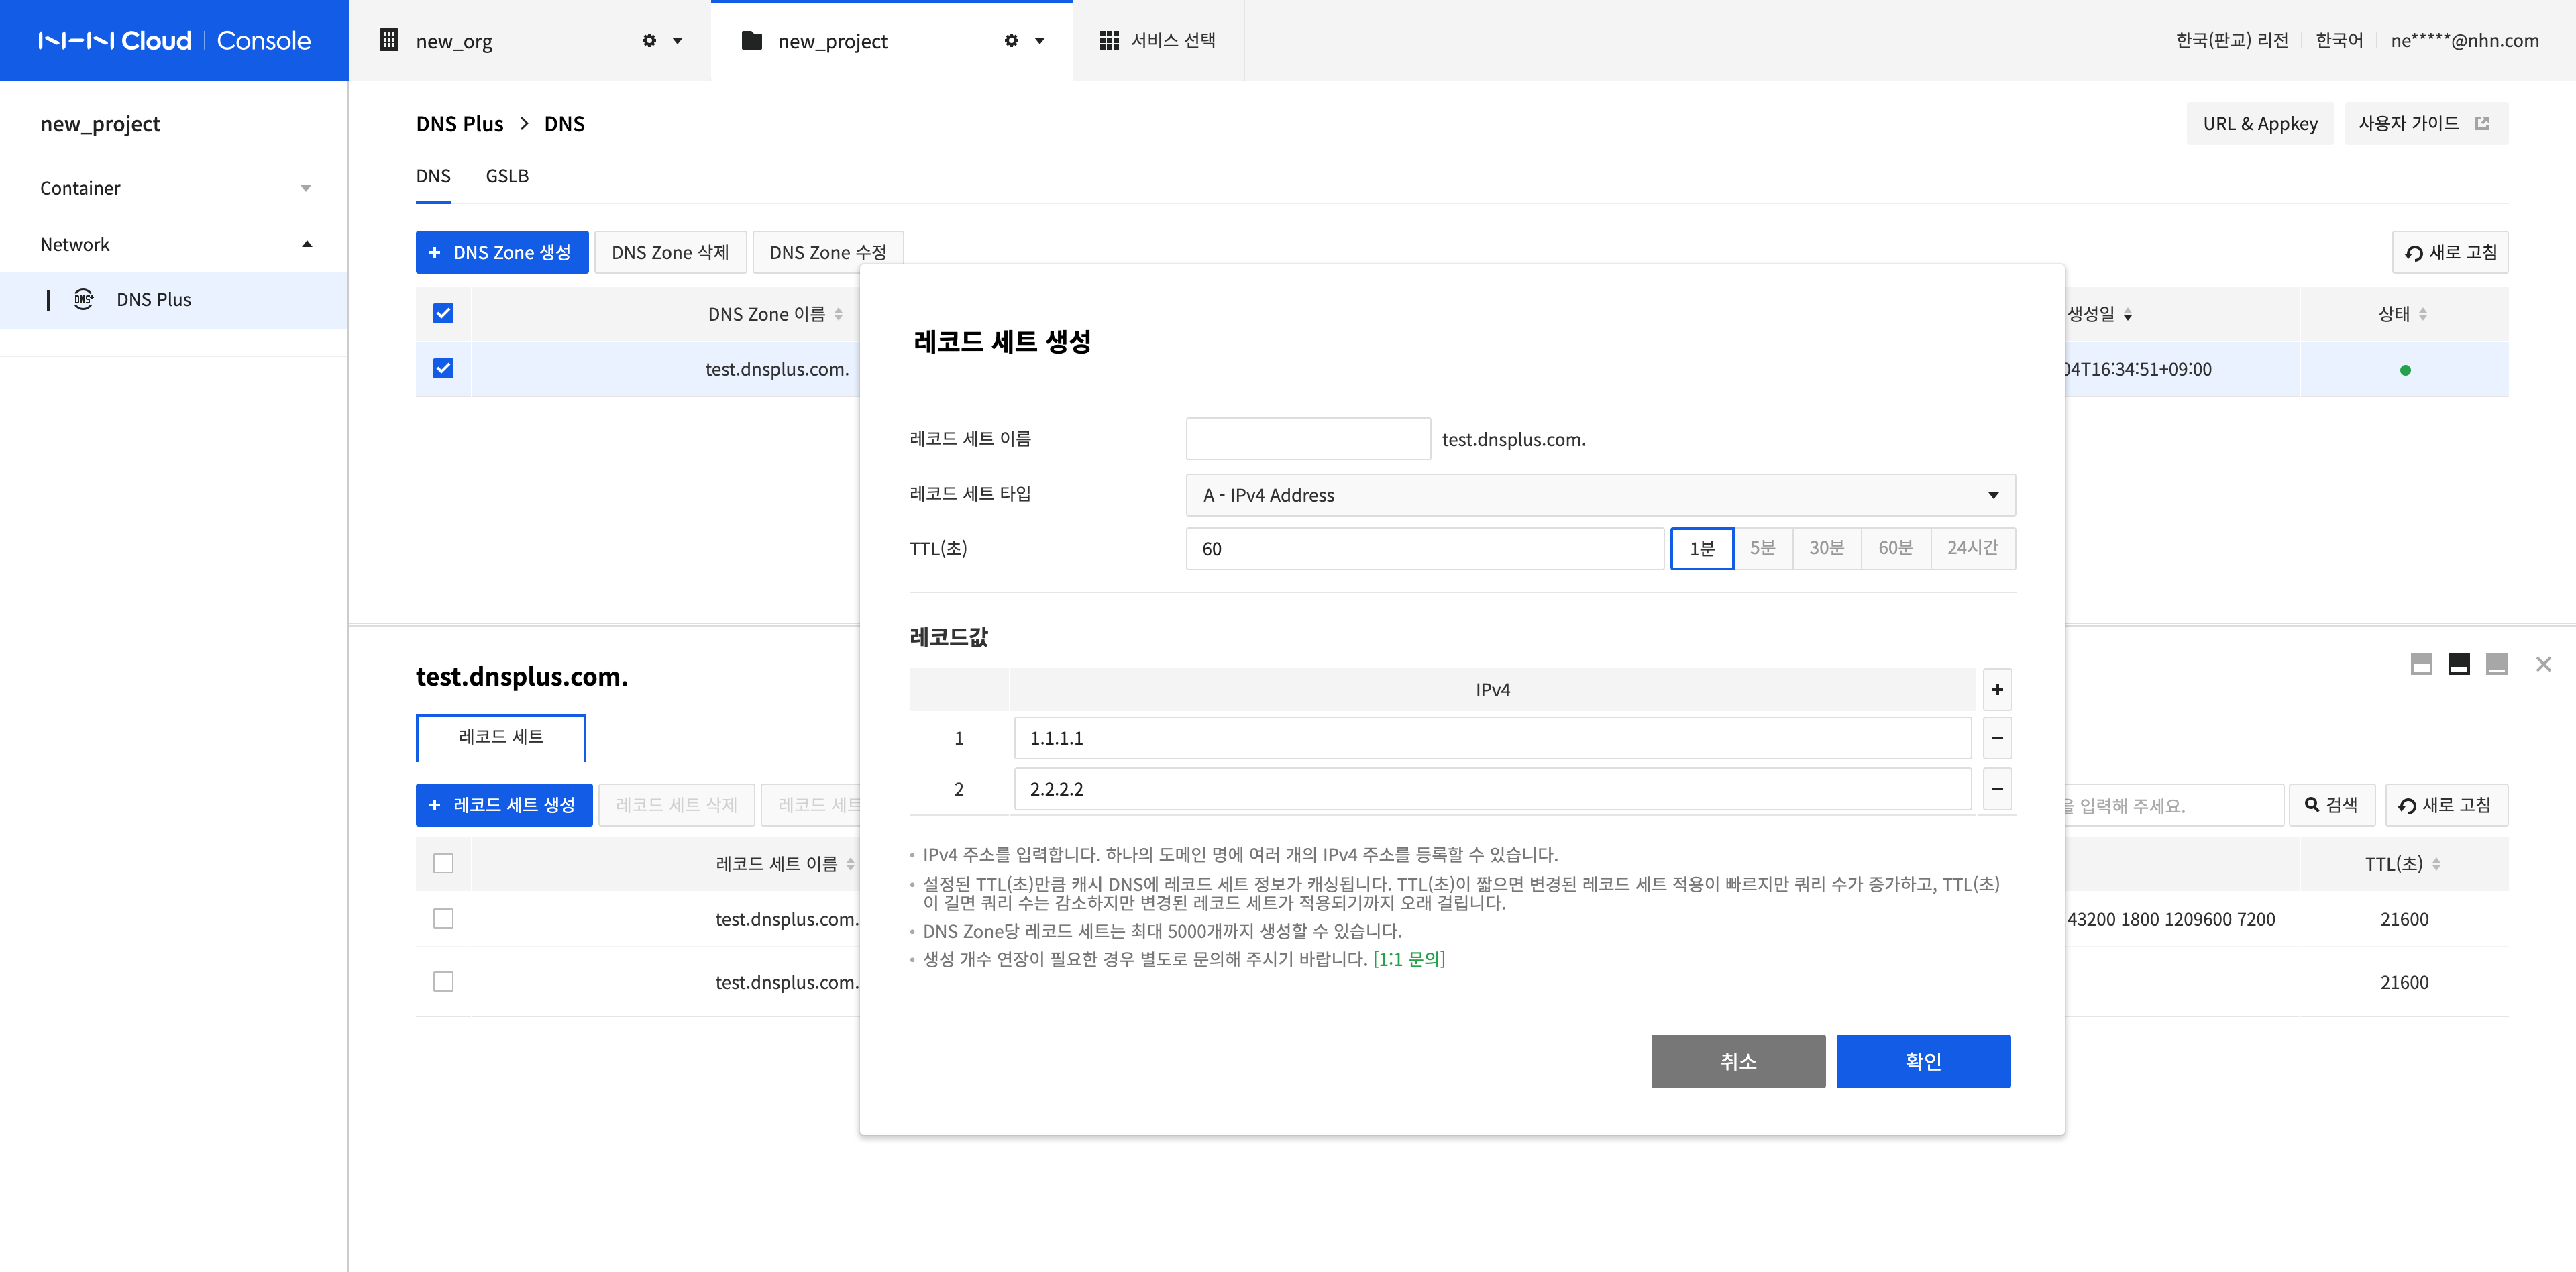
Create a Record Set
-
A record set is the information of the host to serve. Click Create Record Set to create a record set.
-
Enter the record set information.
- Record Set Name: Name of the host to serve. Enter in FQDN format so that it can be a DNS Zone Name or a sub-name.
- Record Set Type: Type of the host. Select the type according to the purpose of use.
- TTL (seconds): Time to live, which indicates the validity period of the data. Enter the update cycle of the record set information in the name server (in seconds). You can enter a value easily by clicking the buttons on the right.
-
Enter the record information according to the record set type.
- A different record value must be entered depending on the record set type. Enter the record value according to the description displayed at the bottom of the screen.
- Depending on the record set type, multiple records can be entered. You can add a record by clicking the + button on the right side of the screen, and you can remove a record by clicking the - button of the added record.
-
After completing the configuration, click Confirm.
-
There is a limit to the maximum number of record sets that can be created. If you want to raise the limit, please contact us.
- Contact: 1:1 Inquiry
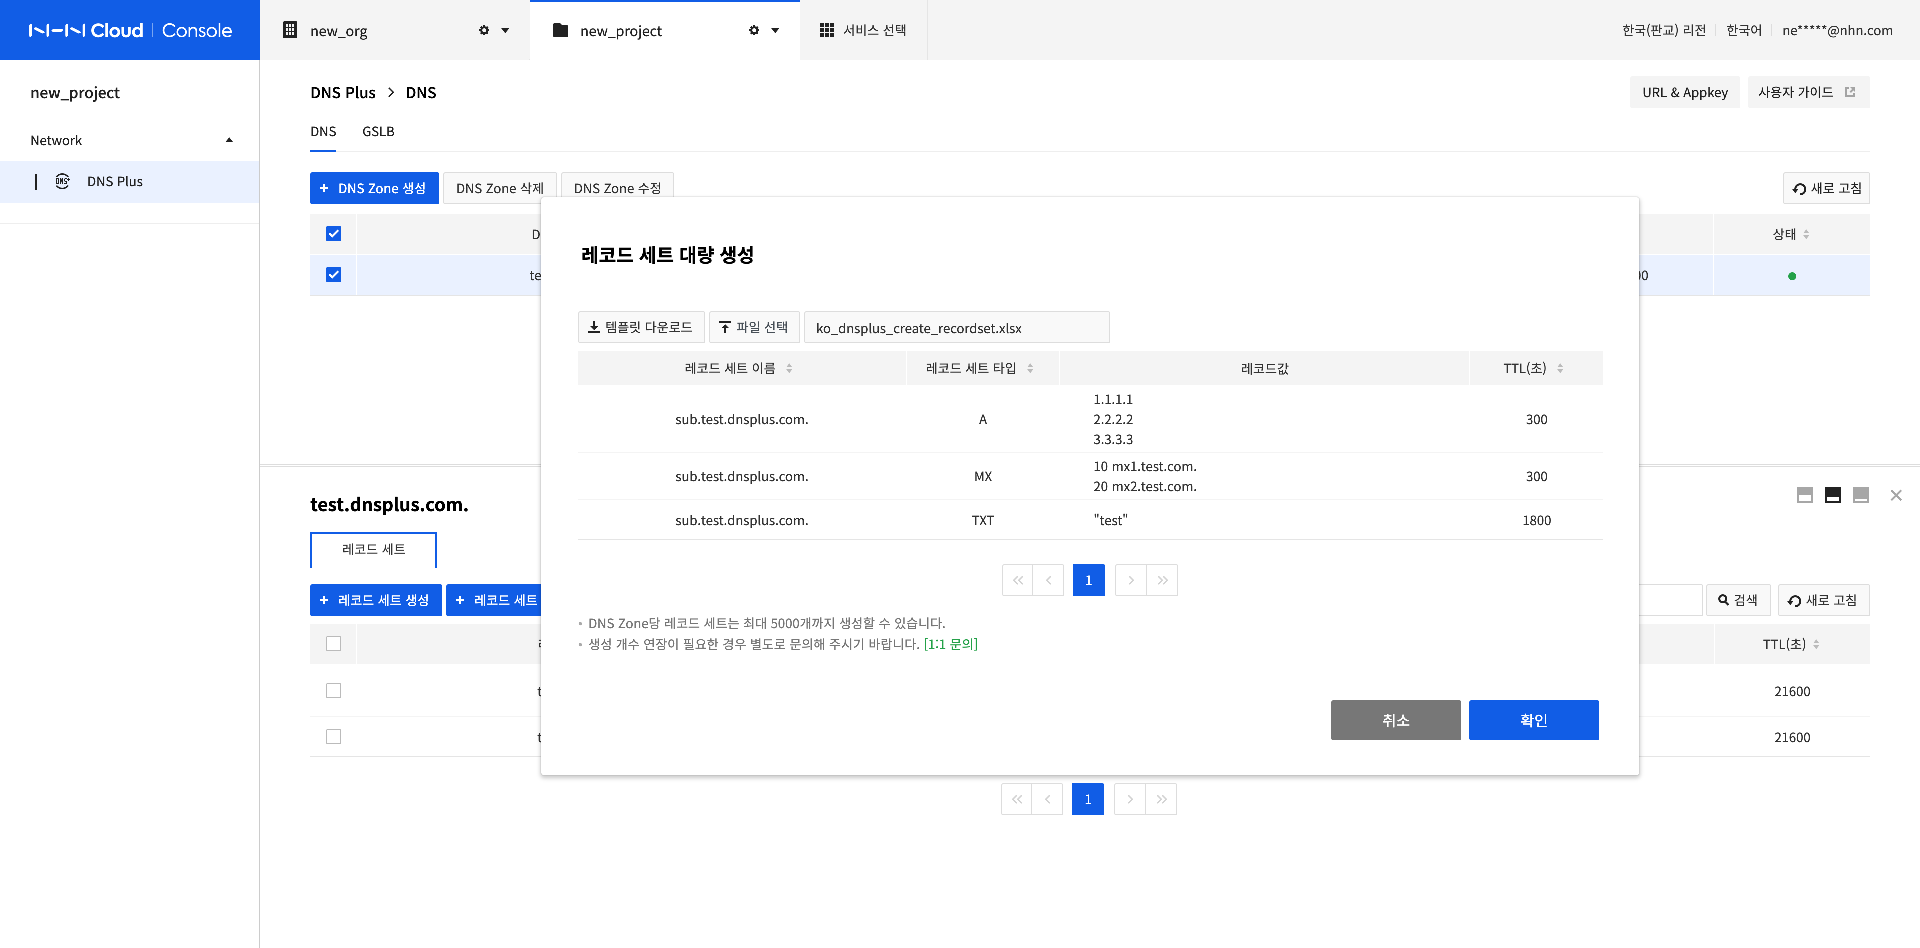
Create Multiple Record Sets
-
Click Create Multiple Record Sets.
-
Click Download Template to download a template. Enter the record set information on the downloaded template. Click Select File to select a template.
-
On the screen, check the information entered on the template and click Confirm.
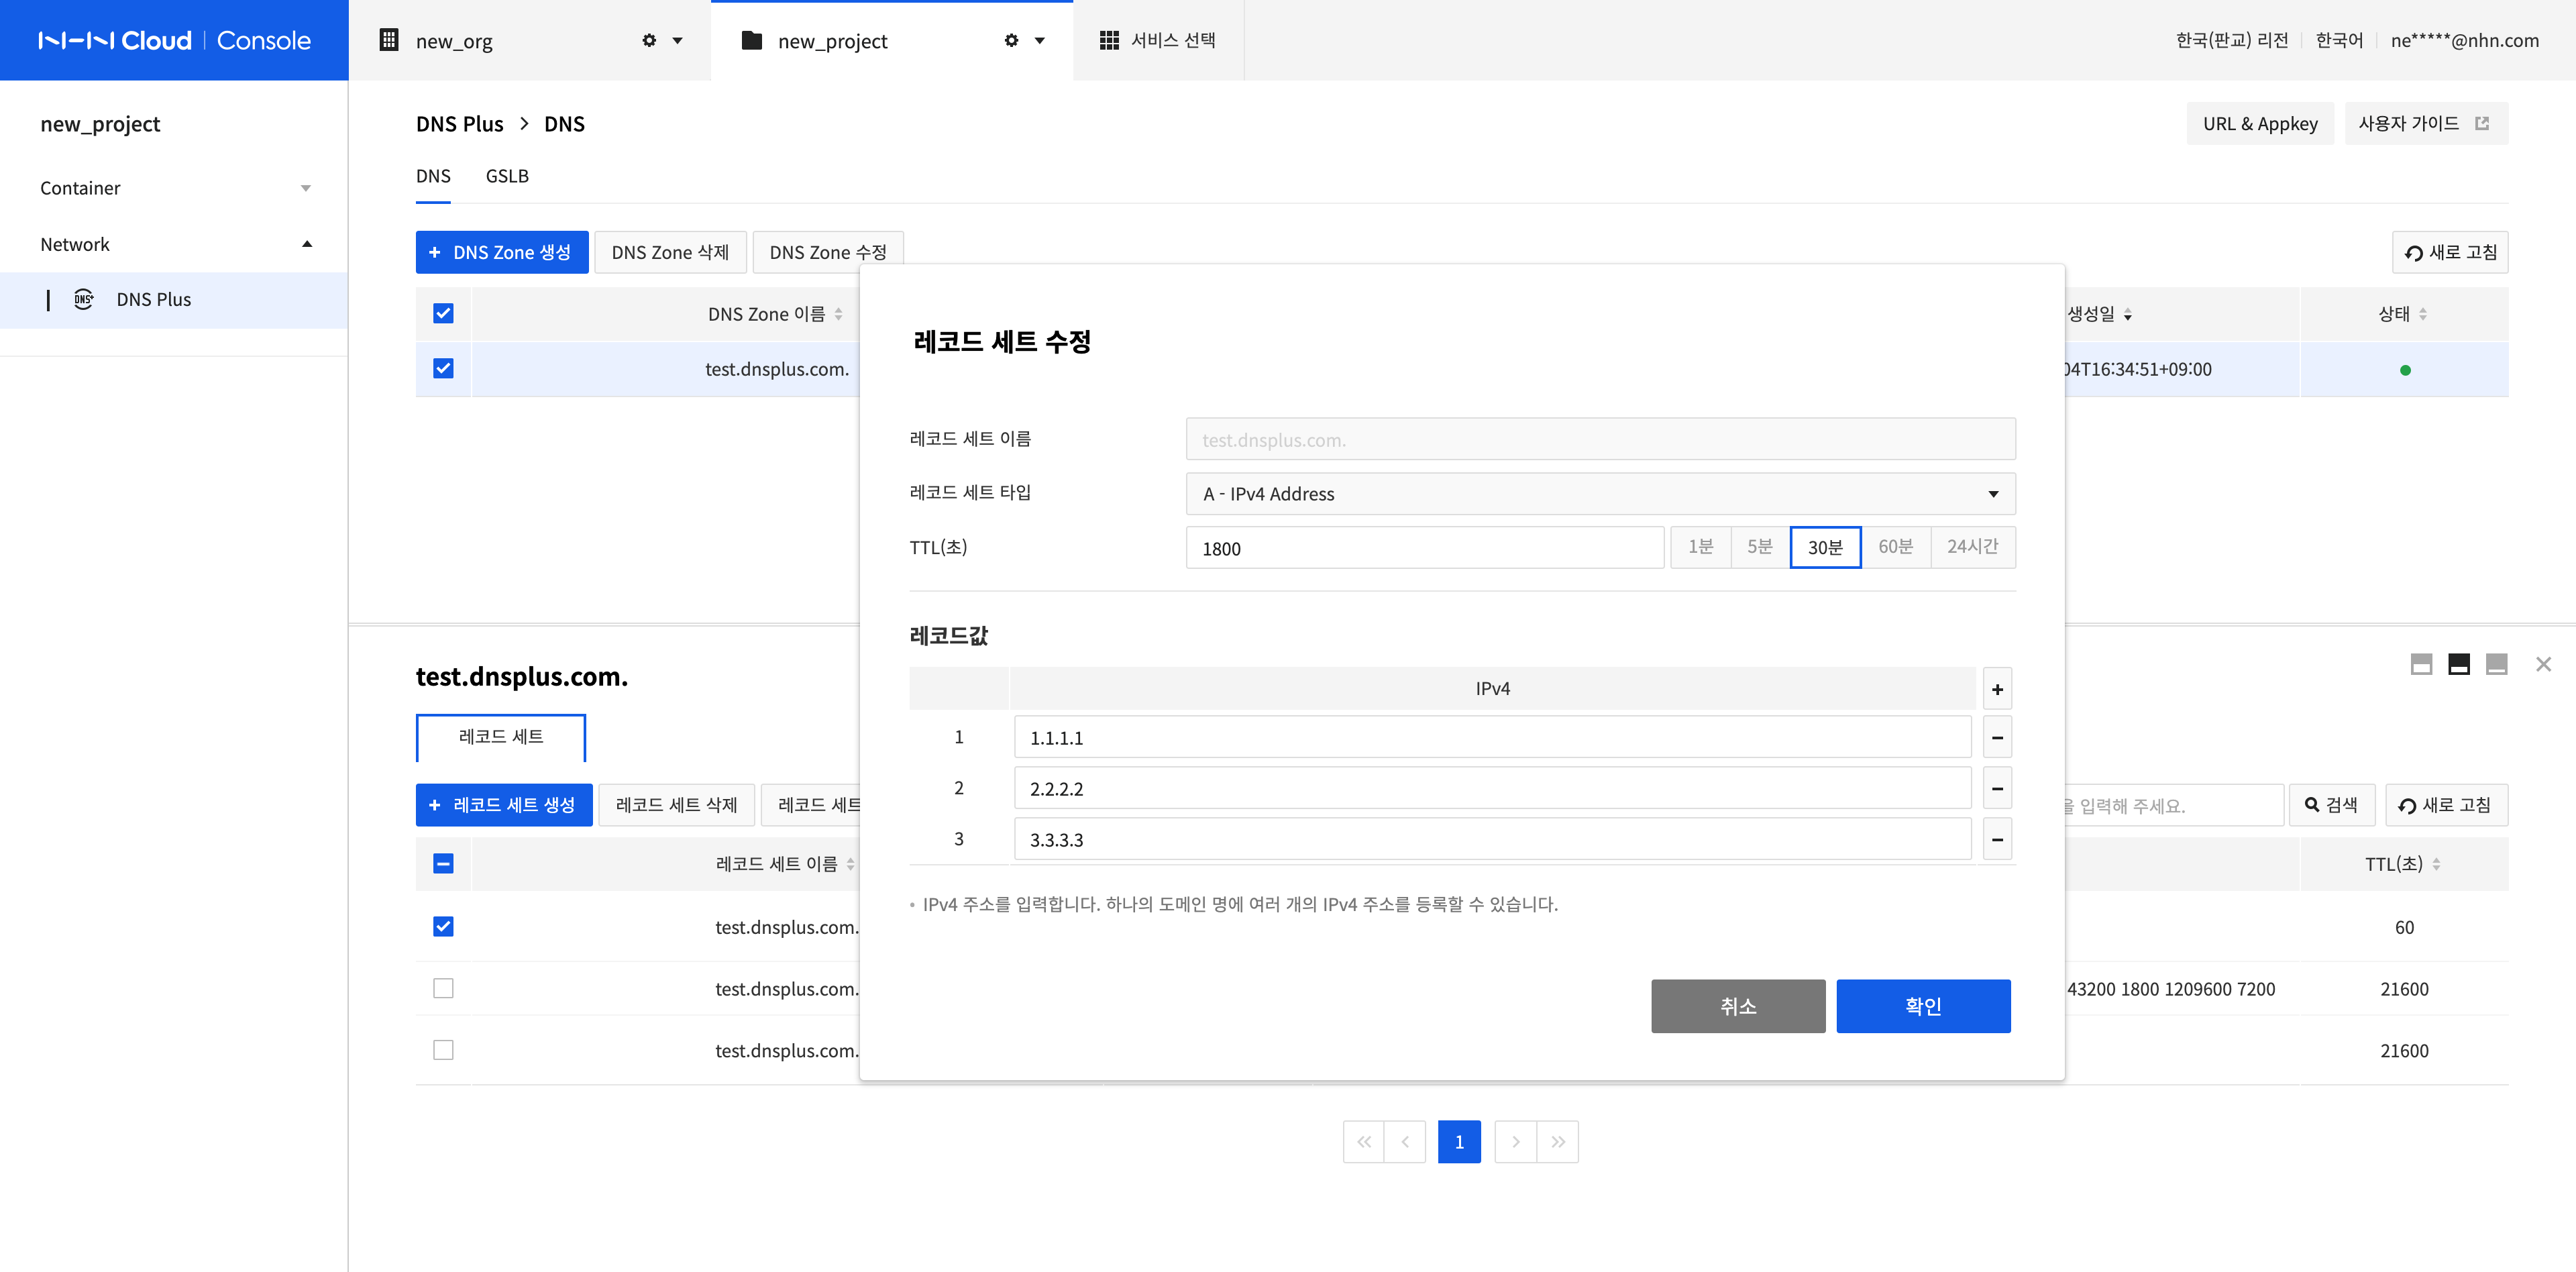
Modify a Record Set
-
Select a record set to modify and click the Modify Record Set button.
-
Record Set Name cannot be modified. However, Record Set Type, TTL (seconds), and Record Value can be modified.
-
After completing the configuration, click Confirm.
Delete Record Sets
-
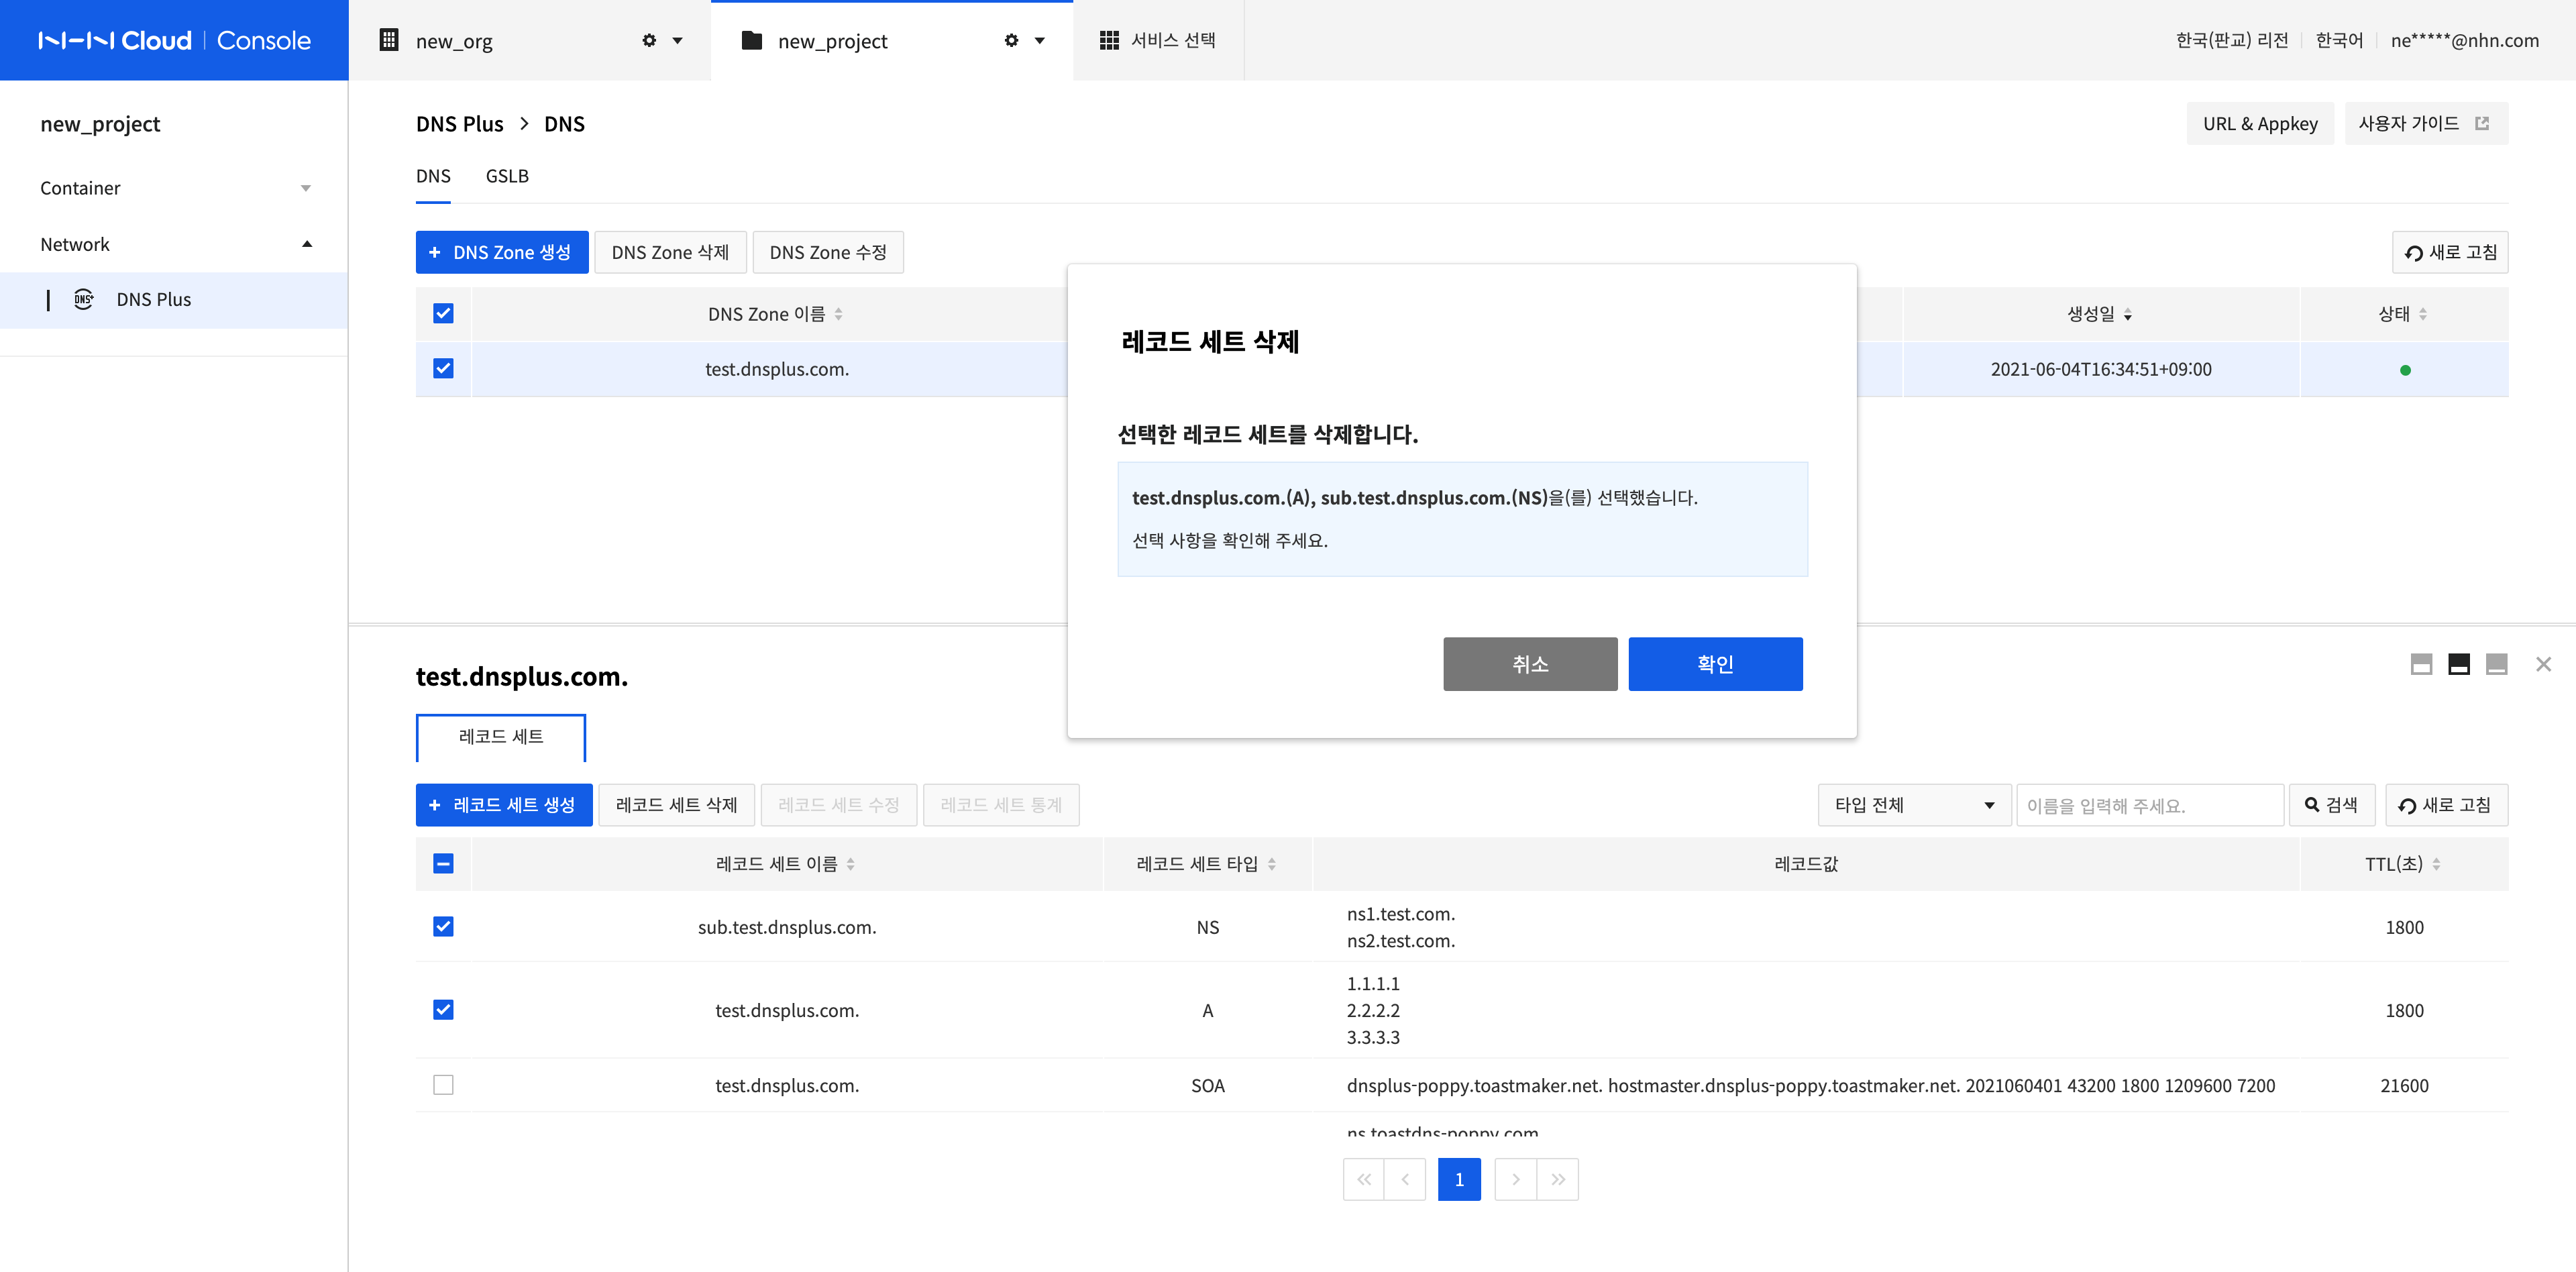
Select all record sets to delete and click Delete Record Set.
-
Click Confirm.
Record Set Statistics
-
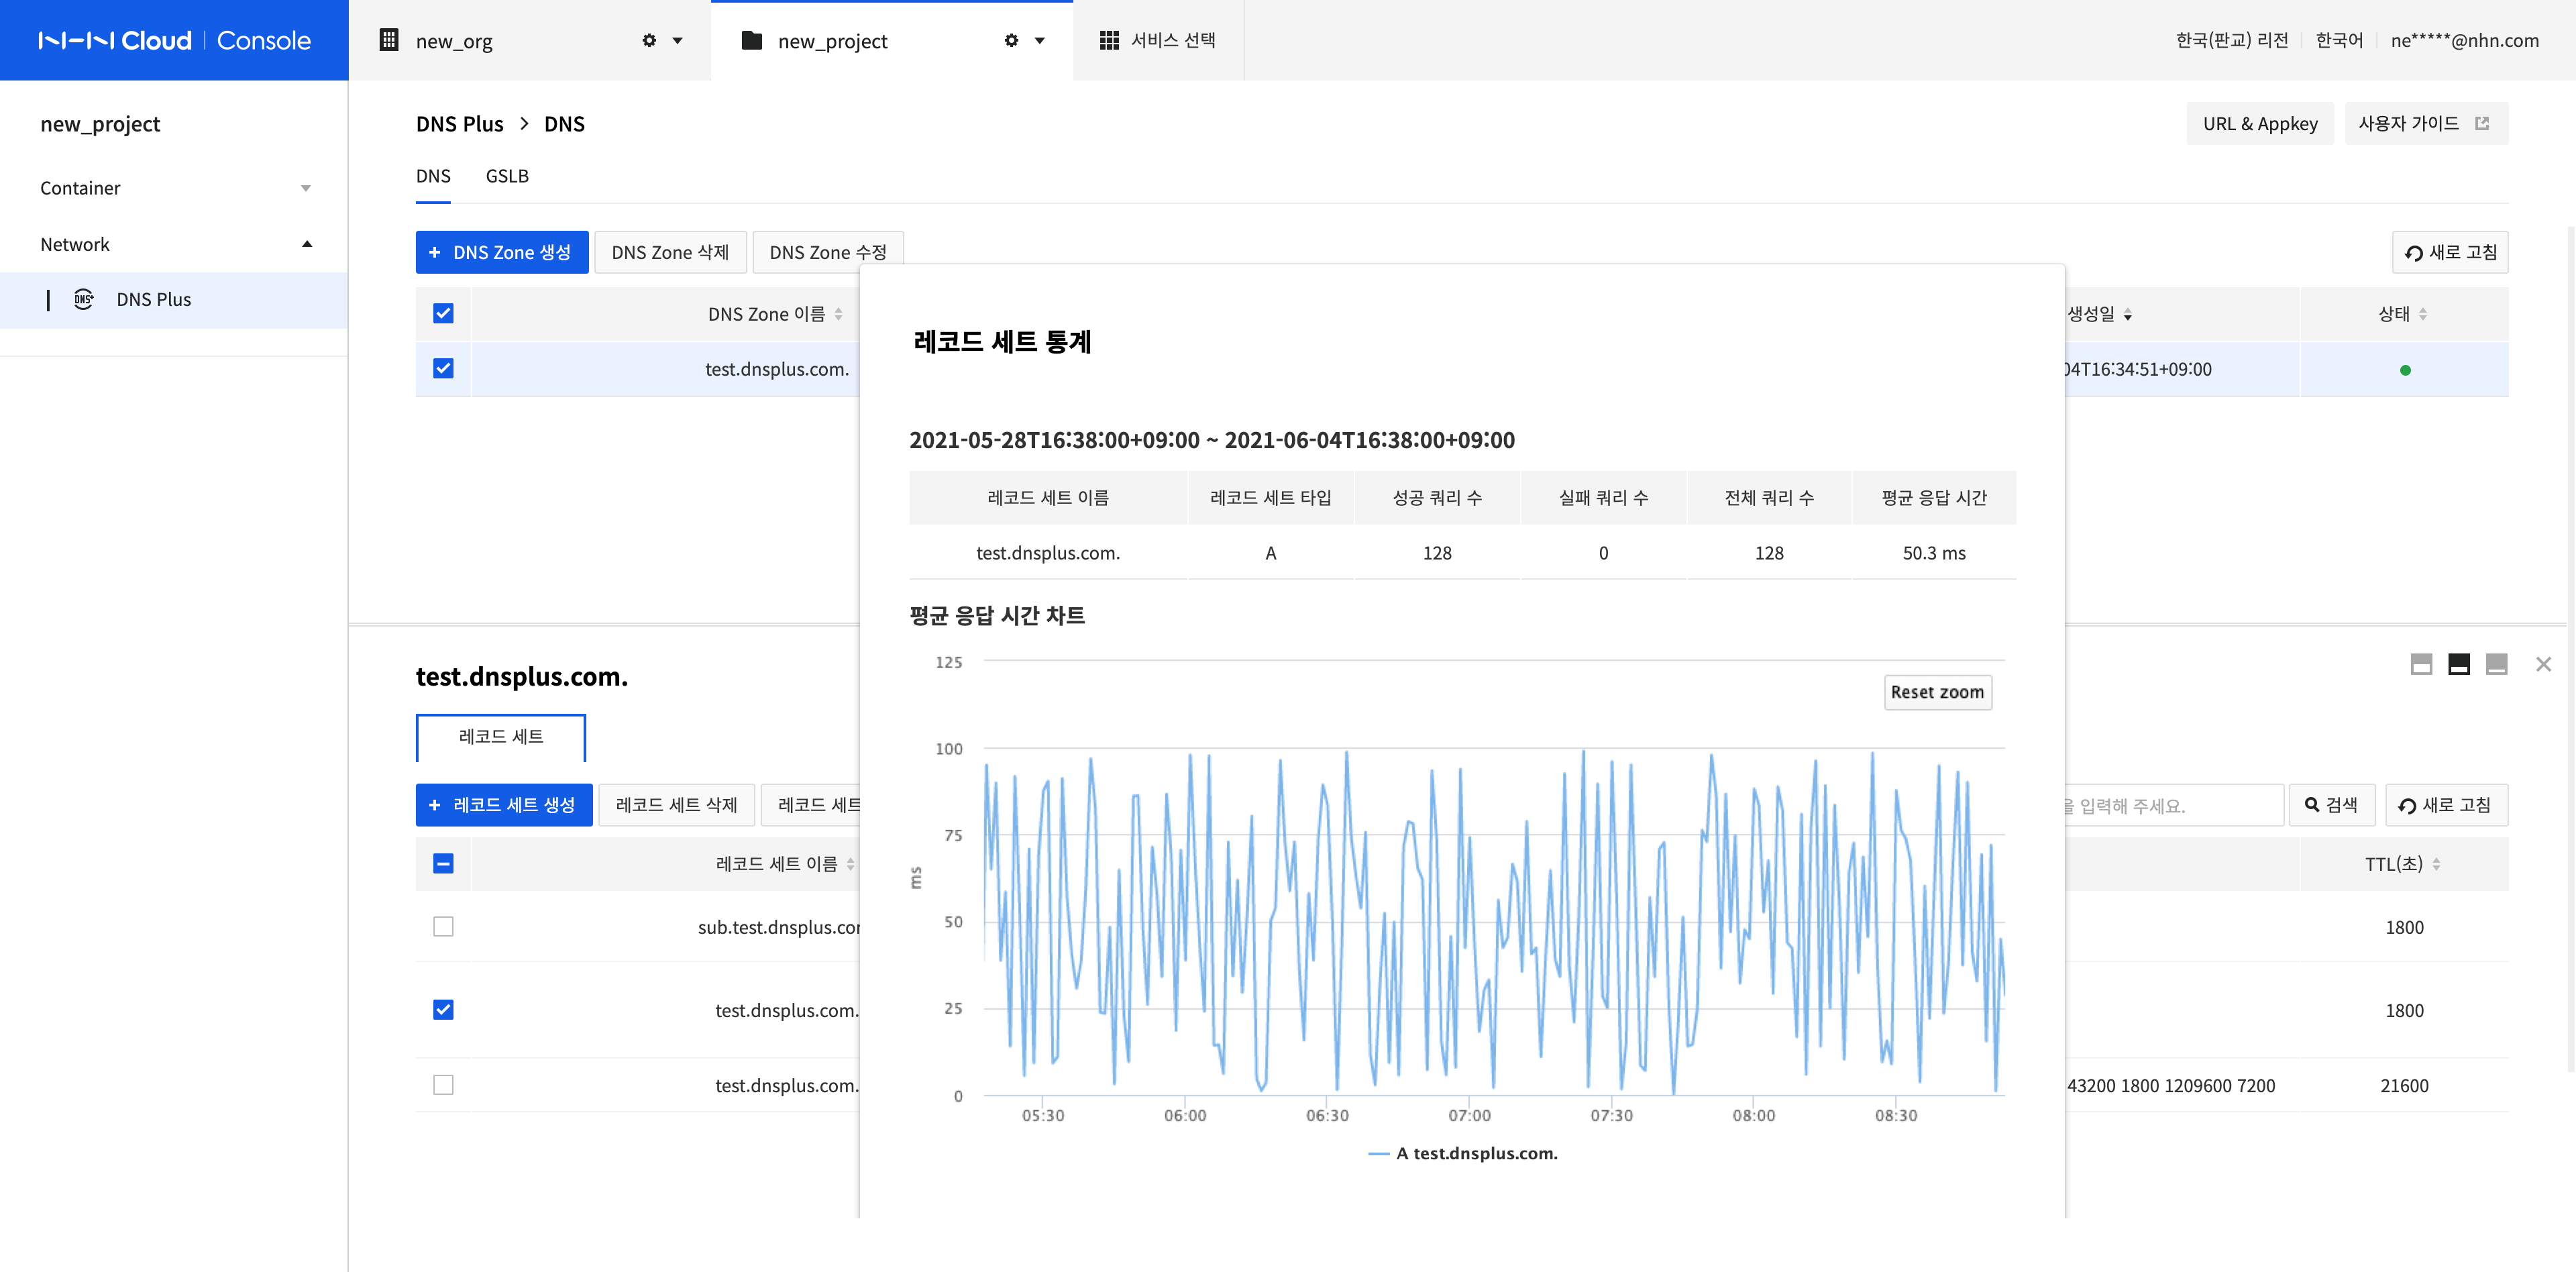
Select the record set to view and click Record Set Statistics.
-
You can view the query information and average response time of the record set for the last seven days.
Search Record Sets and View Results
-
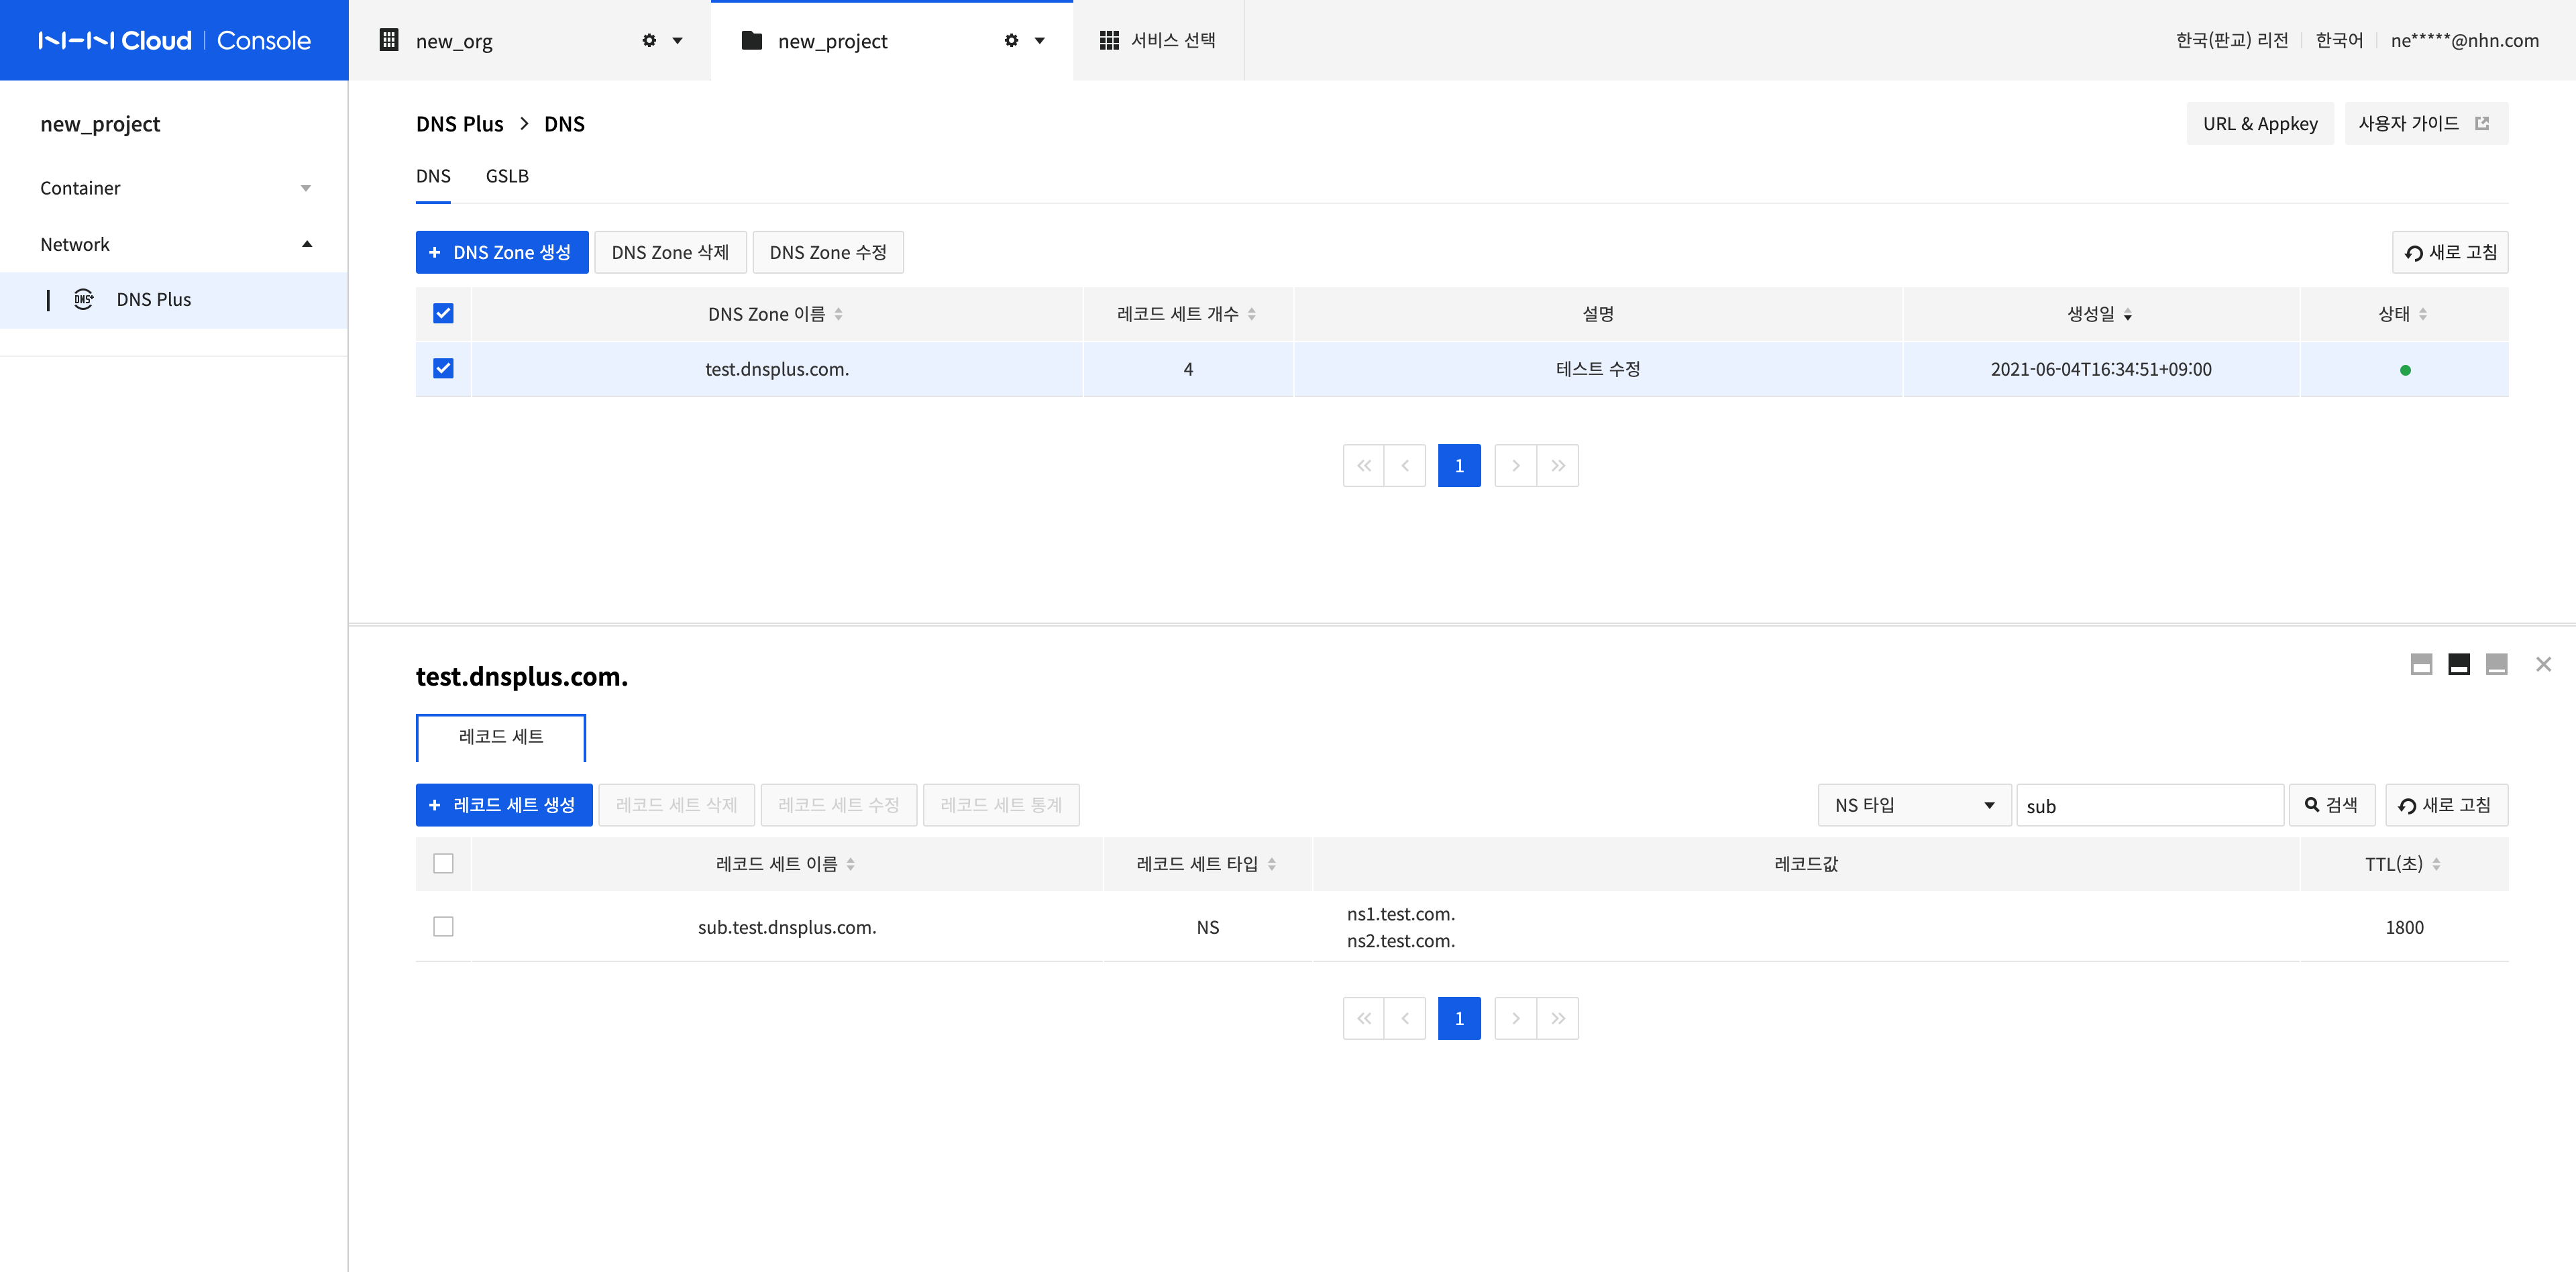
You can view only the record set type selected using the Type filter.
-
Enter a search term and press Enter Key or click Search to search by the record set name.
- All values containing the search term are retrieved.
Manage GSLB and Connected Pools
You can manage GSLB (global server load balancing) from the GSLB screen of the menu, and manage the pool connection of the selected GSLB.
Create a GSLB
For a GSLB domain, traffic is reliably load balanced according to the routing rule. You can create a GSLB as follows:
-
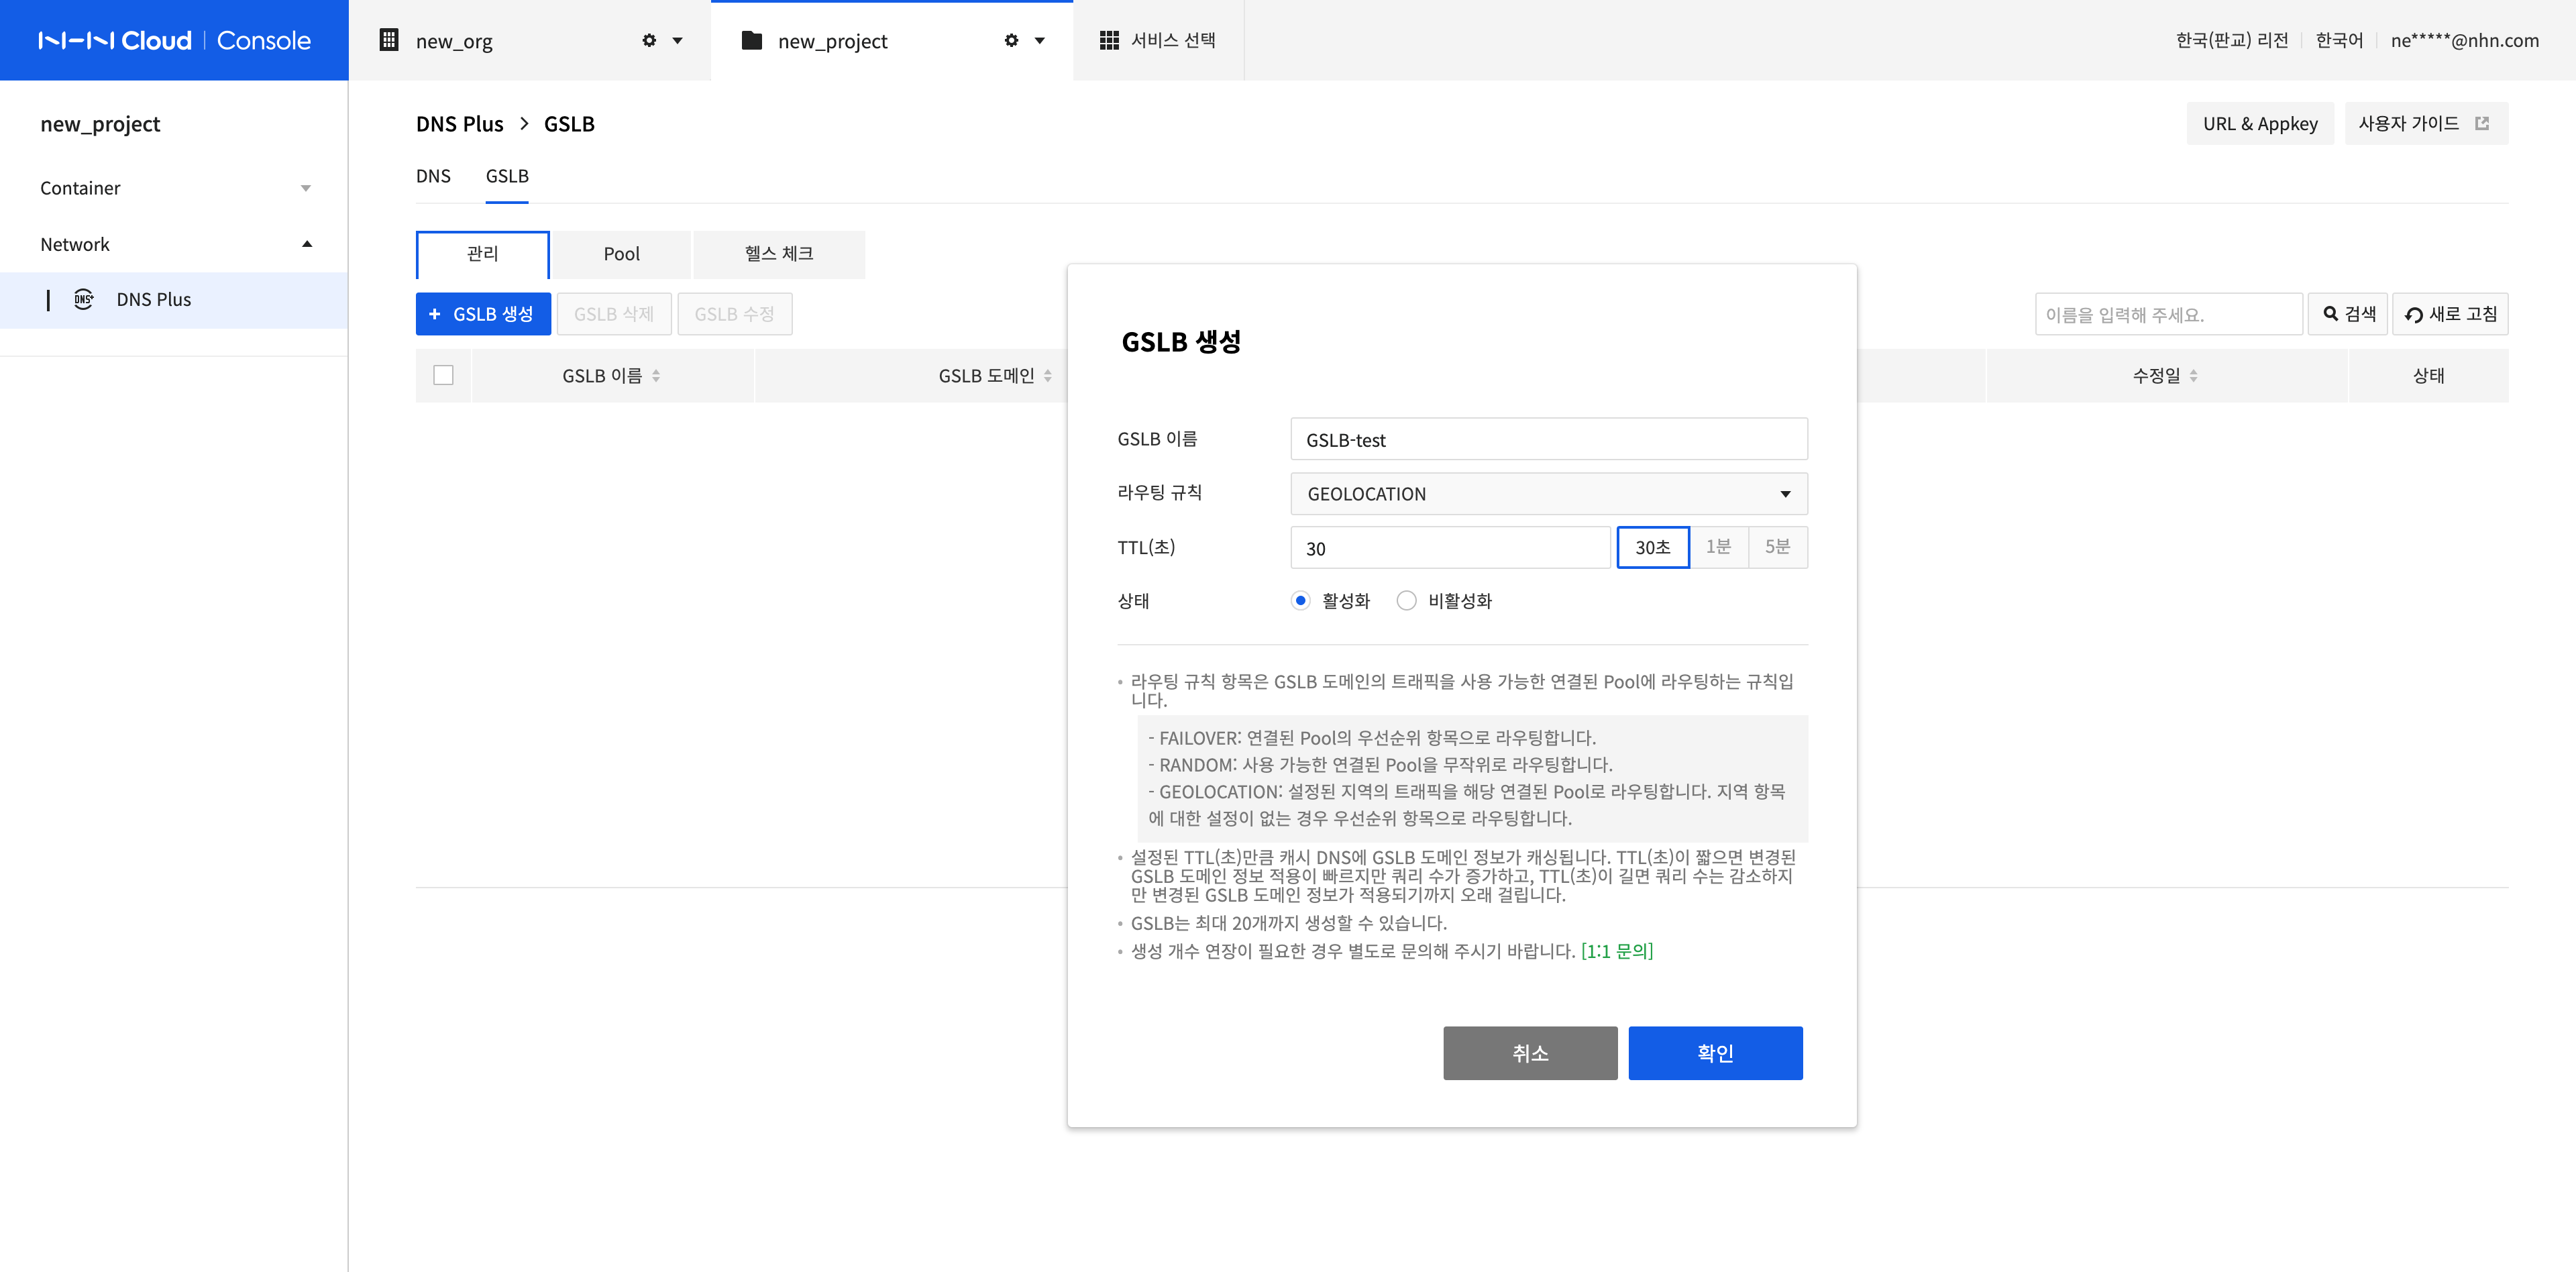
Click Create GSLB.
-
Enter information in the Create GSLB dialog box.
- GSLB Name: You can set uppercase and lowercase letters, numbers, '-' and '_'.
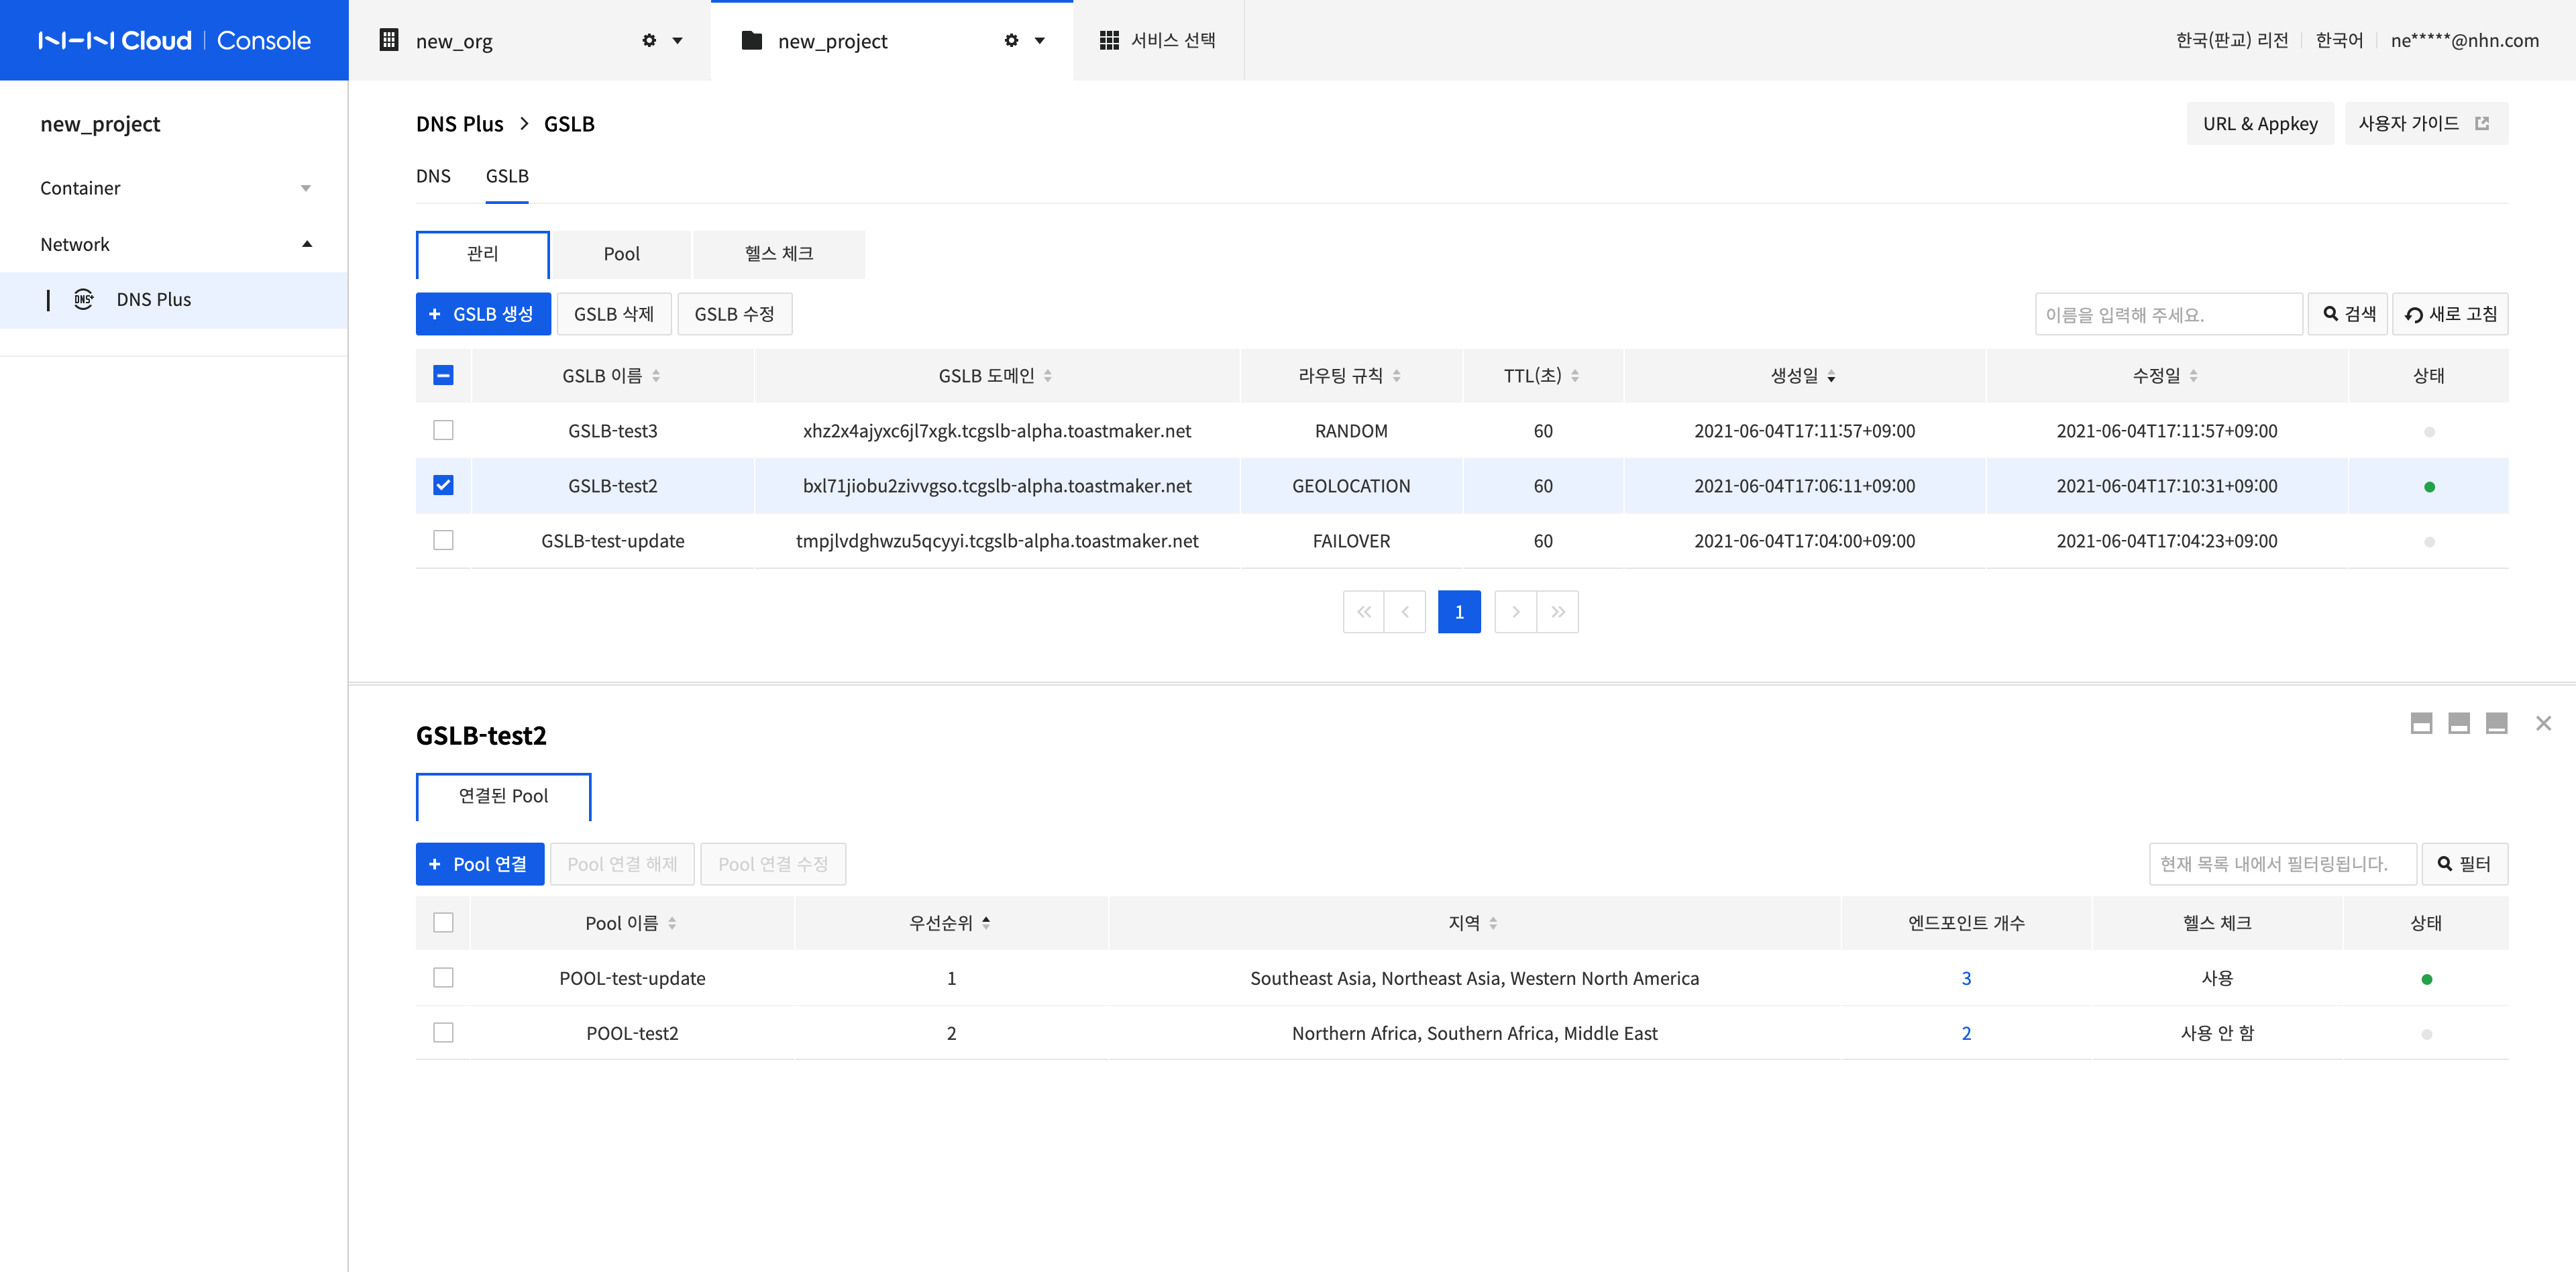
- Routing Rule: You can select FAILOVER, RANDOM, or GEOLOCATION as the load balancing method for the GSLB domain.
- FAILOVER: Performs routing based on the priorities of connected pools.
- RANDOM: Performs routing by randomly selecting an available pool among connected pools.
- GEOLOCATION: Routes the traffic of the configured region to the connected pool. When there is no configured region, performs routing based on the priorities of connected pools.
- TTL (seconds): Time to live, which indicates the validity period of the data. Enter the update cycle of the GSLB domain (in seconds). You can enter a value easily by clicking the buttons on the right.
- Status: Choose whether to activate the GSLB domain.
-
After completing the configuration, click Confirm.
-
There is a limit to the maximum number of GSLBs that can be created. If you want to raise the limit, please contact us.
- Contact: 1:1 Inquiry
Modify a GSLB
-
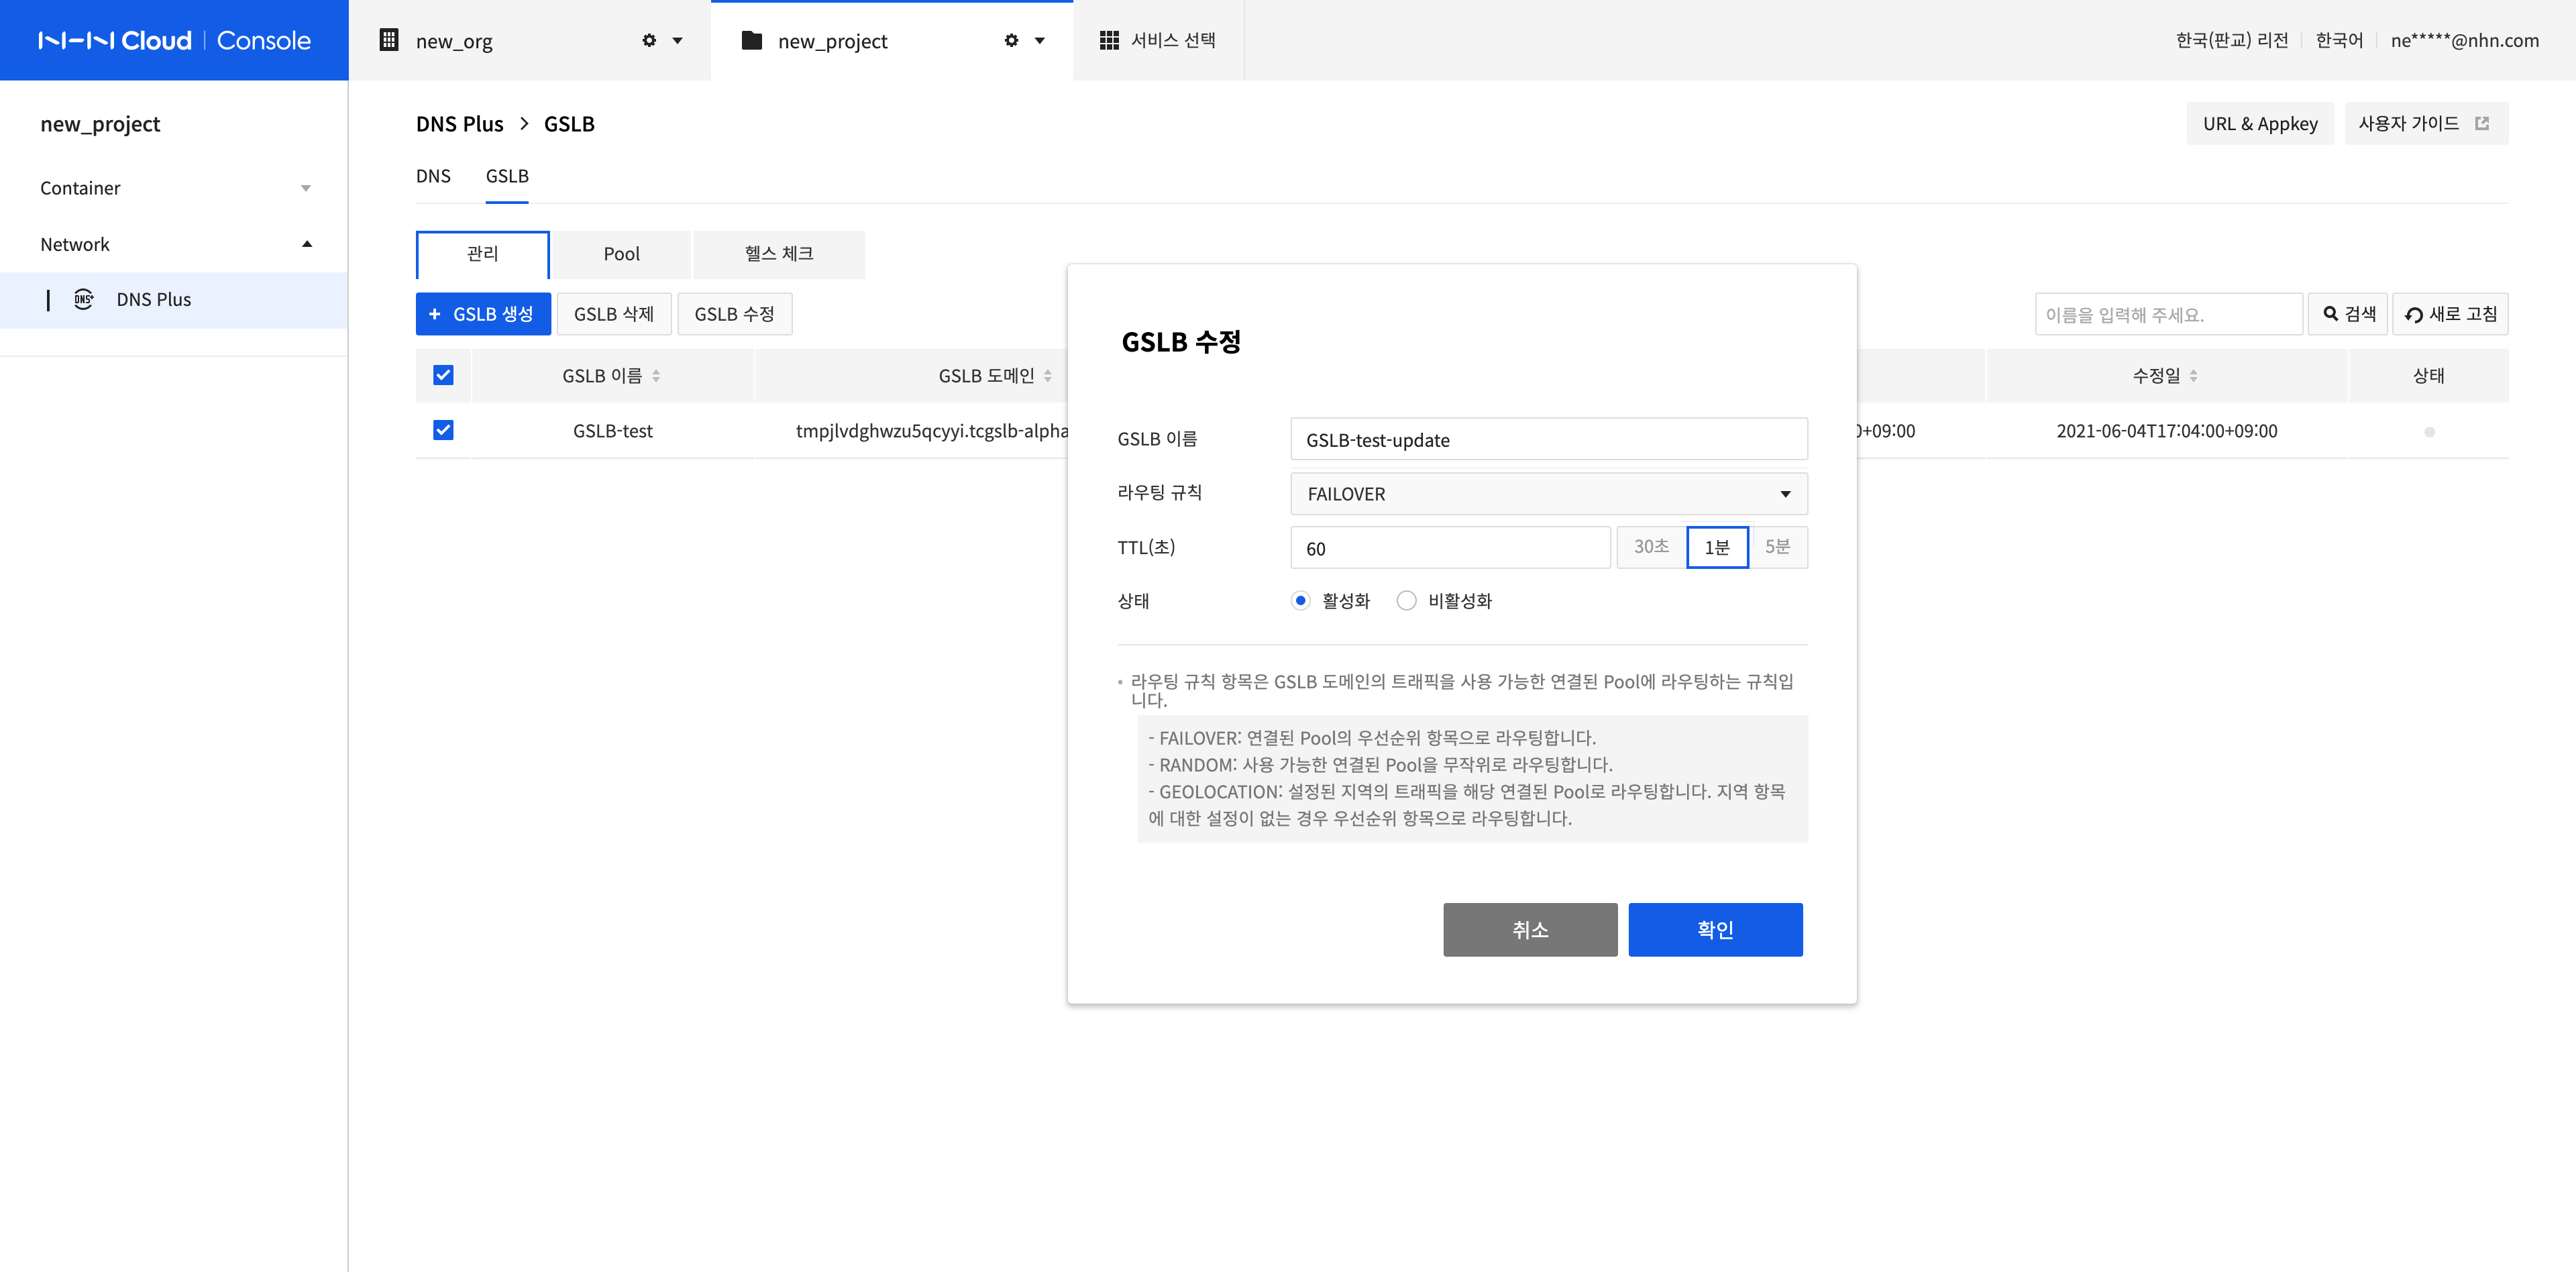
Selecting the GSLB to modify and click Modify GSLB.
-
Modify the GSLB Name, Routing Rule, TTL (seconds), and Status, and click Confirm.
Delete GSLBs
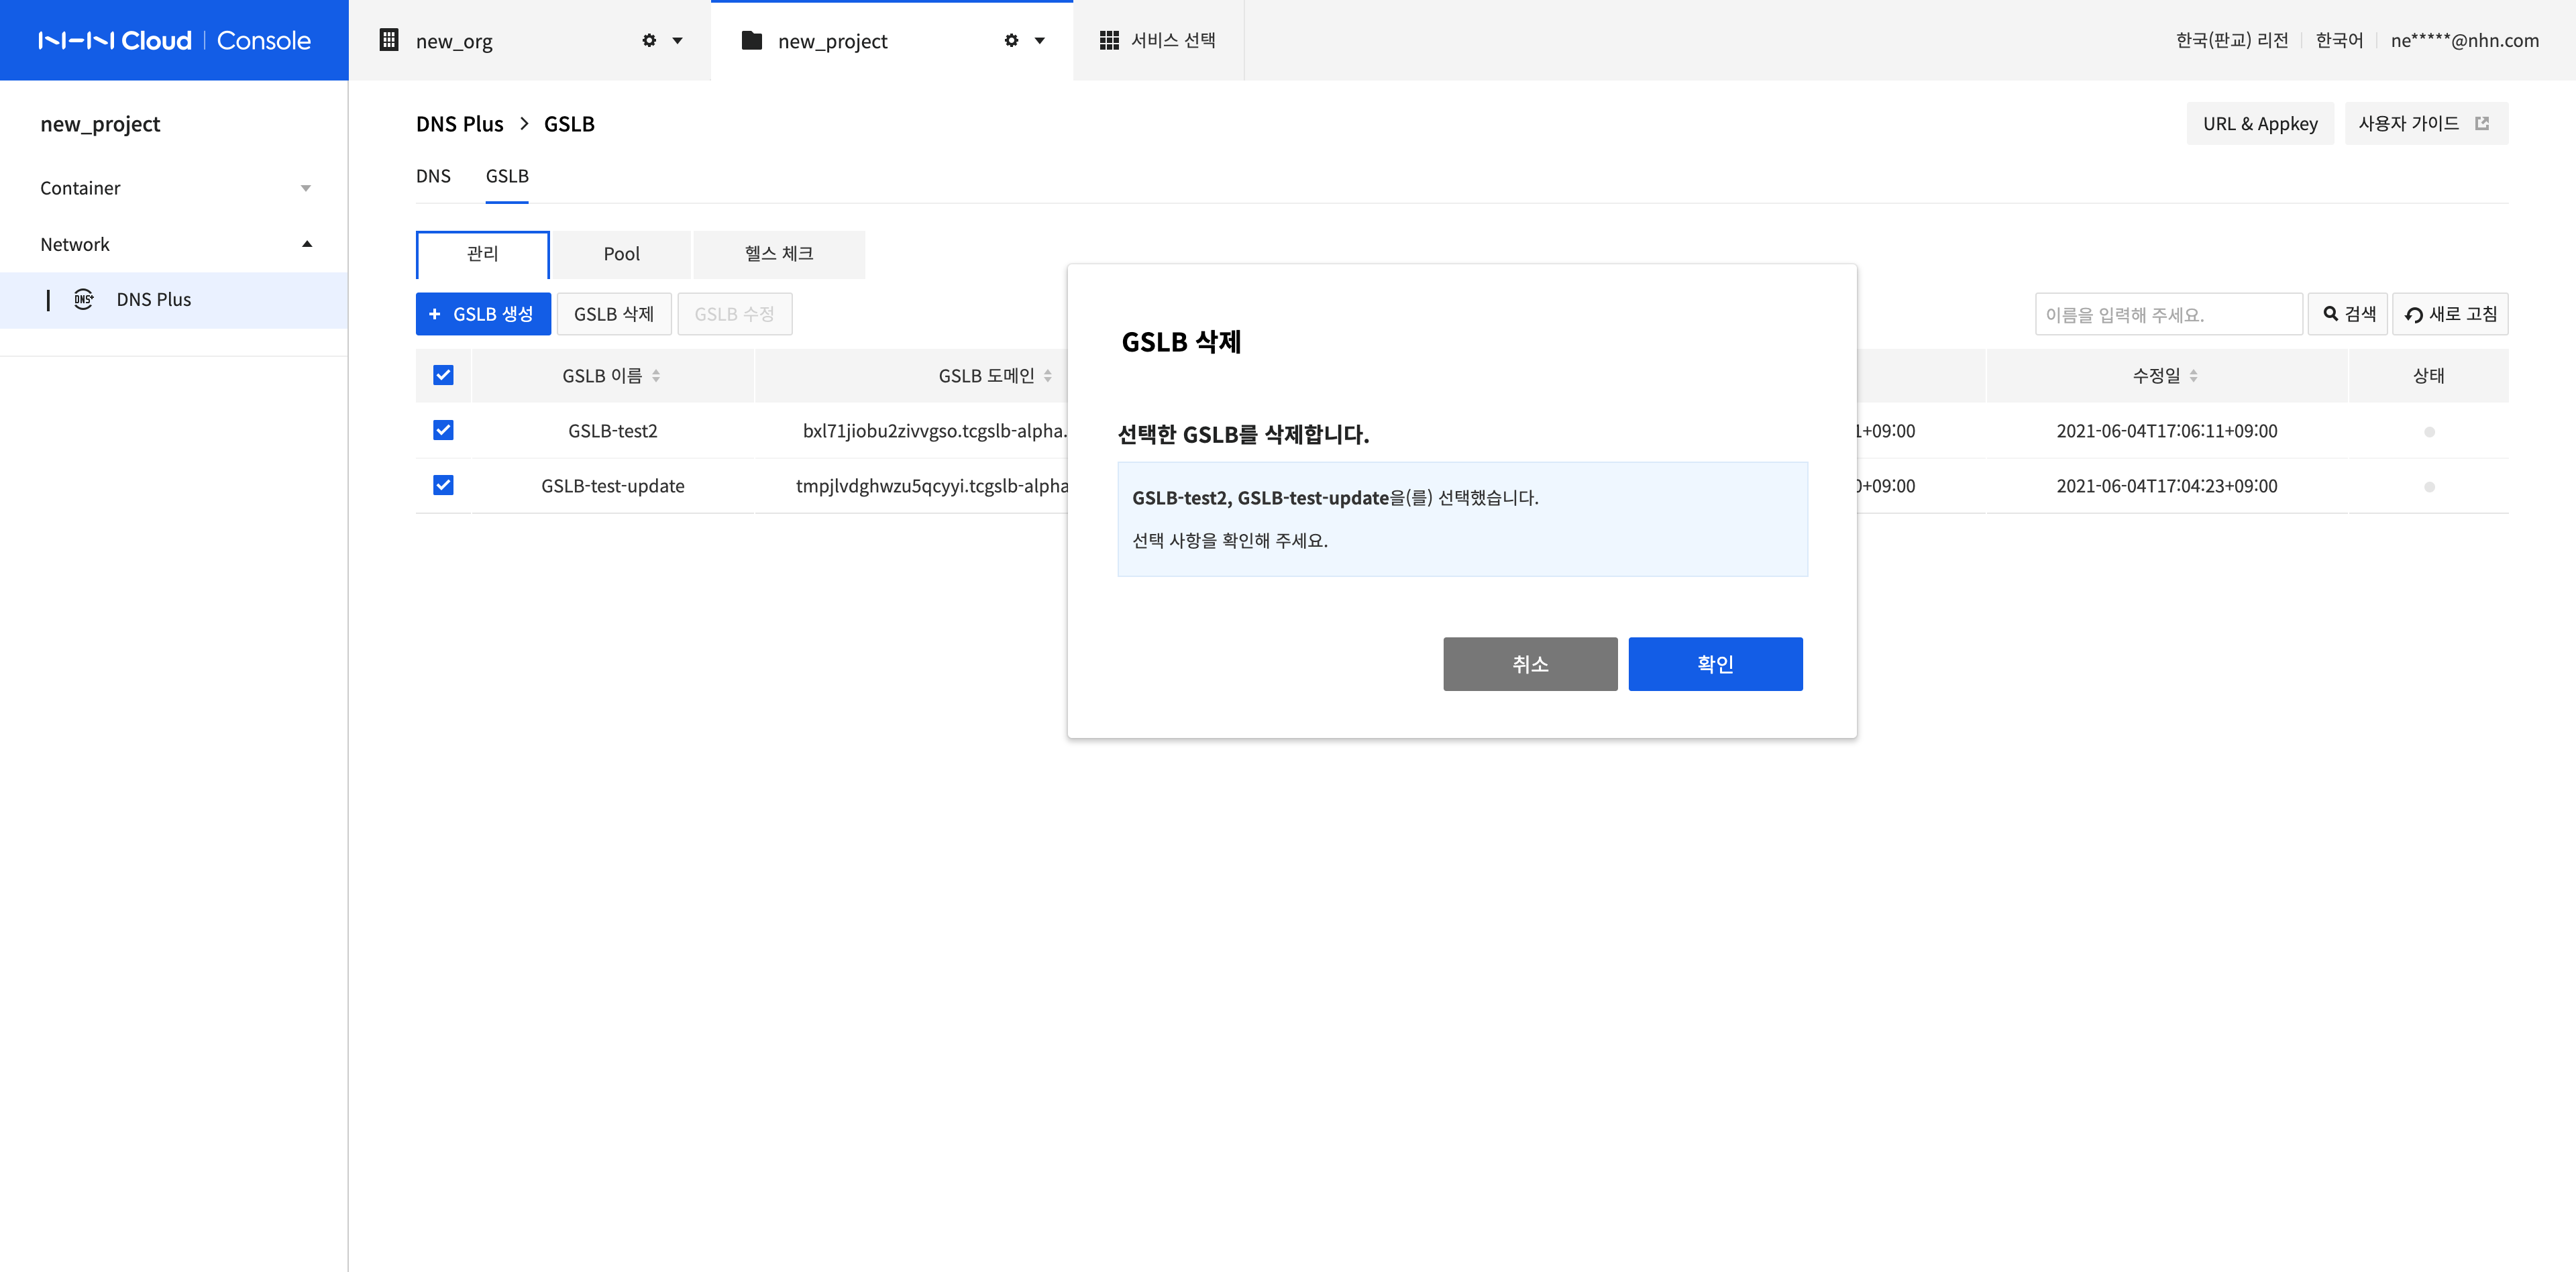
Selecting all the GSLBs to delete, click Delete GSLB, and click Confirm in the Delete GSLB dialog box.
Connect a Pool
Configure a pool to connect to GSLB.
-
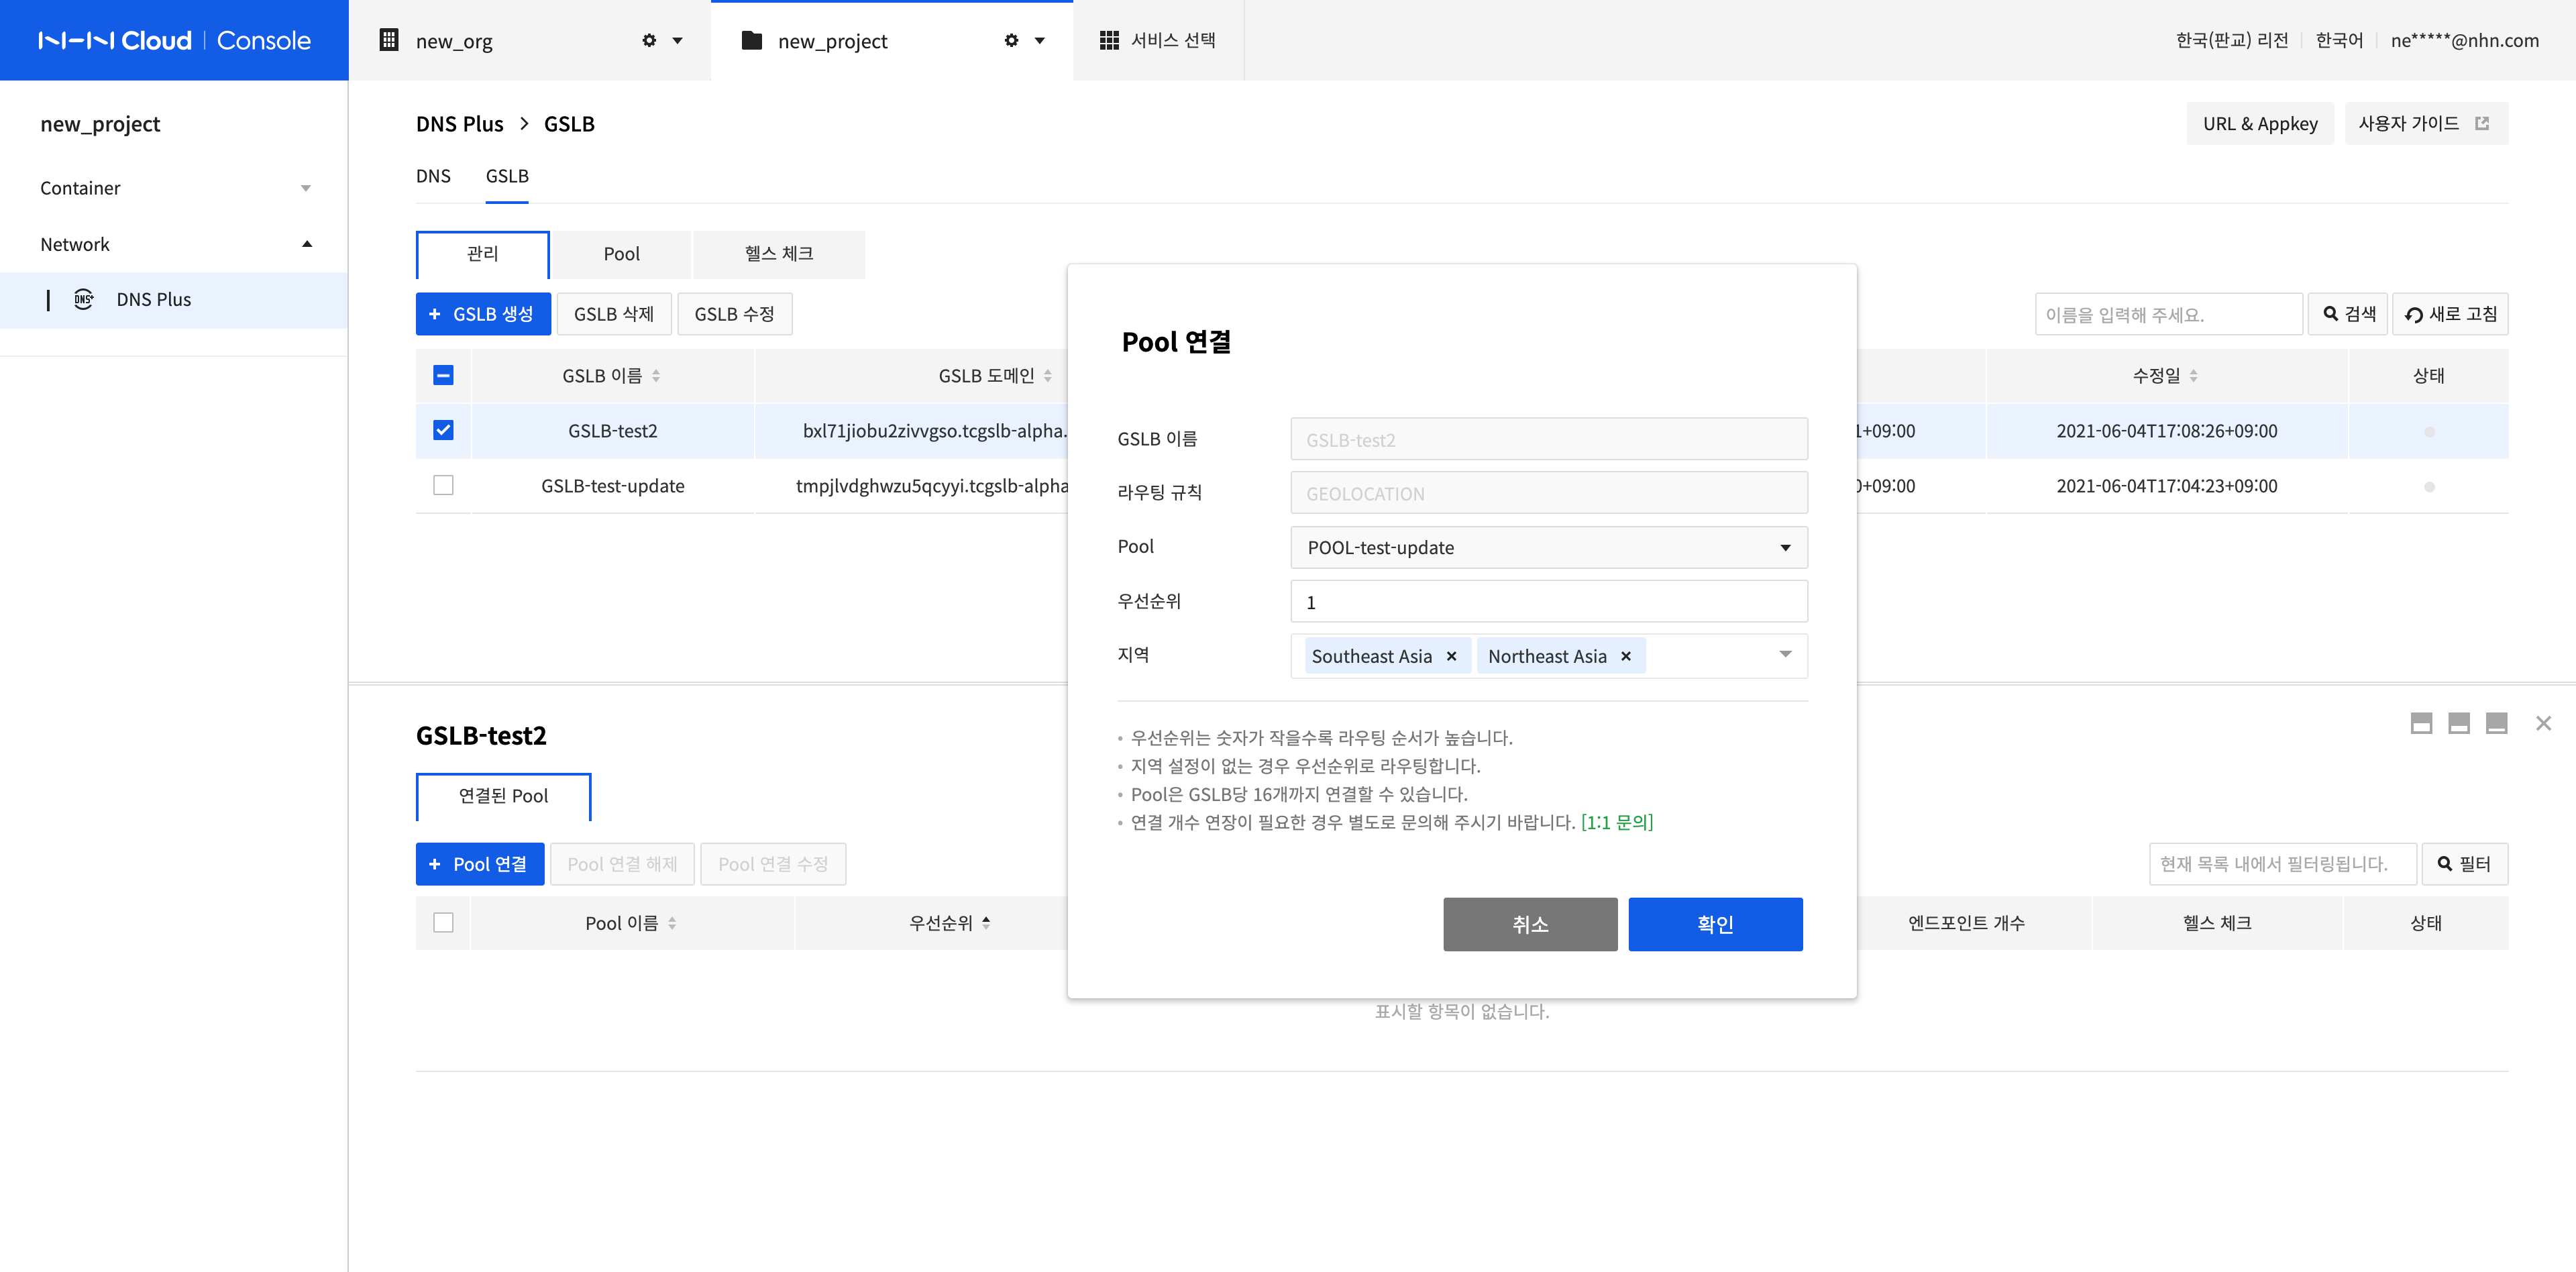
Click Connect Pool.
-
In the Connect Pool dialog box, select a pool to connect to and enter the setting information according to the routing rule.
- Priority: The smaller the number, the higher the routing order. If the same priority as the previously connected pool is entered, the routing order of the existing pool is lowered. Set when the routing rule is FAILOVER or GEOLOCATION.
- Region: Routes traffic of the configured region to the connected pool. Set when the routing rule is GEOLOCATION.
Example: If a pool is connected to GSLB as shown in the table below
- In case of FAILOVER, it will be routed to Pool-A.
- In case of GEOLOCATION, if the client is in the Northeast Asia region, it will be routed to Pool-B.
- In case of GEOLOCATION, if the client is in the Western North America region, it is routed to Pool-C.
- In case of GEOLOCATION, if the client is in the Western Europe region, it is routed to Pool-A by priority because there is no configure region.
Pool name Priority Region Pool-A 1 Pool-B 2 Northeast Asia, Southeast Asia Pool-C 3 Western North America -
Click Confirm.
-
There is a limit to the maximum number of pools that can be connected. If you want to raise the limit, please contact us.
- Contact: 1:1 Inquiry
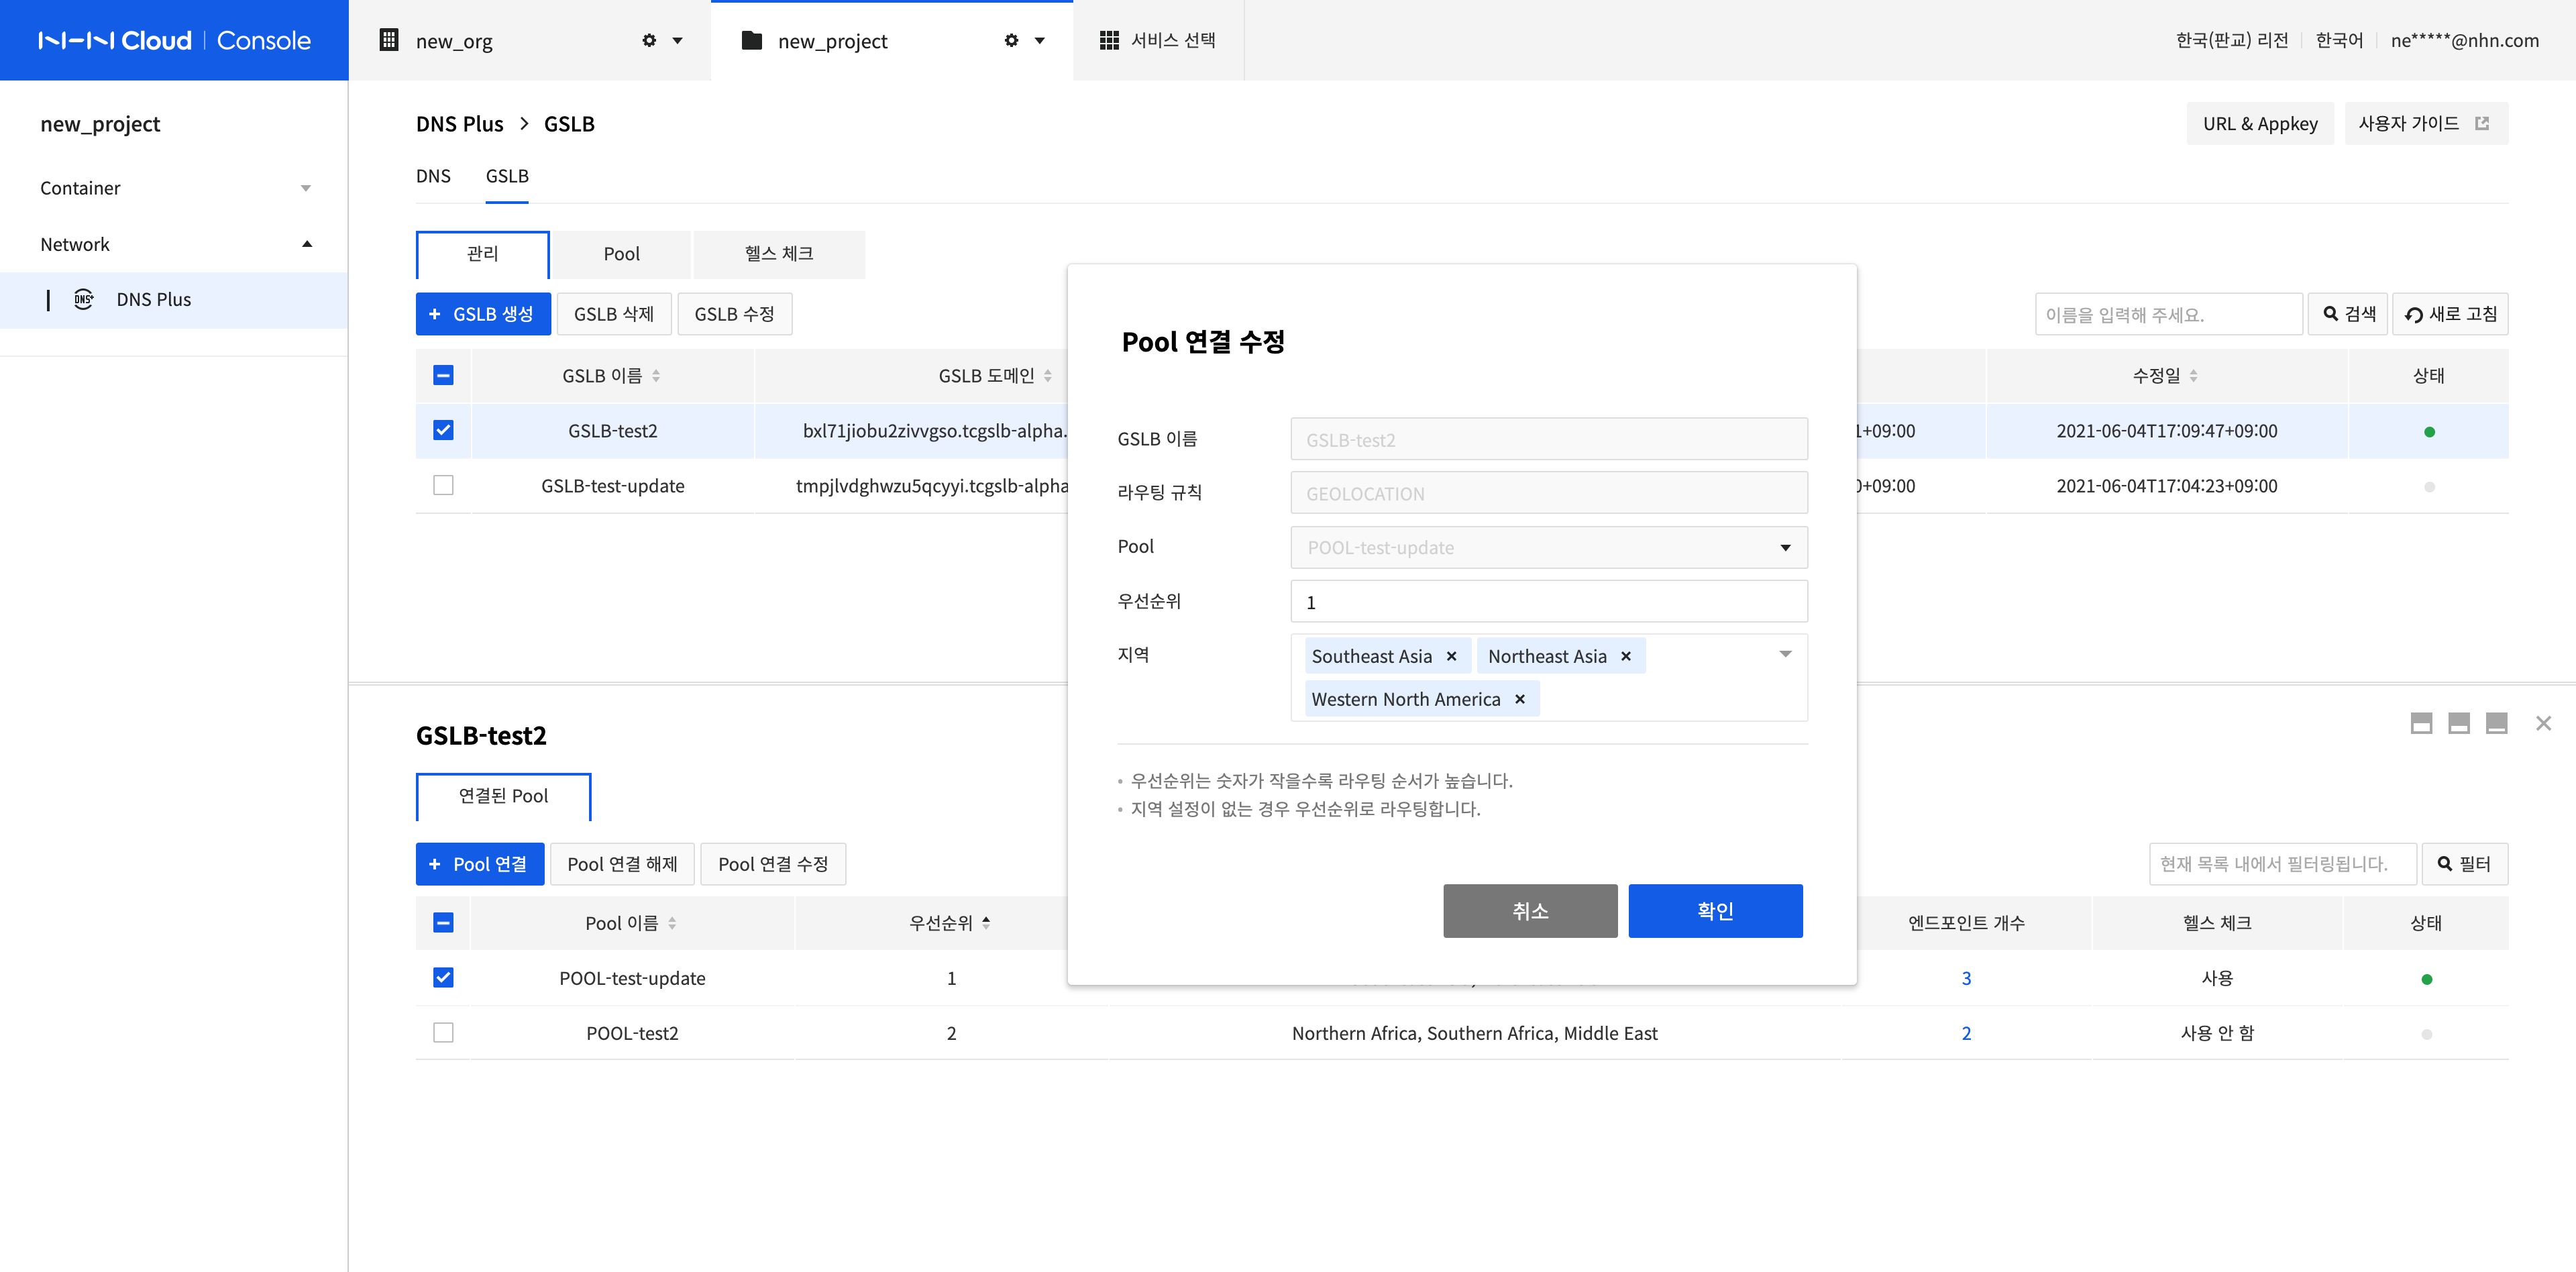
Modify Pool Connection
-
Select the pool to modify and click Modify Pool Connection.
-
Pool cannot be modified, but the configuration information can be modified according to the routing rule.
-
Click Confirm.
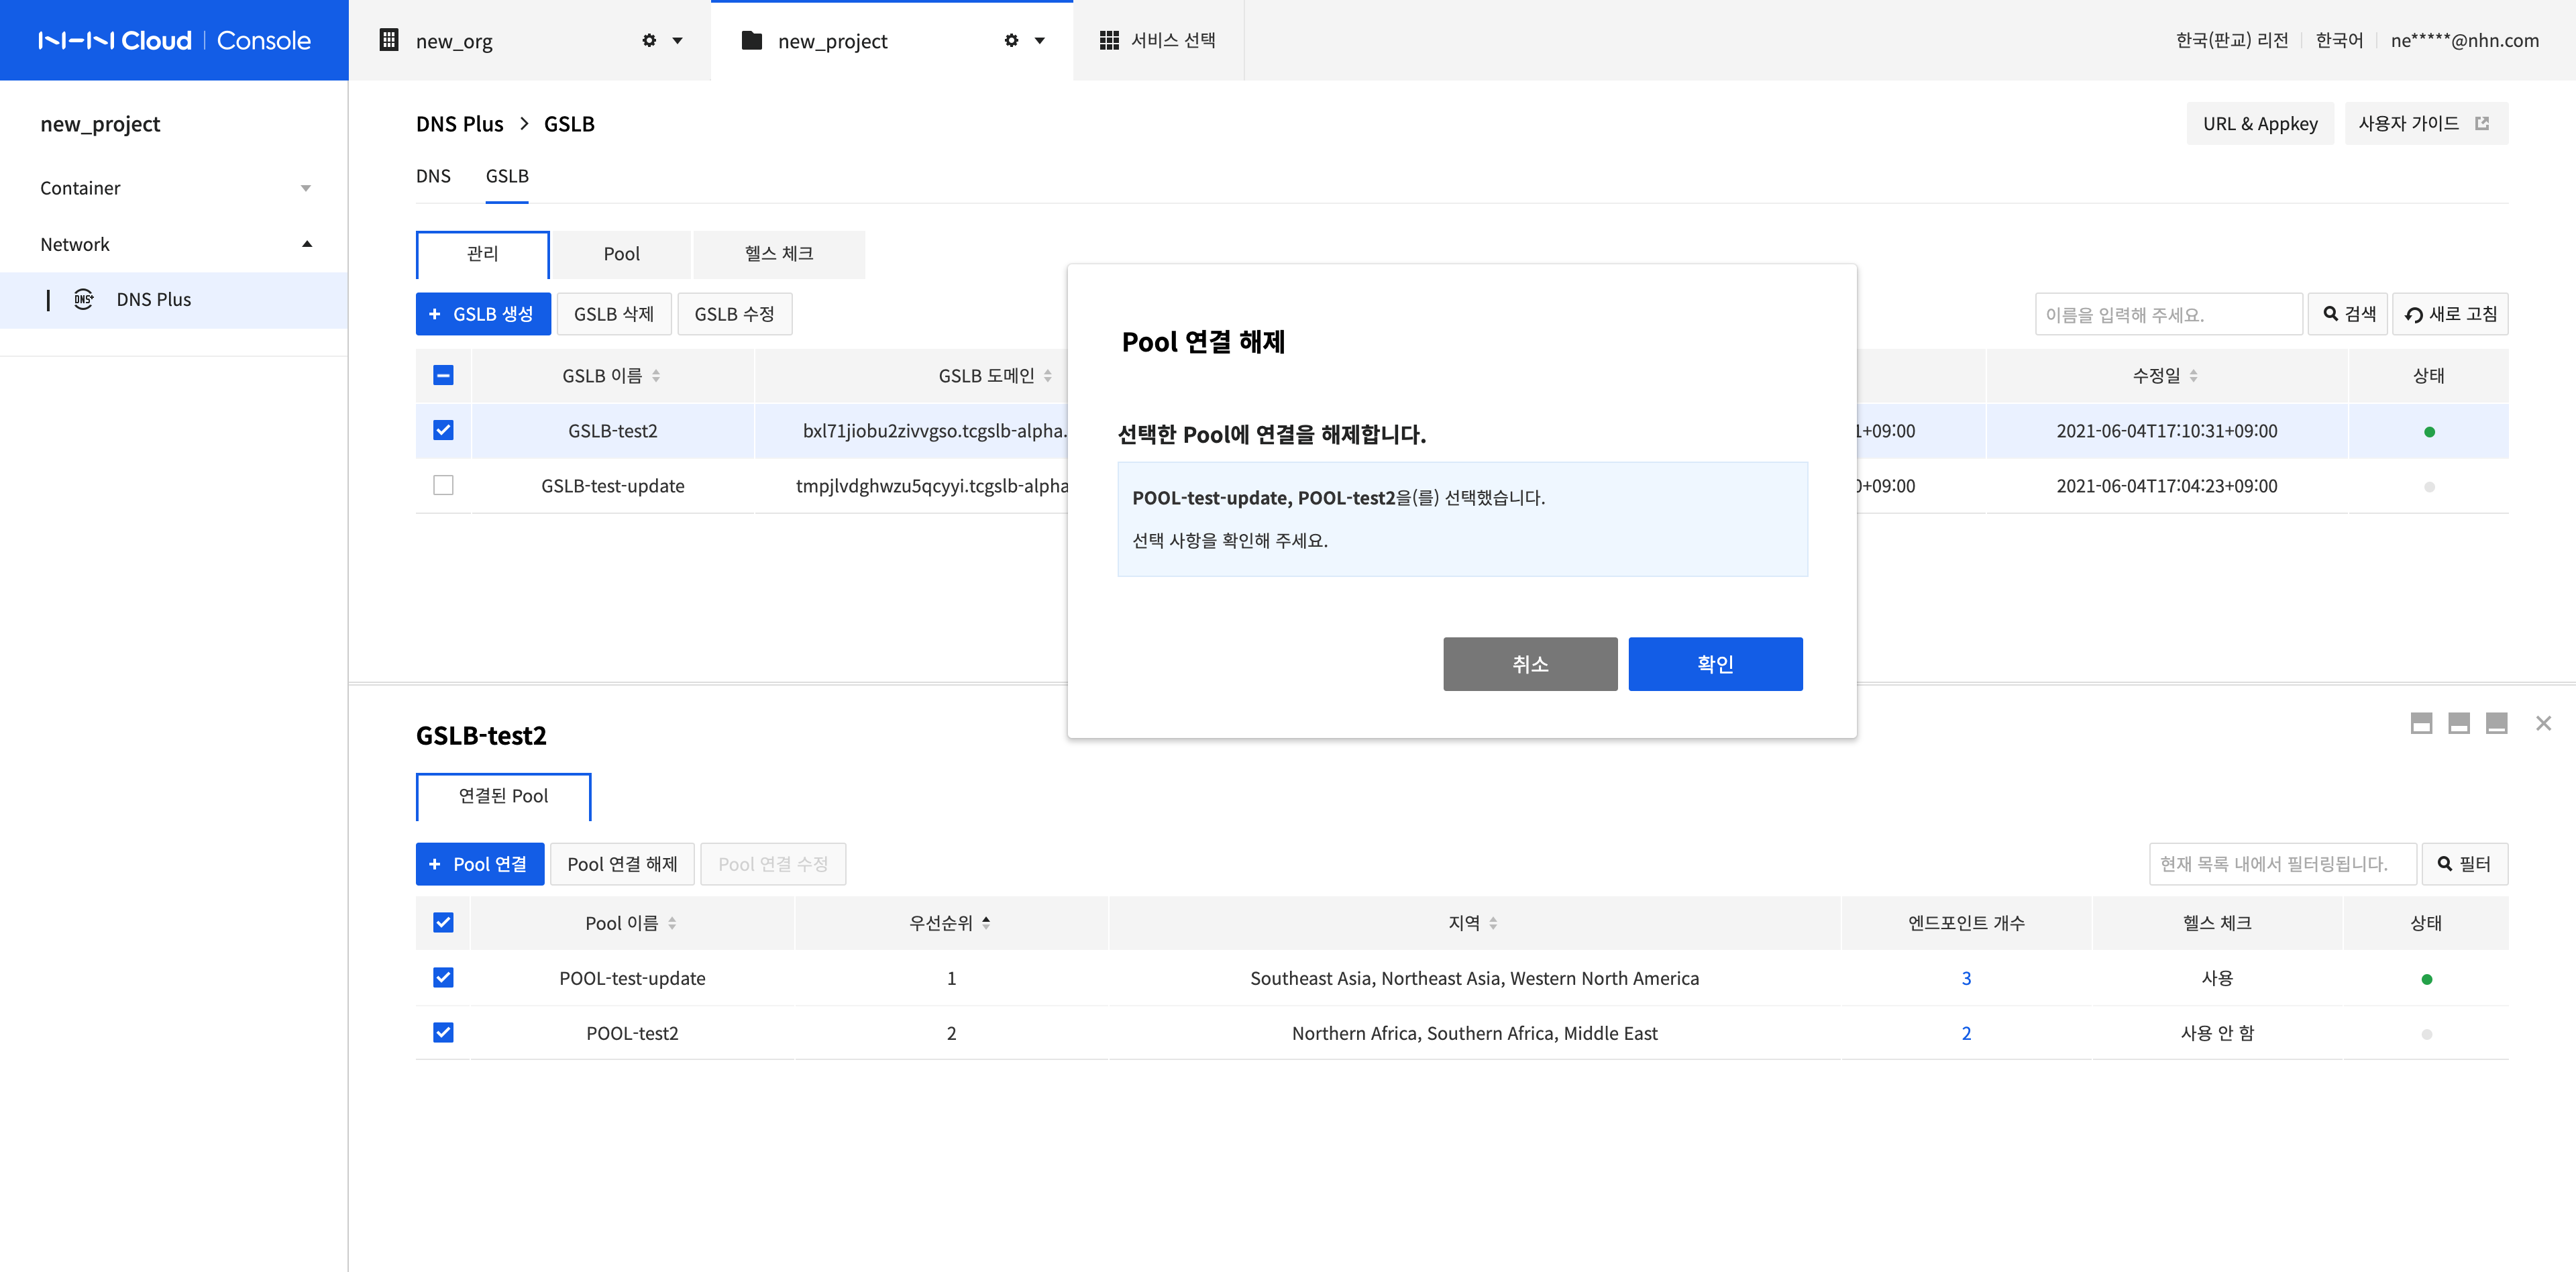
Disconnect Pools
-
Select all pools to disconnect and click Disconnect Pools.
-
Click Confirm.
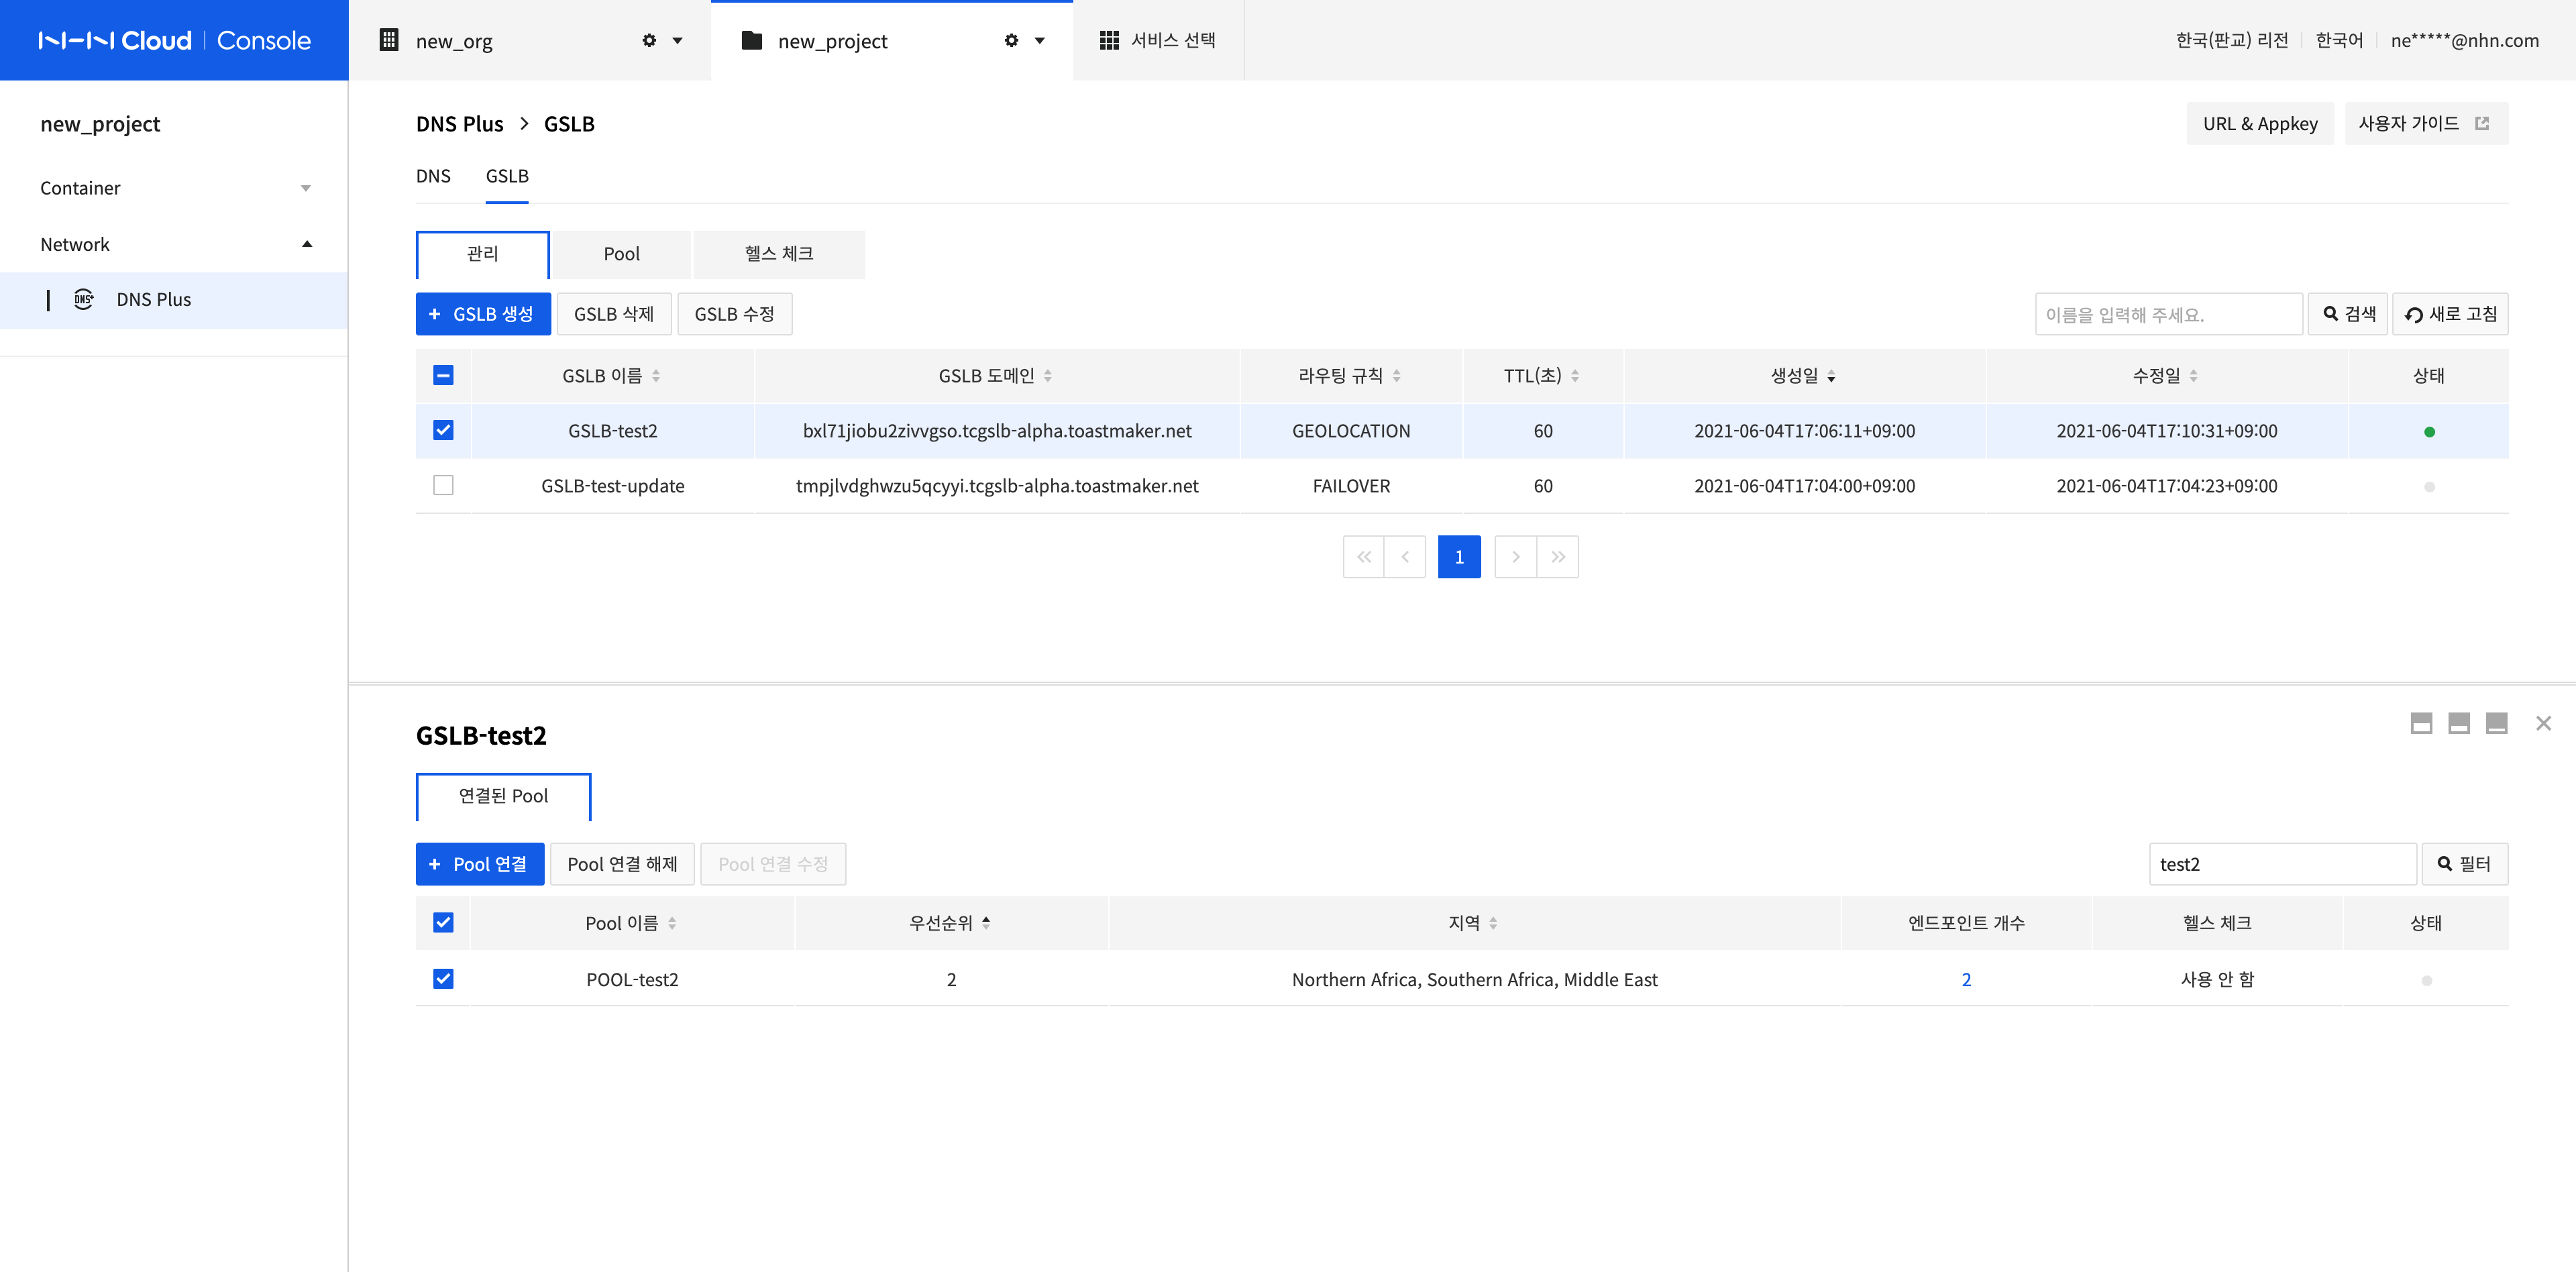
Search GSLB and View Results
You can search for the GSLB that you want by name.
-
Enter a search term in the search bar on the upper right side and click Search or press Enter. All values including the search term are displayed as results.
-
If you enter a search term in the connected pool list, the search is performed within the current list.
- All pools that contain the search term in Pool Name, Priority, and Region are searched and displayed.
-
The GSLB status is displayed according to the rules below, and the status of the Pool is displayed for the connected pool.
| GSLB Status | GSLB Enabled/Disabled | Pool Status |
|---|---|---|
| Normal (green) | Enabled | 1 or more pools in normal status |
| Error (red) | Enabled | No normal status and 1 or more pools in error status |
| Unknown (gray) | Enabled | All in disabled or unknown status, A status where there is no connected pool |
| Disabled (Gray) | Disabled | Unrelated |
Manage Pools and Endpoints
On the GSLB screen of the menu, you can manage pools and endpoints of the selected pools.
Create a Pool
-
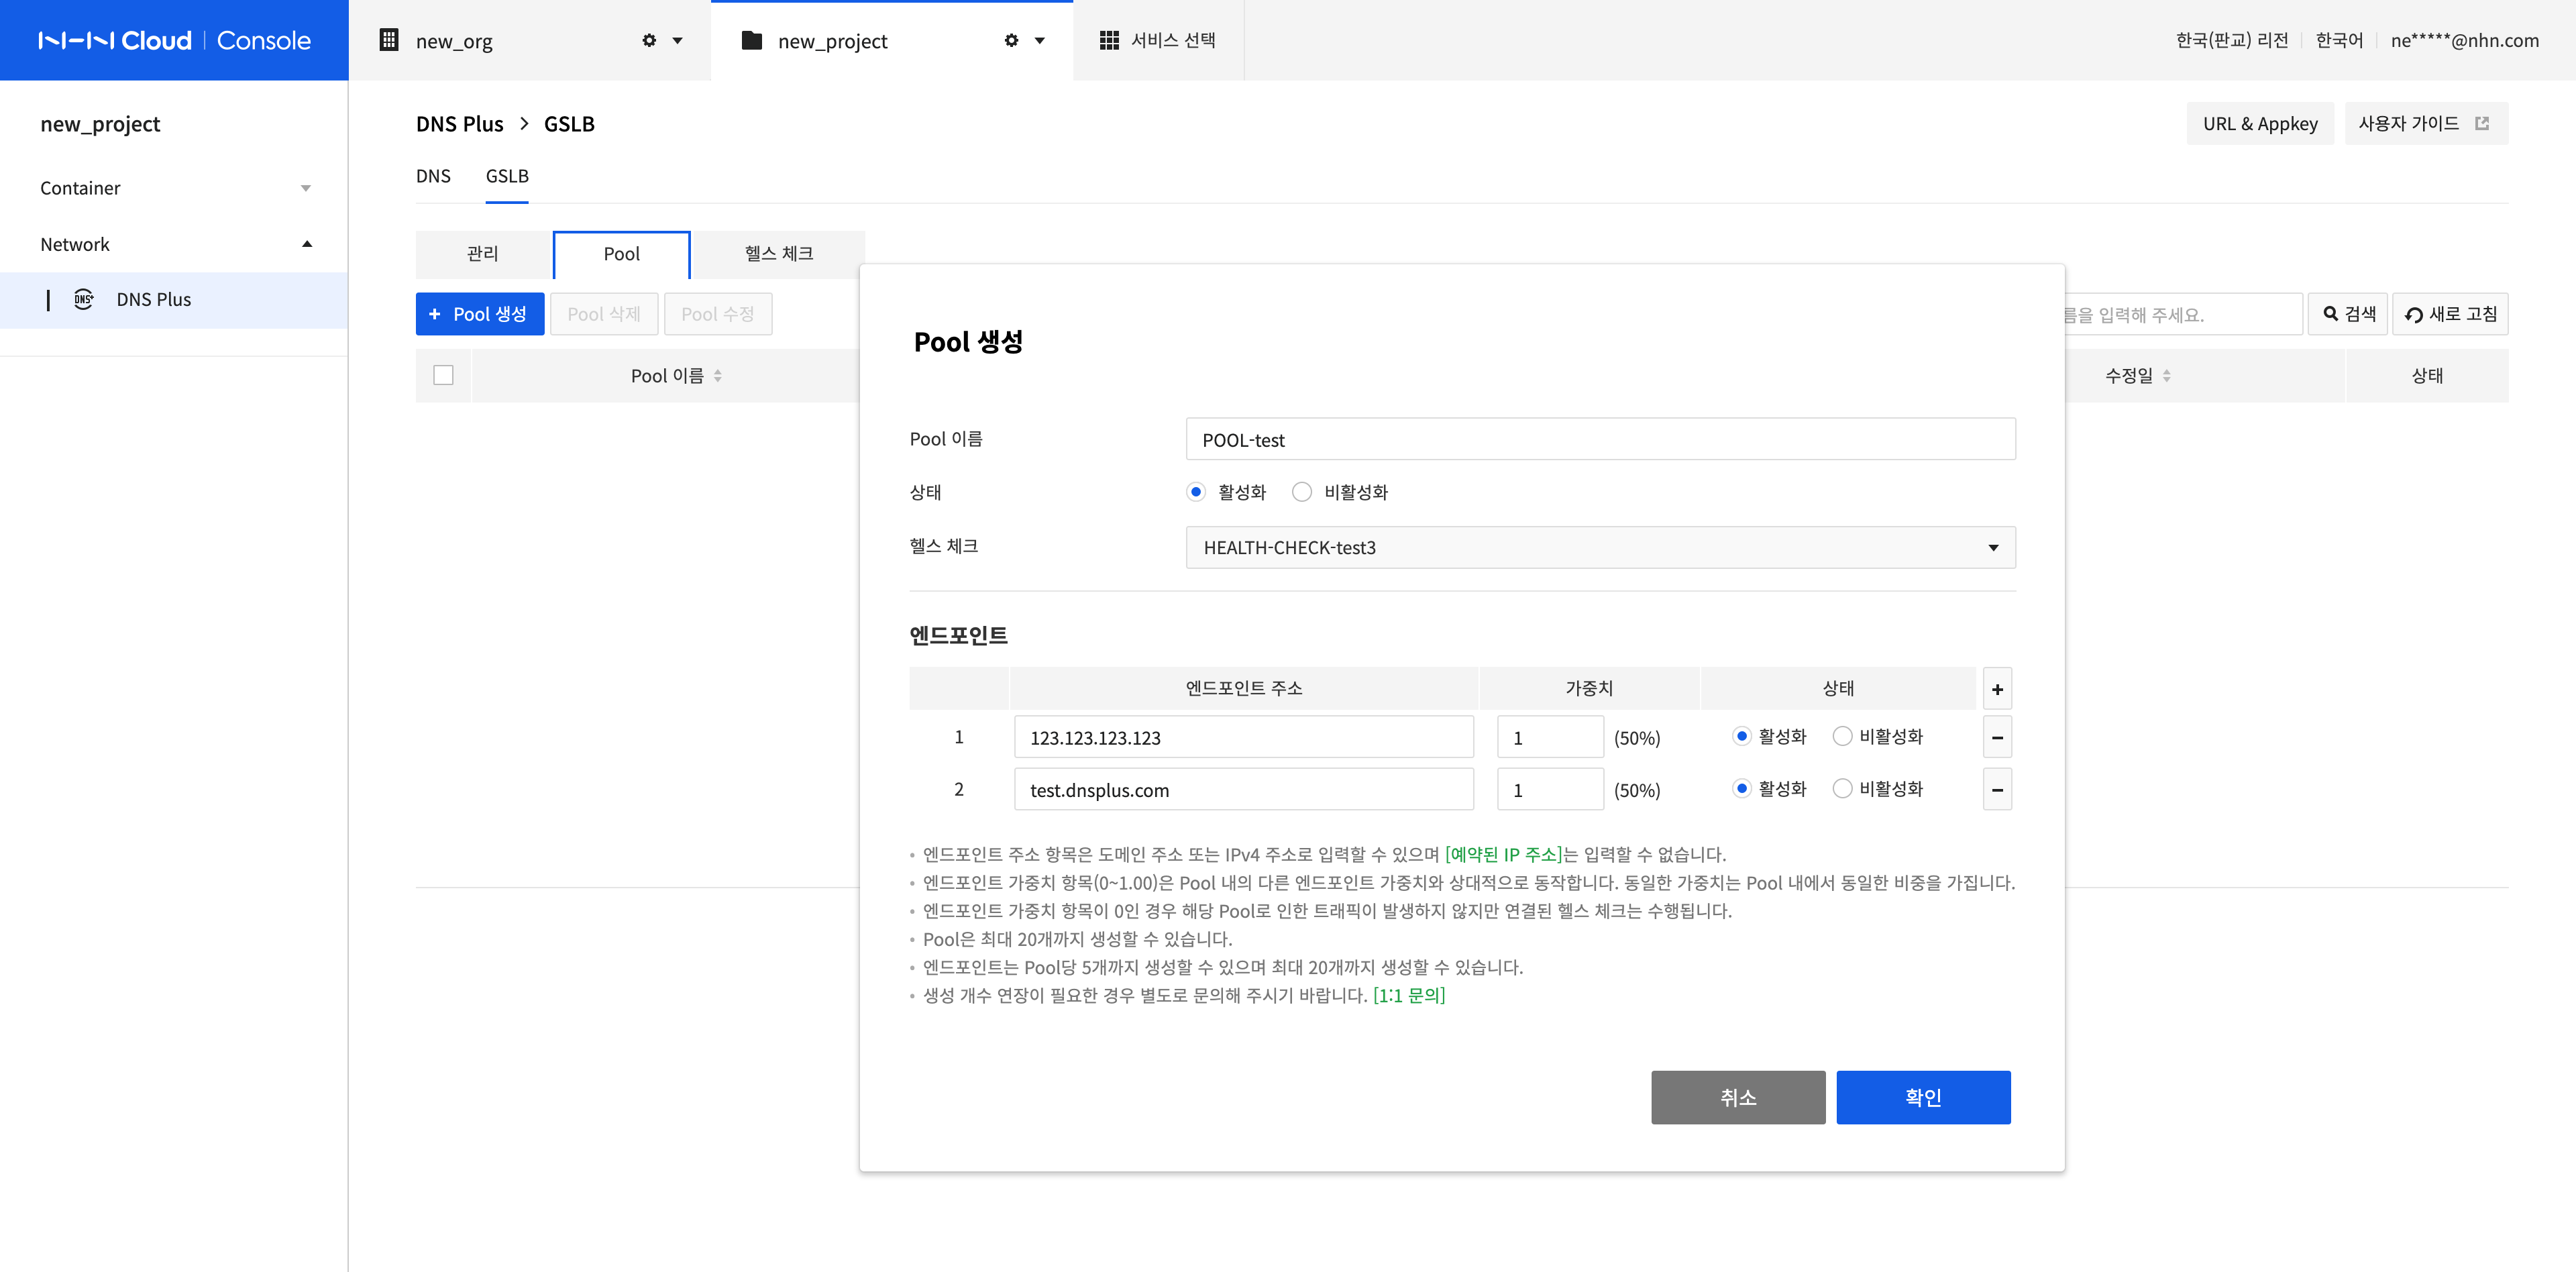
A pool is a component that groups endpoints, which is the smallest unit to which the routing rule is applied. Click Create Pool to create a pool.
-
Enter the Pool information.
- Pool Name: Name of the pool to be created. Uppercase and lowercase letters, numbers, and '-' and '_' are allowed.
- Status: Select whether to activate the pool.
- Health Check: You can select a health check to check the accessibility of endpoints in the pool.
-
Enter the Endpoint information.
- You can enter multiple endpoints. You can add an endpoint by clicking the + button on the right side of the screen, and remove an endpoint by clicking the - button of the added endpoint.
- Endpoint Address: A domain address or IPv4 address can be entered, but a reserved IP address cannot be entered. Endpoint addresses cannot be duplicated within a pool.
- Weight: 0~1.00 can be entered, and the value is applied relative to other endpoint weights in the pool. Equal weights have the same priority within the pool.
- Status: Choose whether to activate the endpoint.
-
After completing the configuration, click Confirm.
-
There are limits to the maximum number of pools that can be created, the maximum number of endpoints in a pool, and the maximum total number of endpoints. If you want to raise the limits, please contact us.
-
Contact: 1:1 Inquiry
Modify a Pool
-
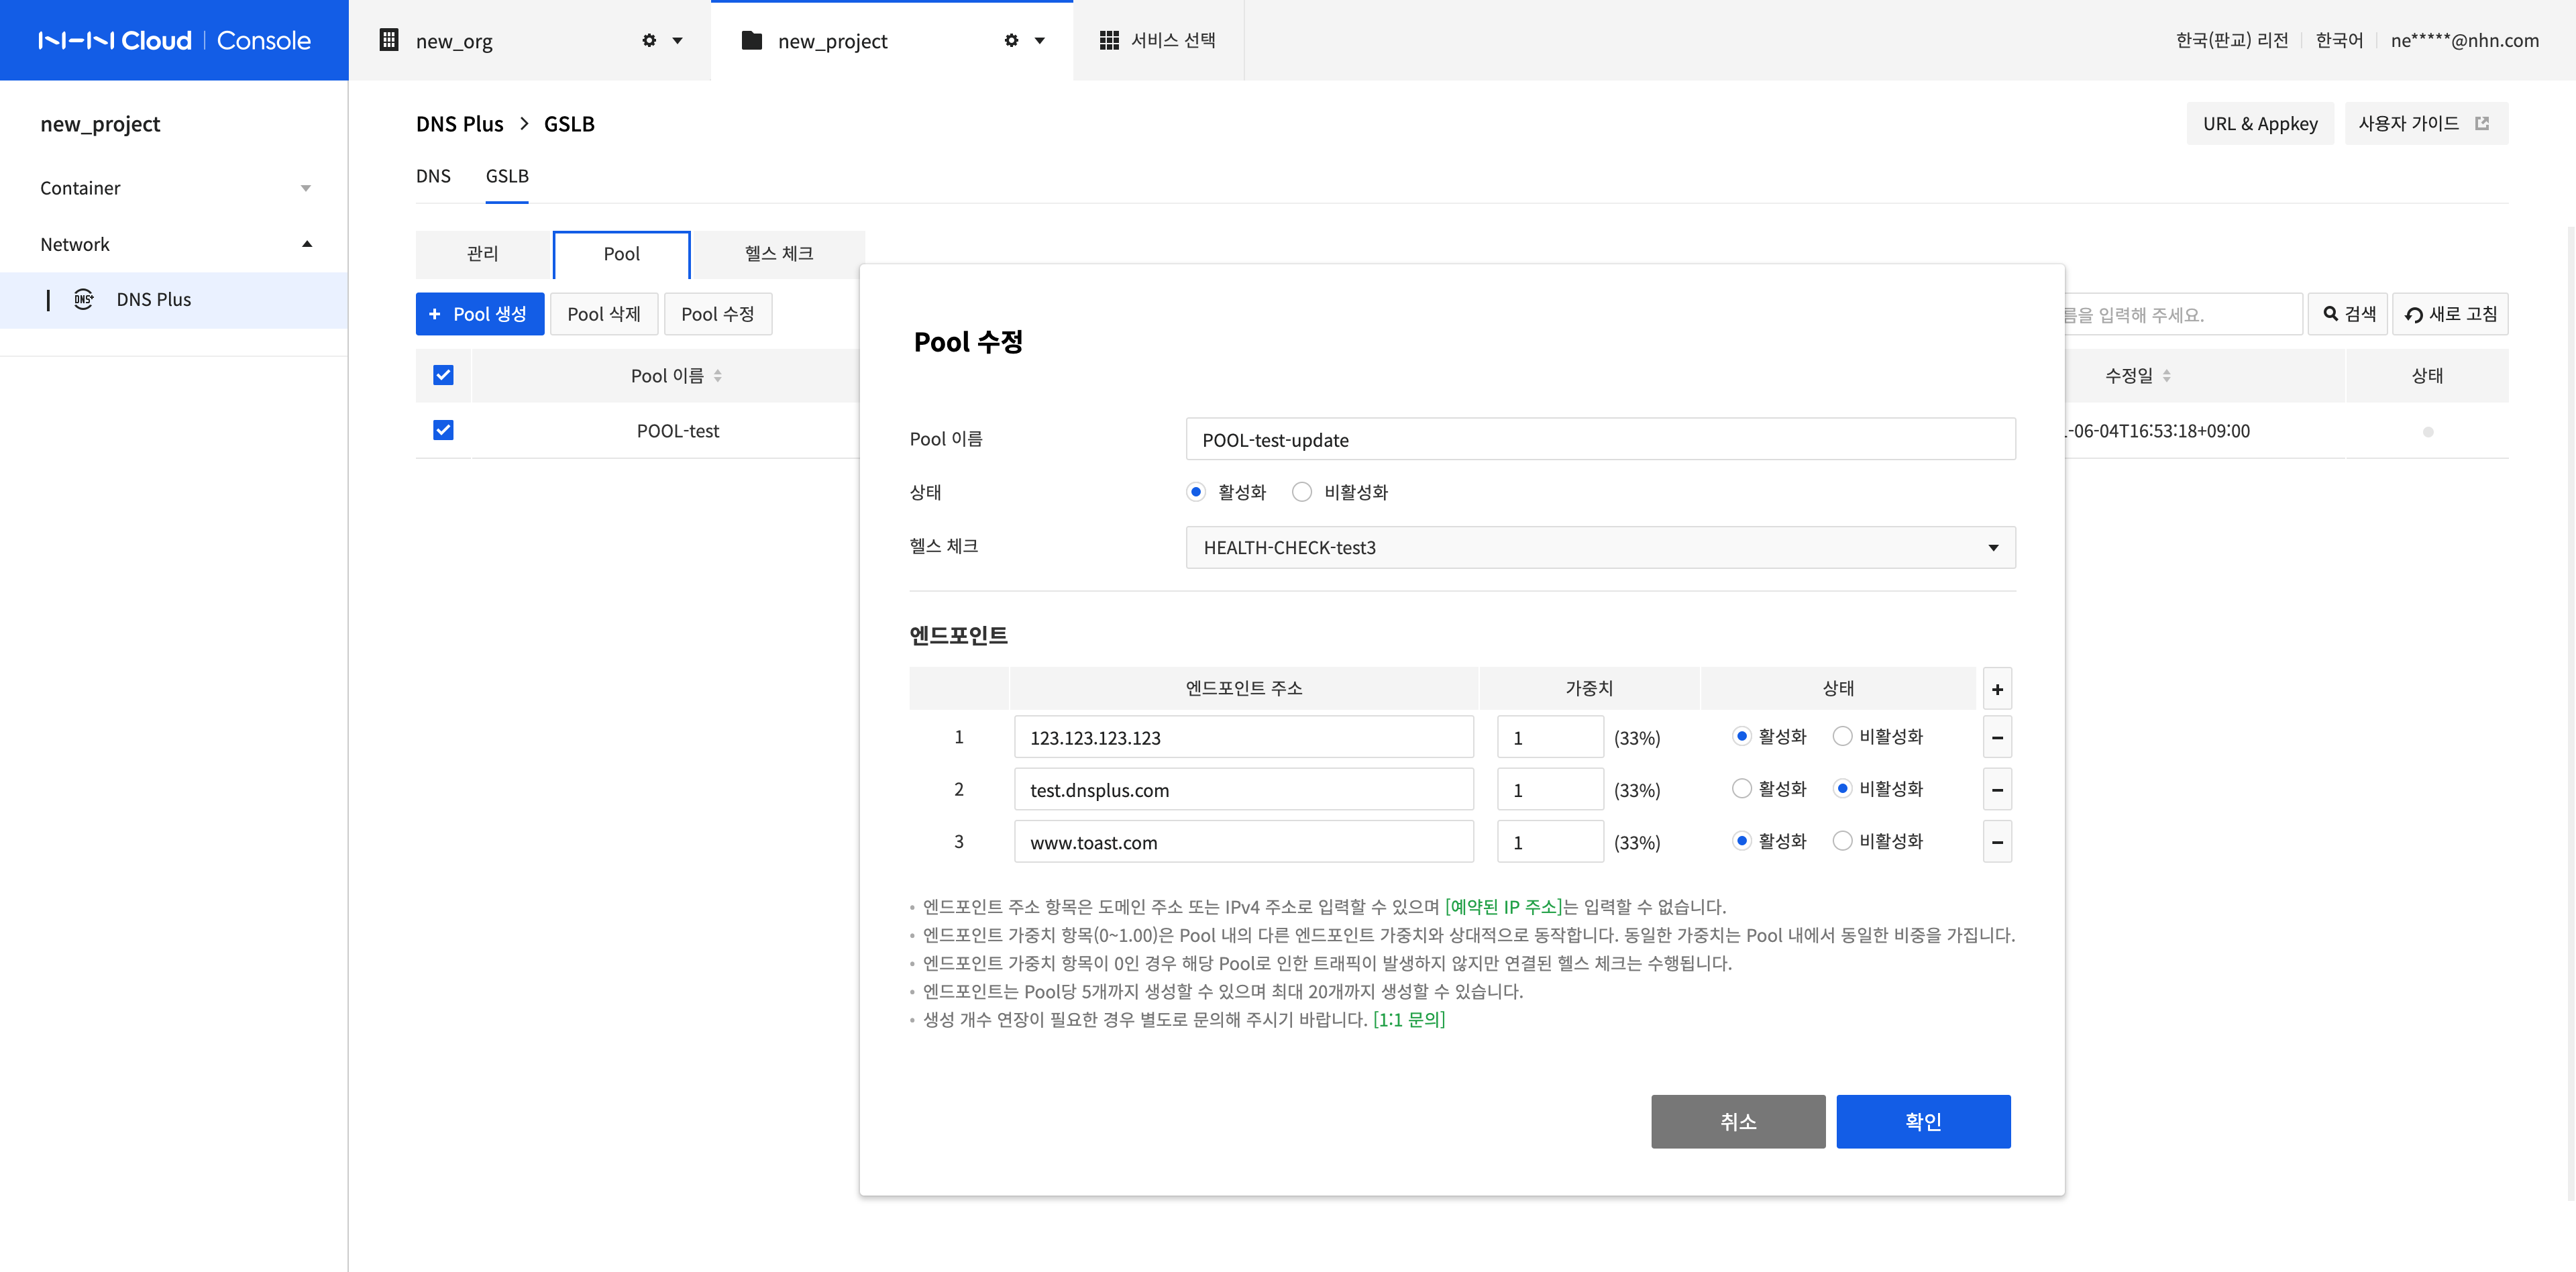
Select the pool to modify and click Modify Pool.
-
Modify Pool Name, Status, Health Check, and Endpoint.
-
After completing the configuration, click Confirm.
Delete Pools
-
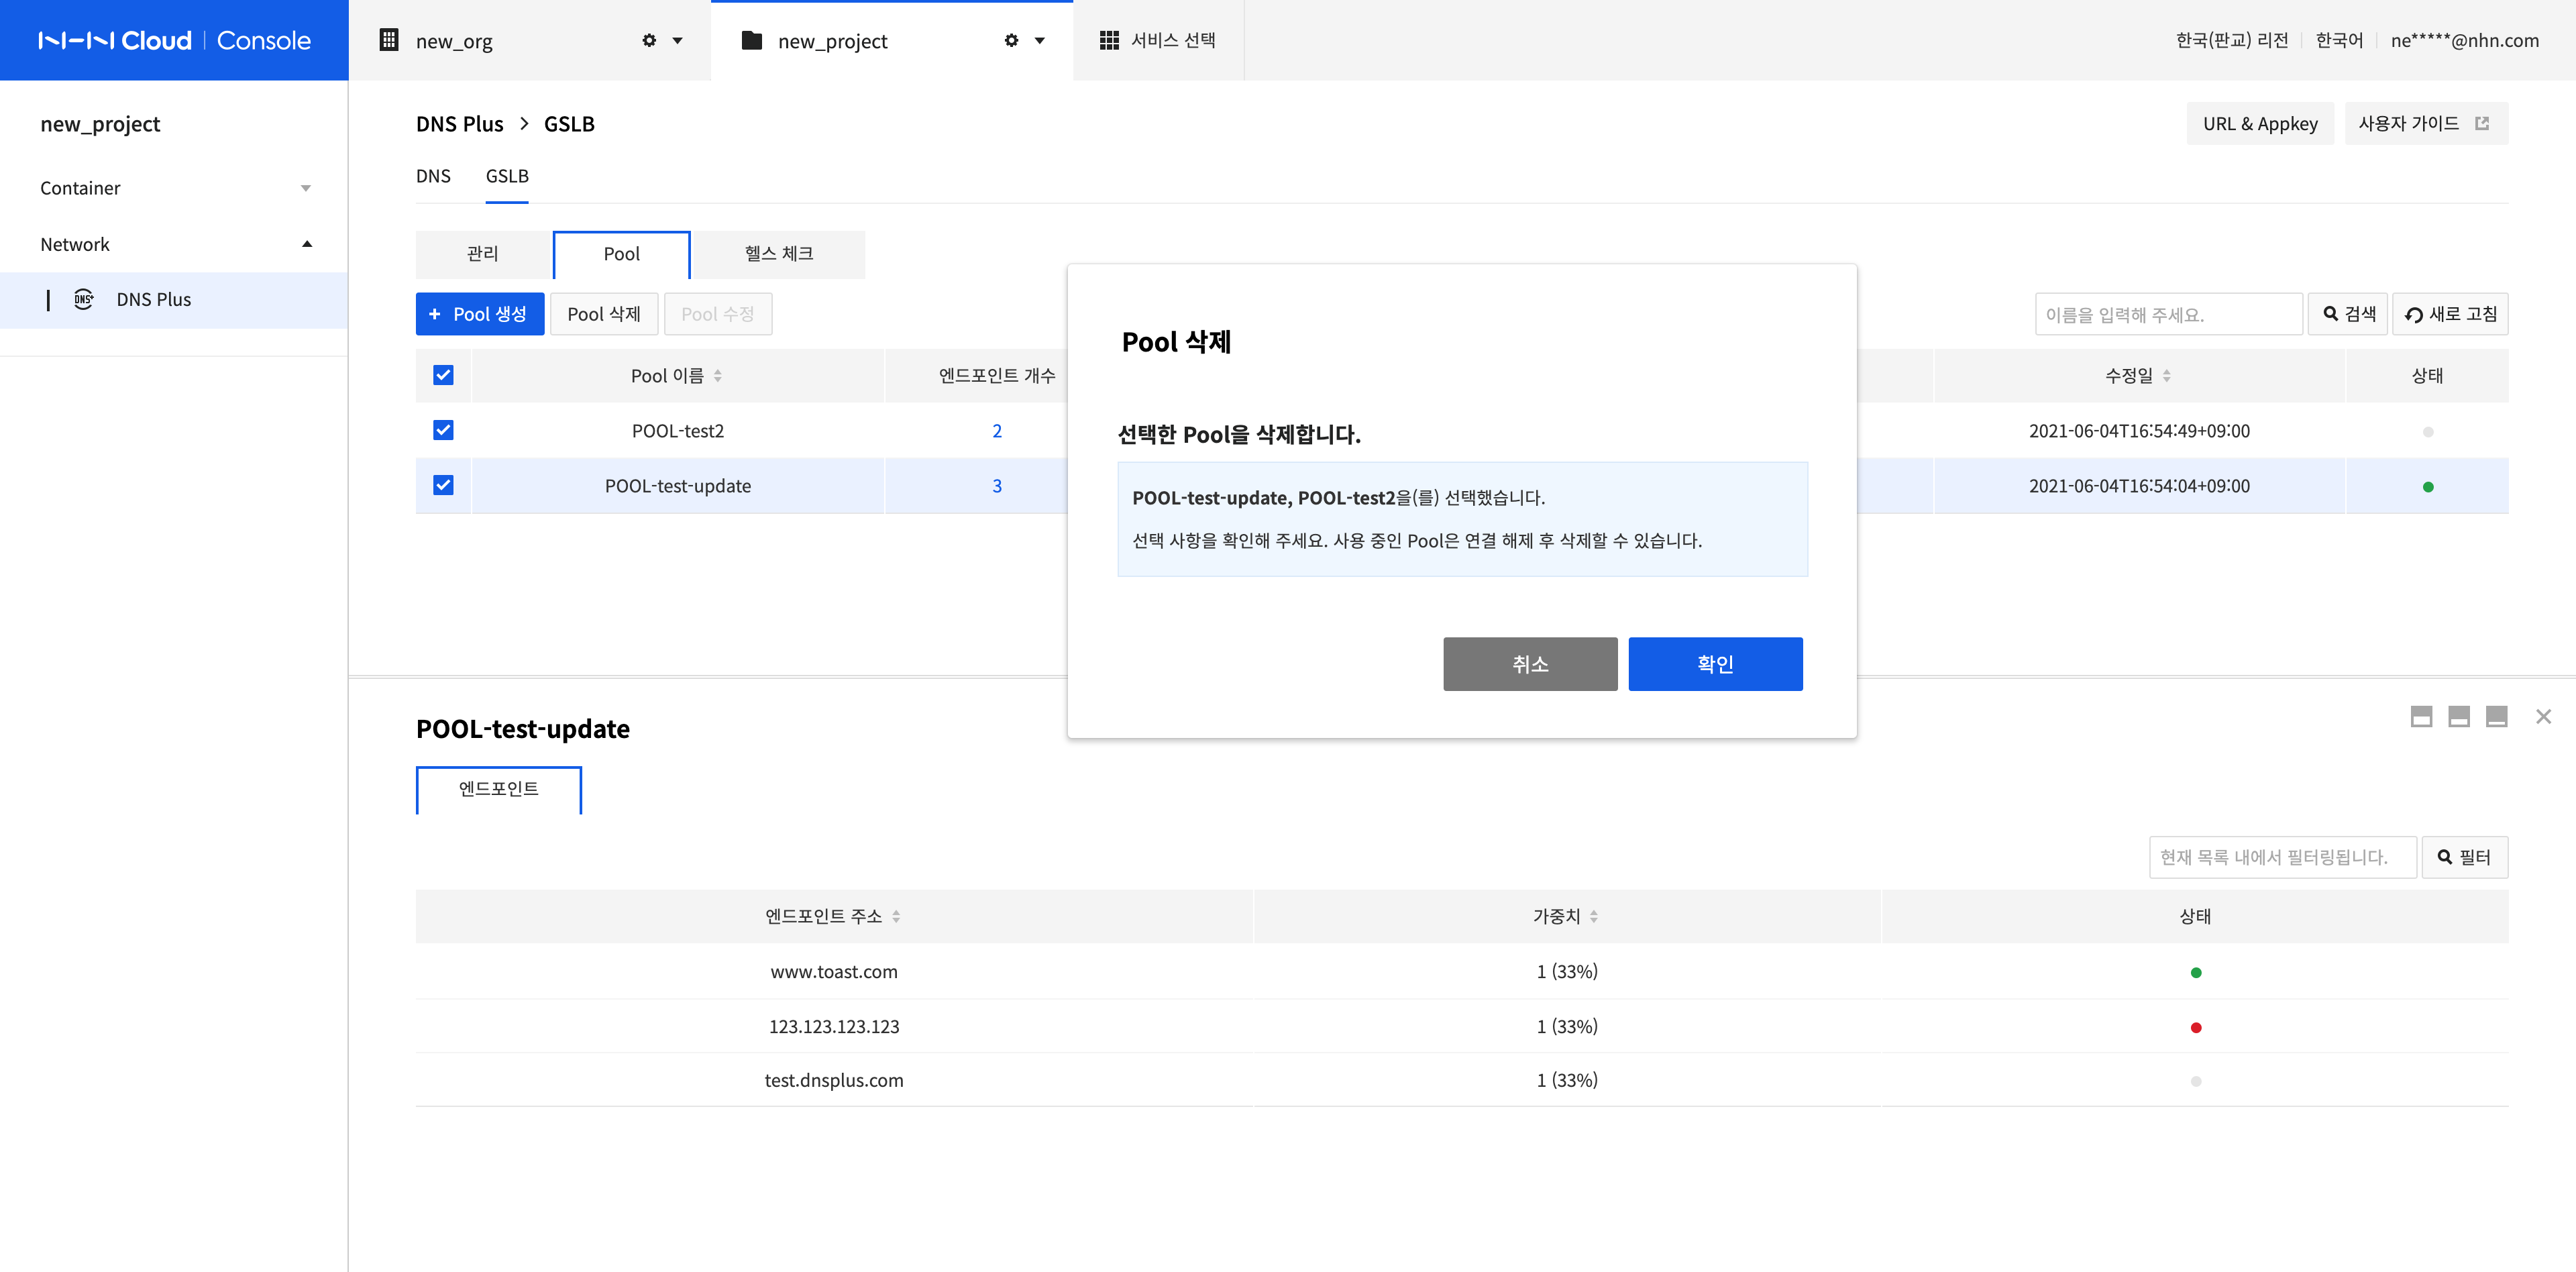
Select all pools to delete and click Delete Pool.
-
Click Confirm.
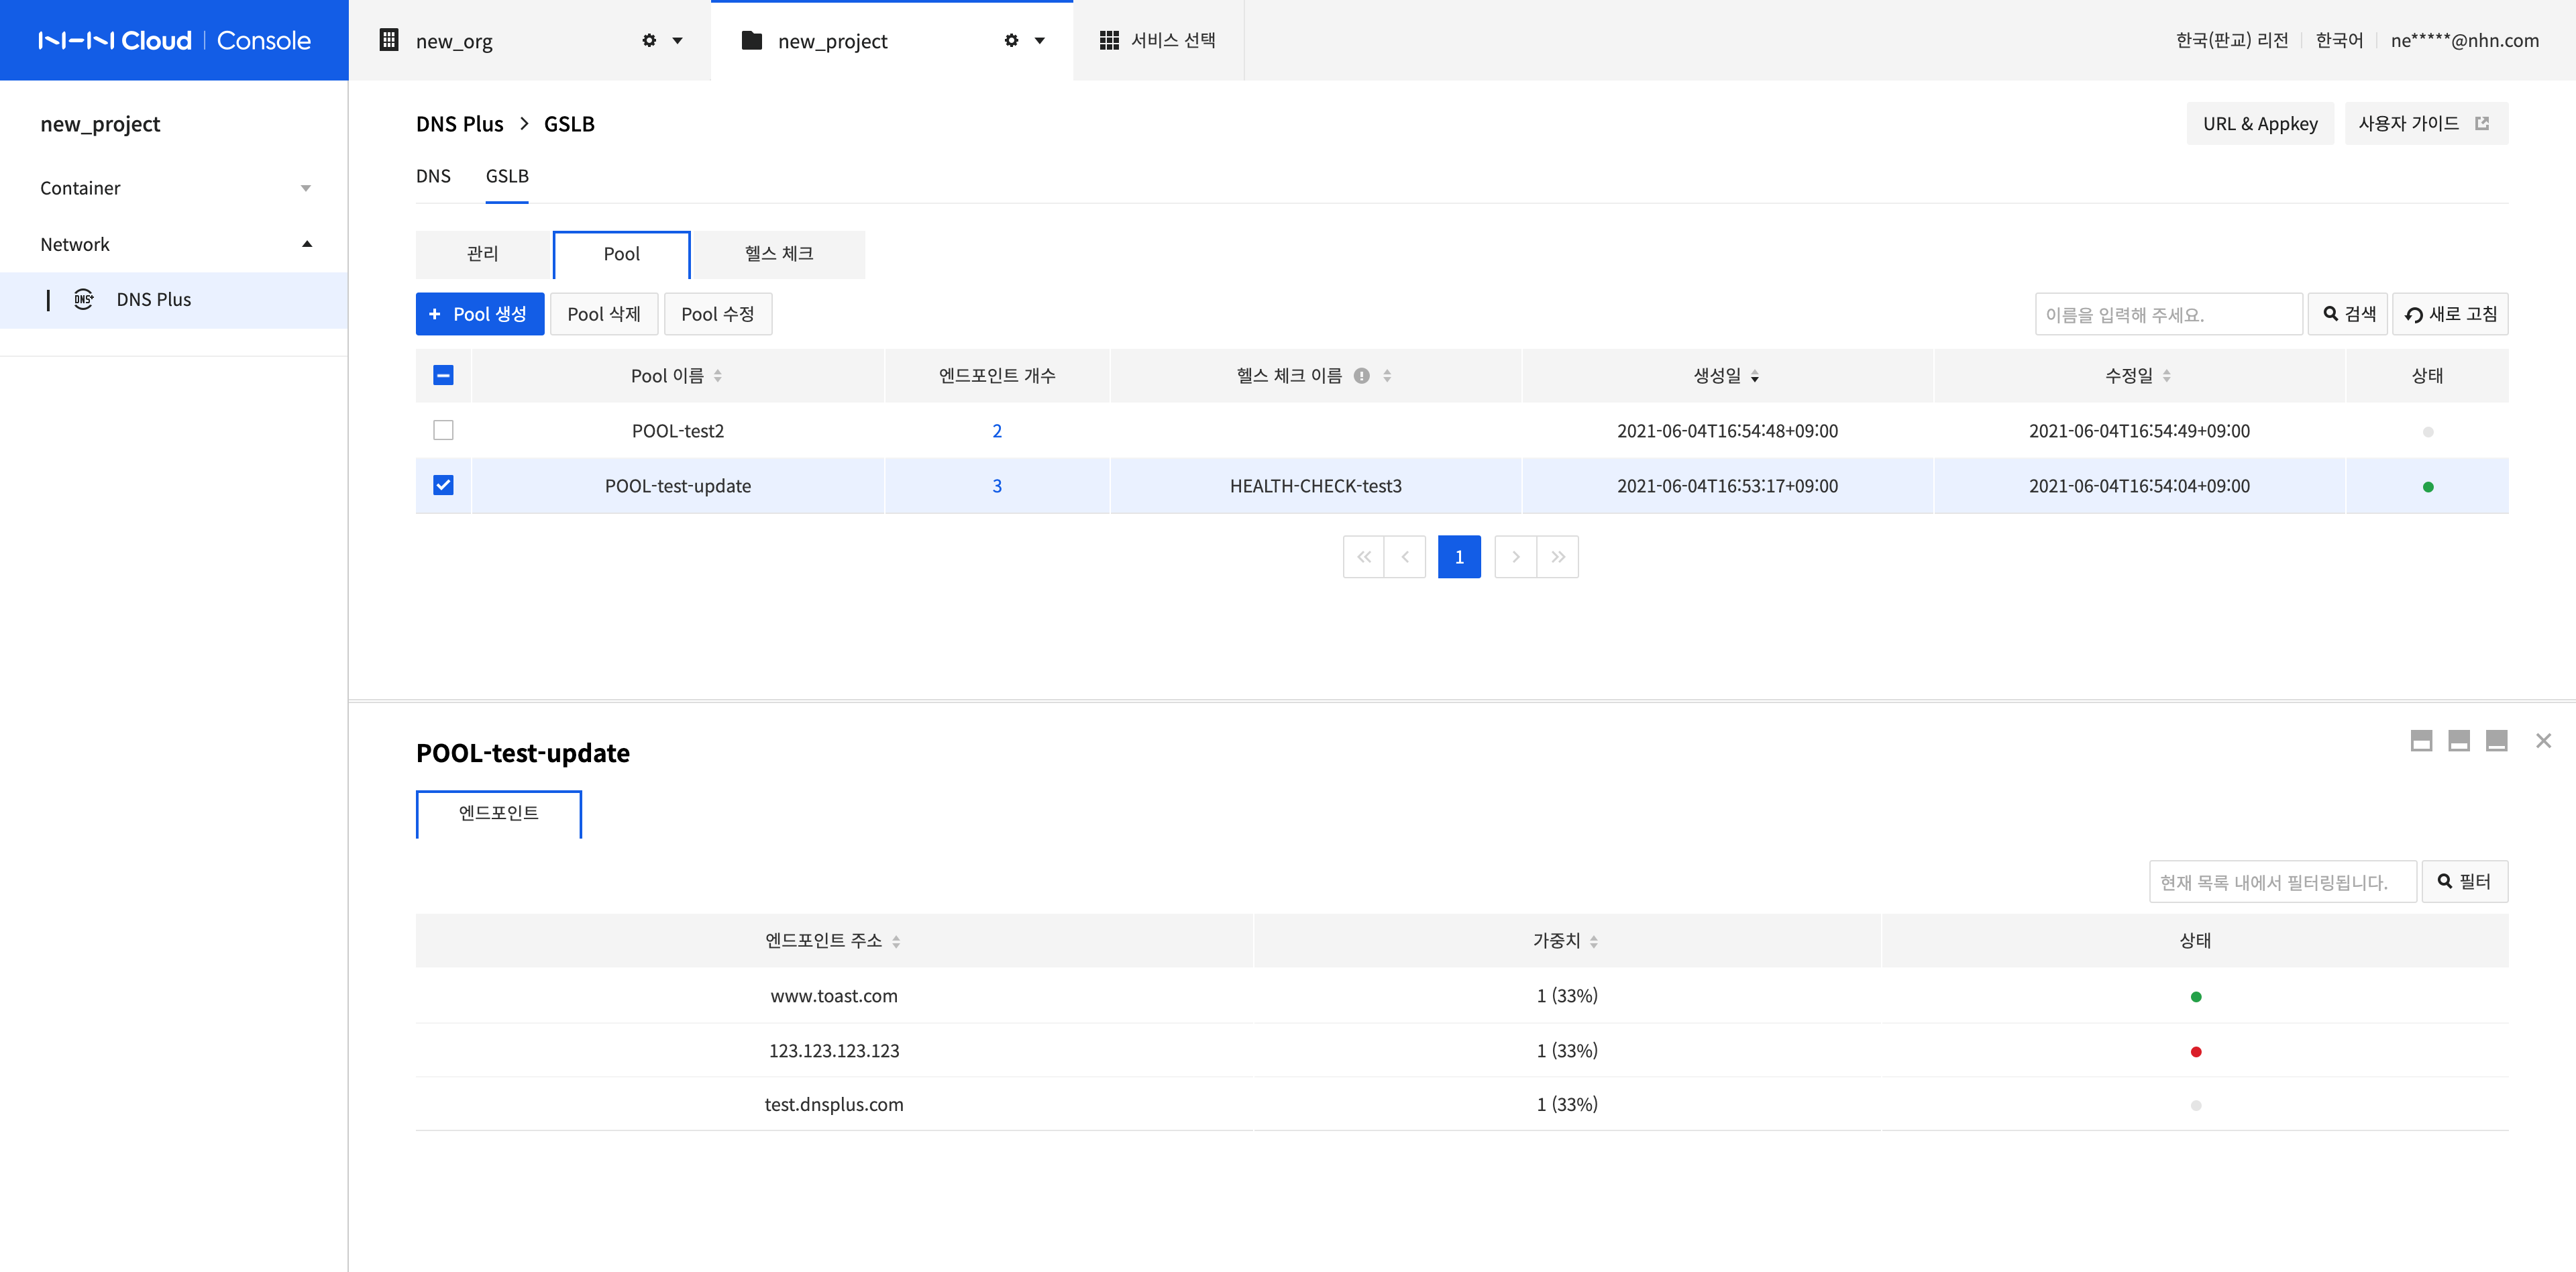
Search Pools and View Results
-
Enter a search term in the pool list and click Search or press Enter. All values including the search term are displayed as results.
-
If you enter a search term in the endpoint list, the search is performed within the current list.
- All endpoints that contain a search term in the Endpoint Address and Weight fields are searched and displayed.
-
The pool's status is displayed according to the rules below.
| Pool Status | Pool Enabled/Disabled | Health Check Settings | Endpoint Status |
|---|---|---|---|
| Normal (green) | Enabled | Connected | 1 or more pools in normal status |
| Error (red) | Enabled | Connected | No normal status and 1 or more pools in error status |
| Unknown (gray) | Enabled | Not connected If it is connected, follow the endpoint state |
All in disabled or unknown status |
| Disabled (Gray) | Disabled | Unrelated | Unrelated |

Manage Health Checks
You can manage health checks from the GSLB screen in the menu.
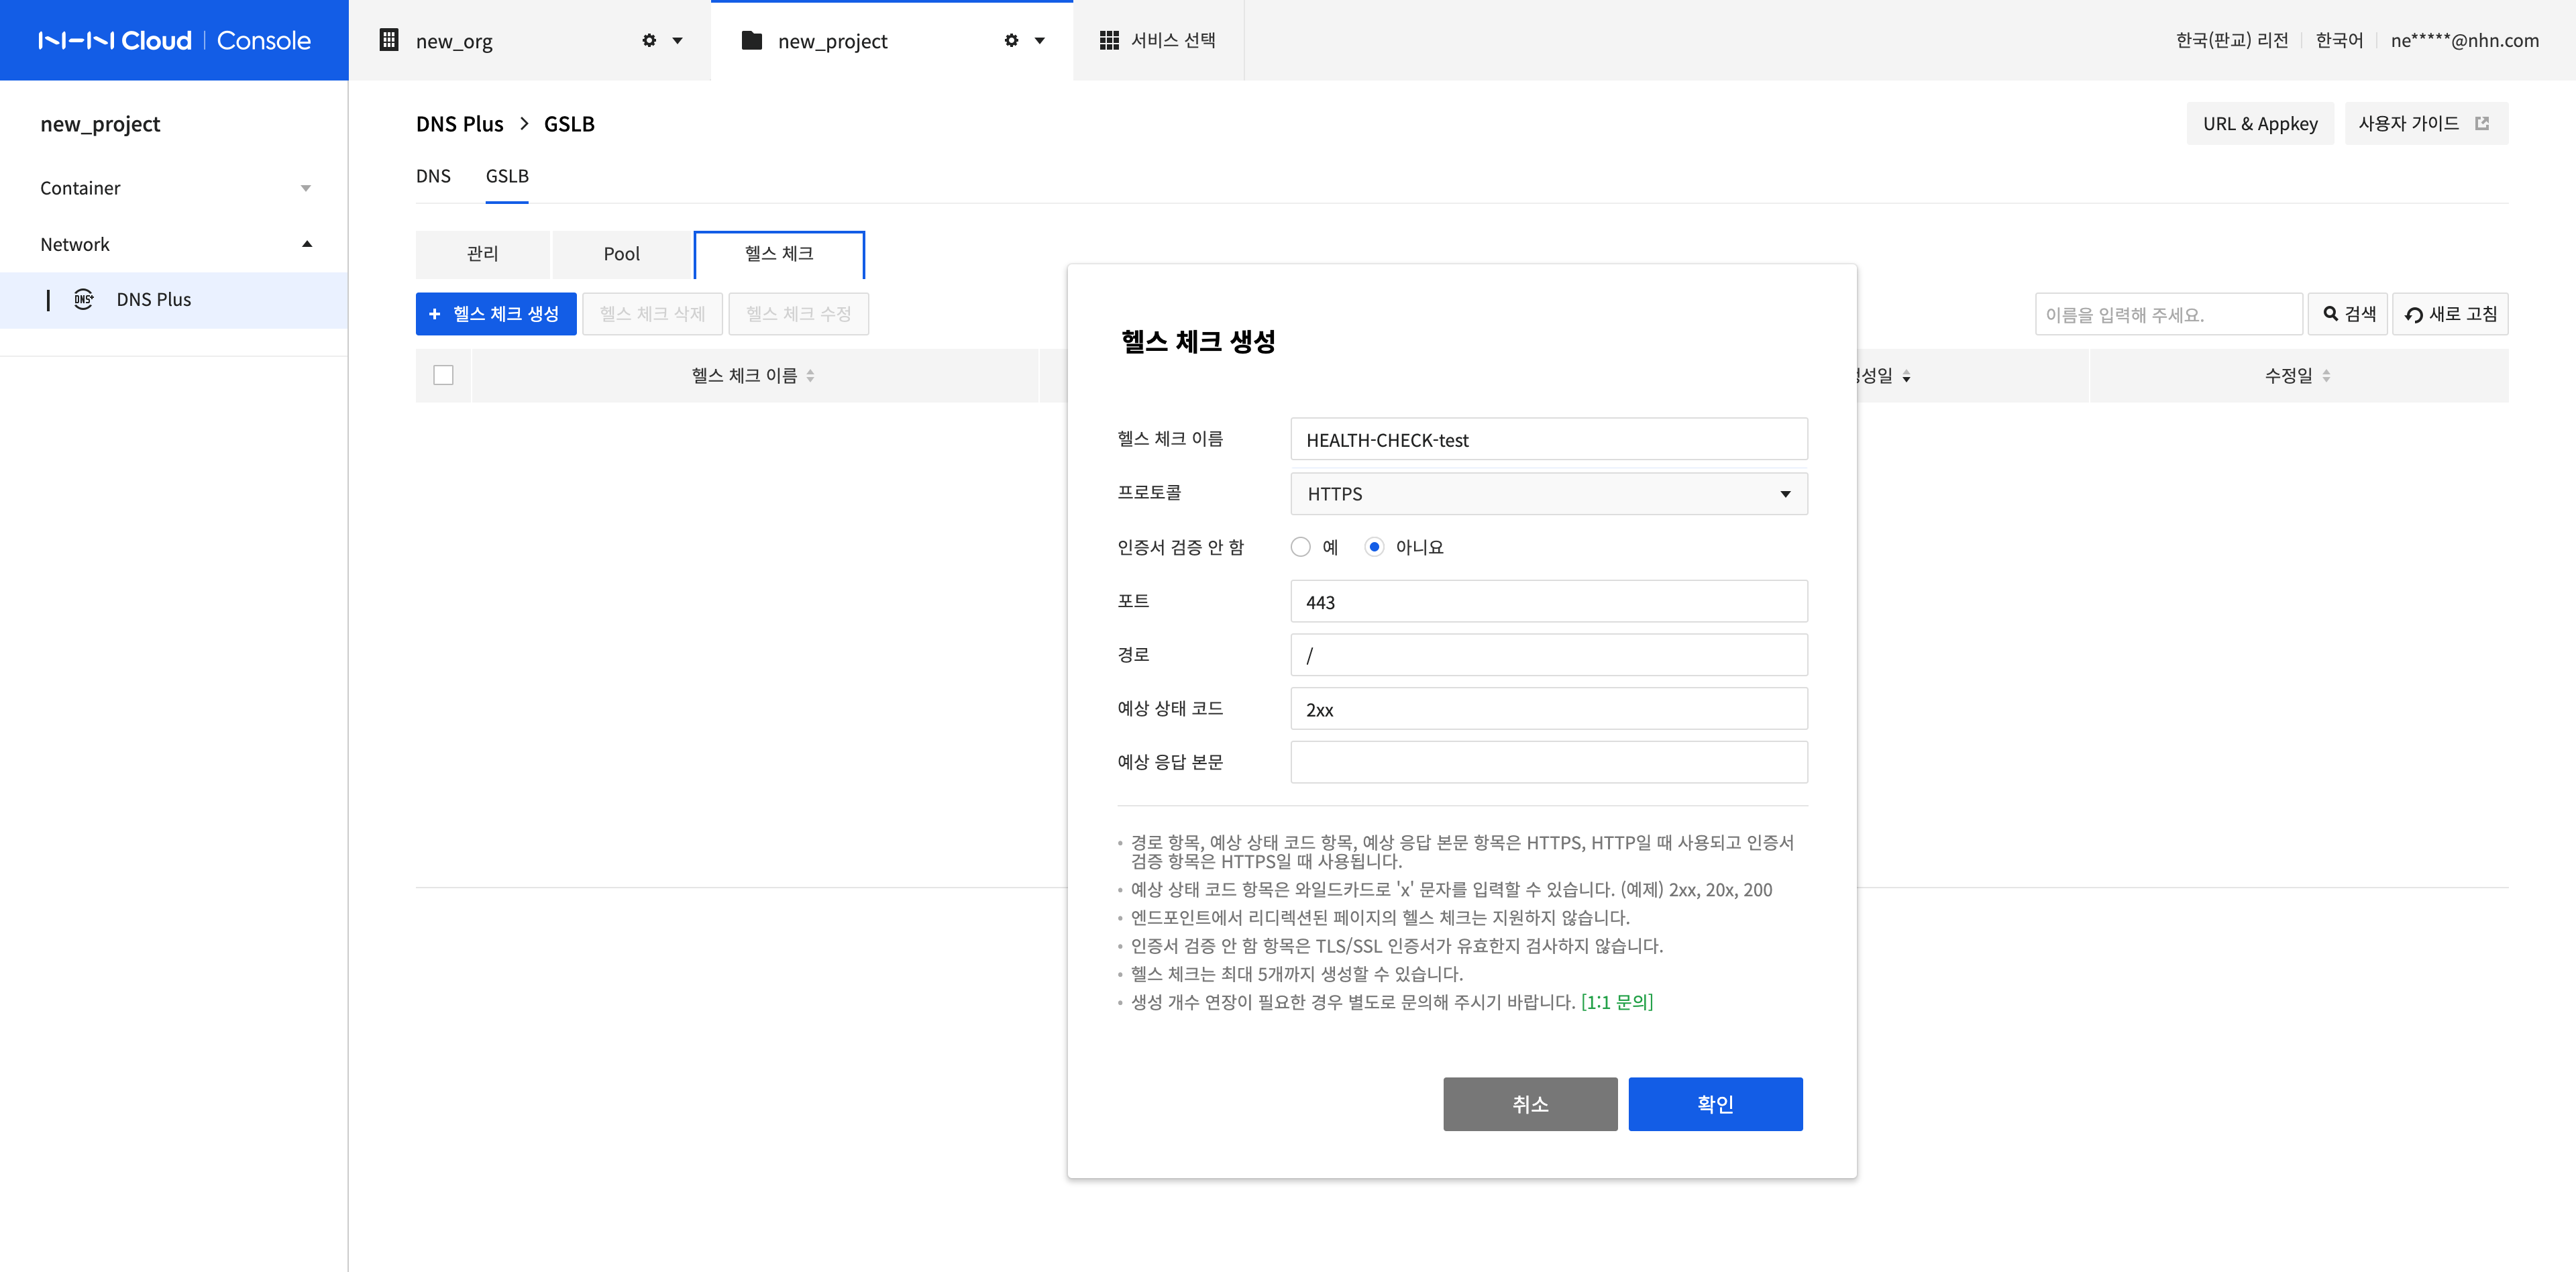
Create a Health Check
-
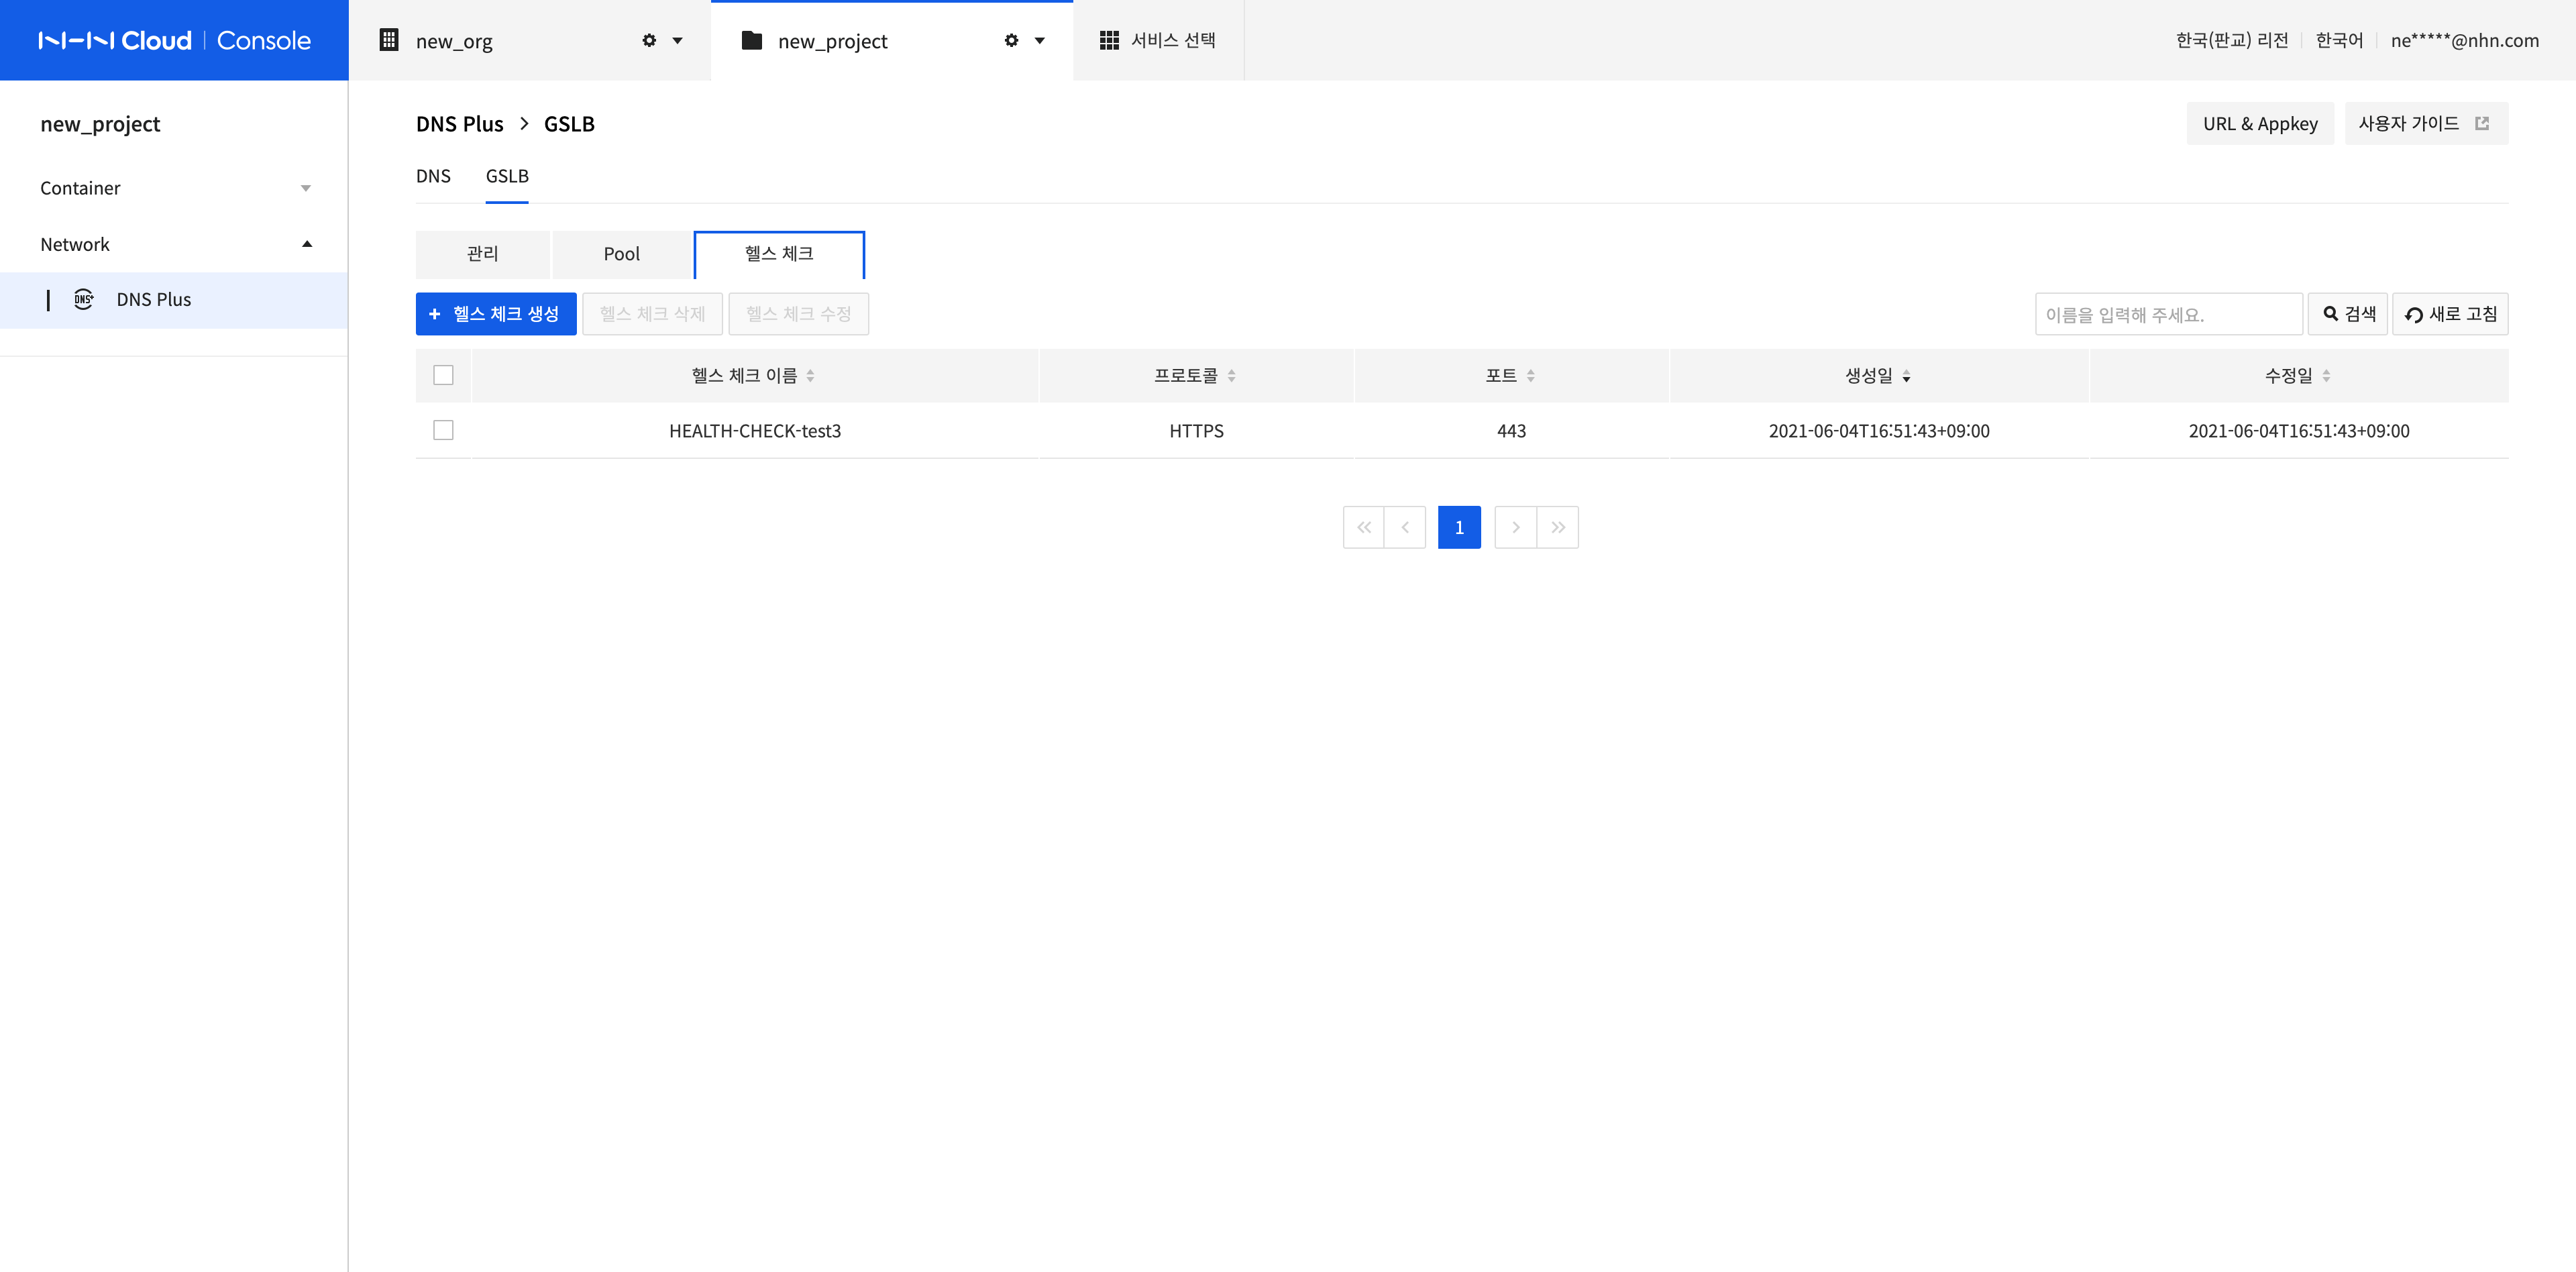
To create a health check, click Create Health Check. Depending on the configured value, you can check the accessibility of endpoints in the pool.
-
Enter the Health Check information.
- Health Check Name: The name of the health check to be created. Uppercase and lowercase letters, numbers, '-' and '_' are allowed.
- Protocol: The protocol to use when performing a health check, You can select HTTPS, HTTP, or TCP. The information you can enter depends on the protocol you choose.
- HTTPS input items: Disable Certificate Validation, Port, Path, Expected Status Code, Expected Response Body
- HTTP input items: Port, Path, Expected Status Code, Expected Response Body
- TCP input items: Port
- Disable Certificate Validation: If you select Yes, ignores the endpoint's TLS/SSL certificate being invalid when a health check is performed.
- Port: Enter the port to be used when performing a health check.
- Path: Enter the path to be used when performing a health check. The starting character must be a forward slash (/).
- Expected Status Code: Enter the expected HTTP Status Code response of the health check. You can enter an 'x' character as a wildcard, and if a match is found, the endpoint is considered healthy. Example: 2xx, 20x, 200
- Expected Response Body: You can enter the expected response body of the health check.
- When determining Expected Status Code and Expected Response Body, pages redirected from the endpoint are not supported.
-
After completing the configuration, click Confirm.
-
There is a limit to the maximum number of health checks that can be created. If you want to raise the limit, please contact us.
-
Contact: 1:1 Inquiry
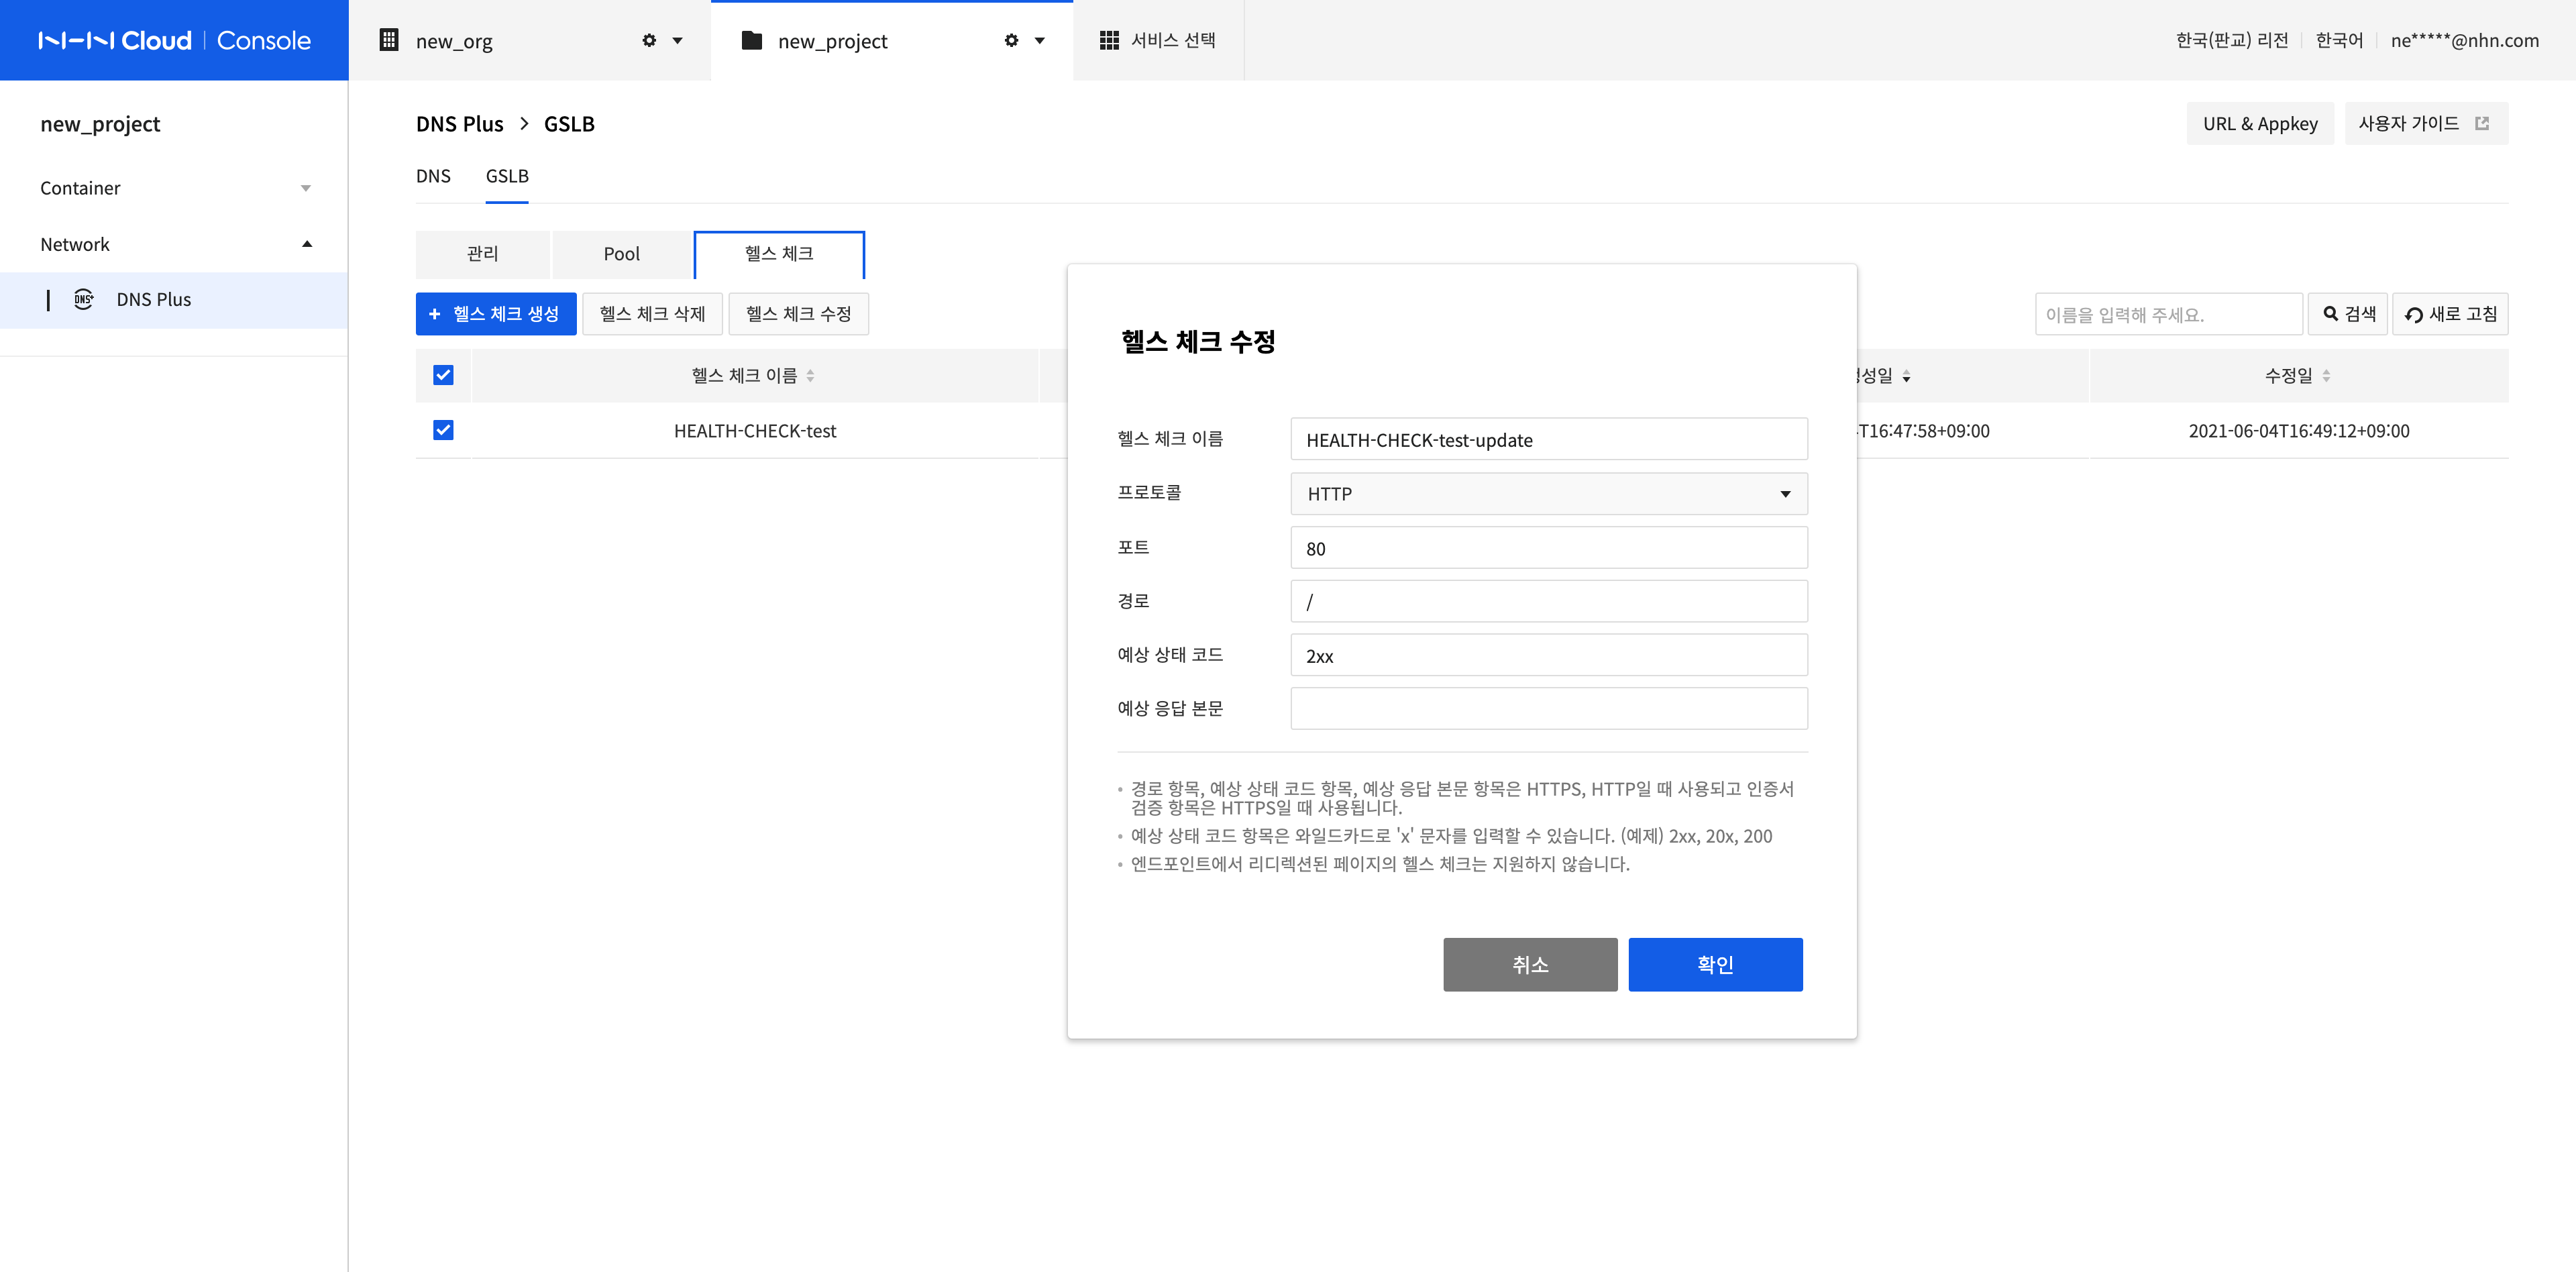
Modify a Health Check
-
Select the health check to modify and click Modify Health Check.
-
Modify Health Check Name, Protocol, Disable Certificate Validation, Port, Path, Expected Status Code, and Expected Response Body.
-
After completing the configuration, click Confirm.
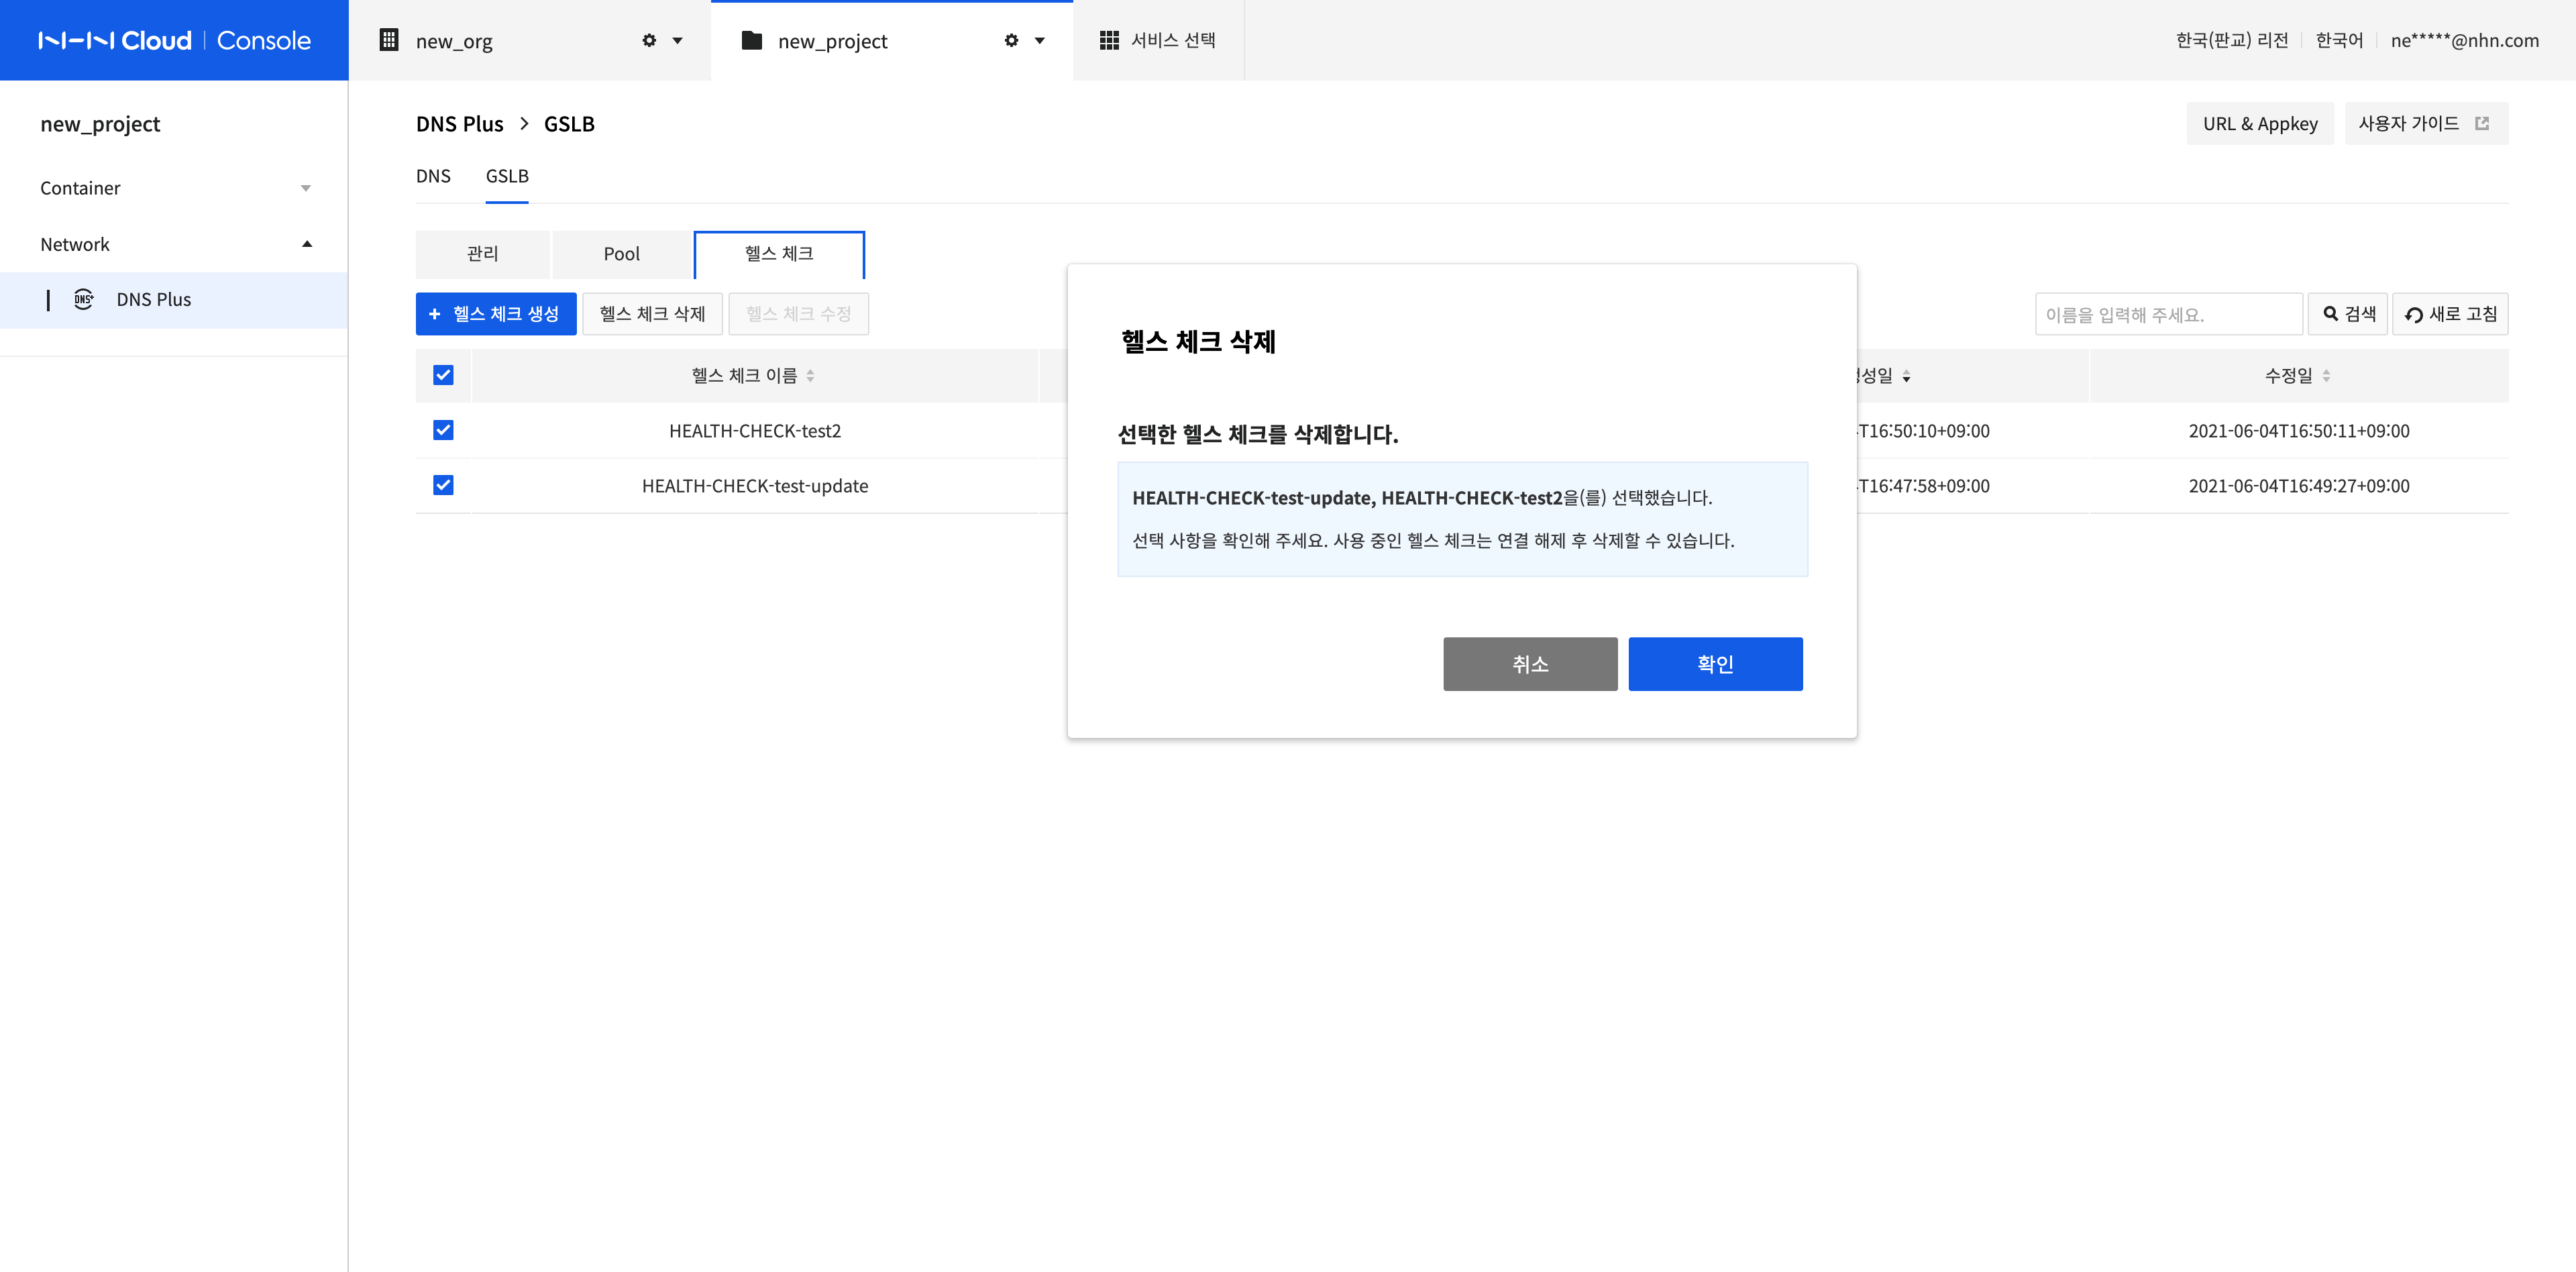
Delete Health Checks
-
Select all health checks to delete and click Delete Health Check.
-
Click Confirm.
Search Health Checks and Check Basic Information
-
Enter the health check name in the text box at the top right of the health check list and click Search or press Enter. All values including the search term are displayed as results.
-
If you select the item that you want from the searched health check list, you can check the basic information set in the health check.
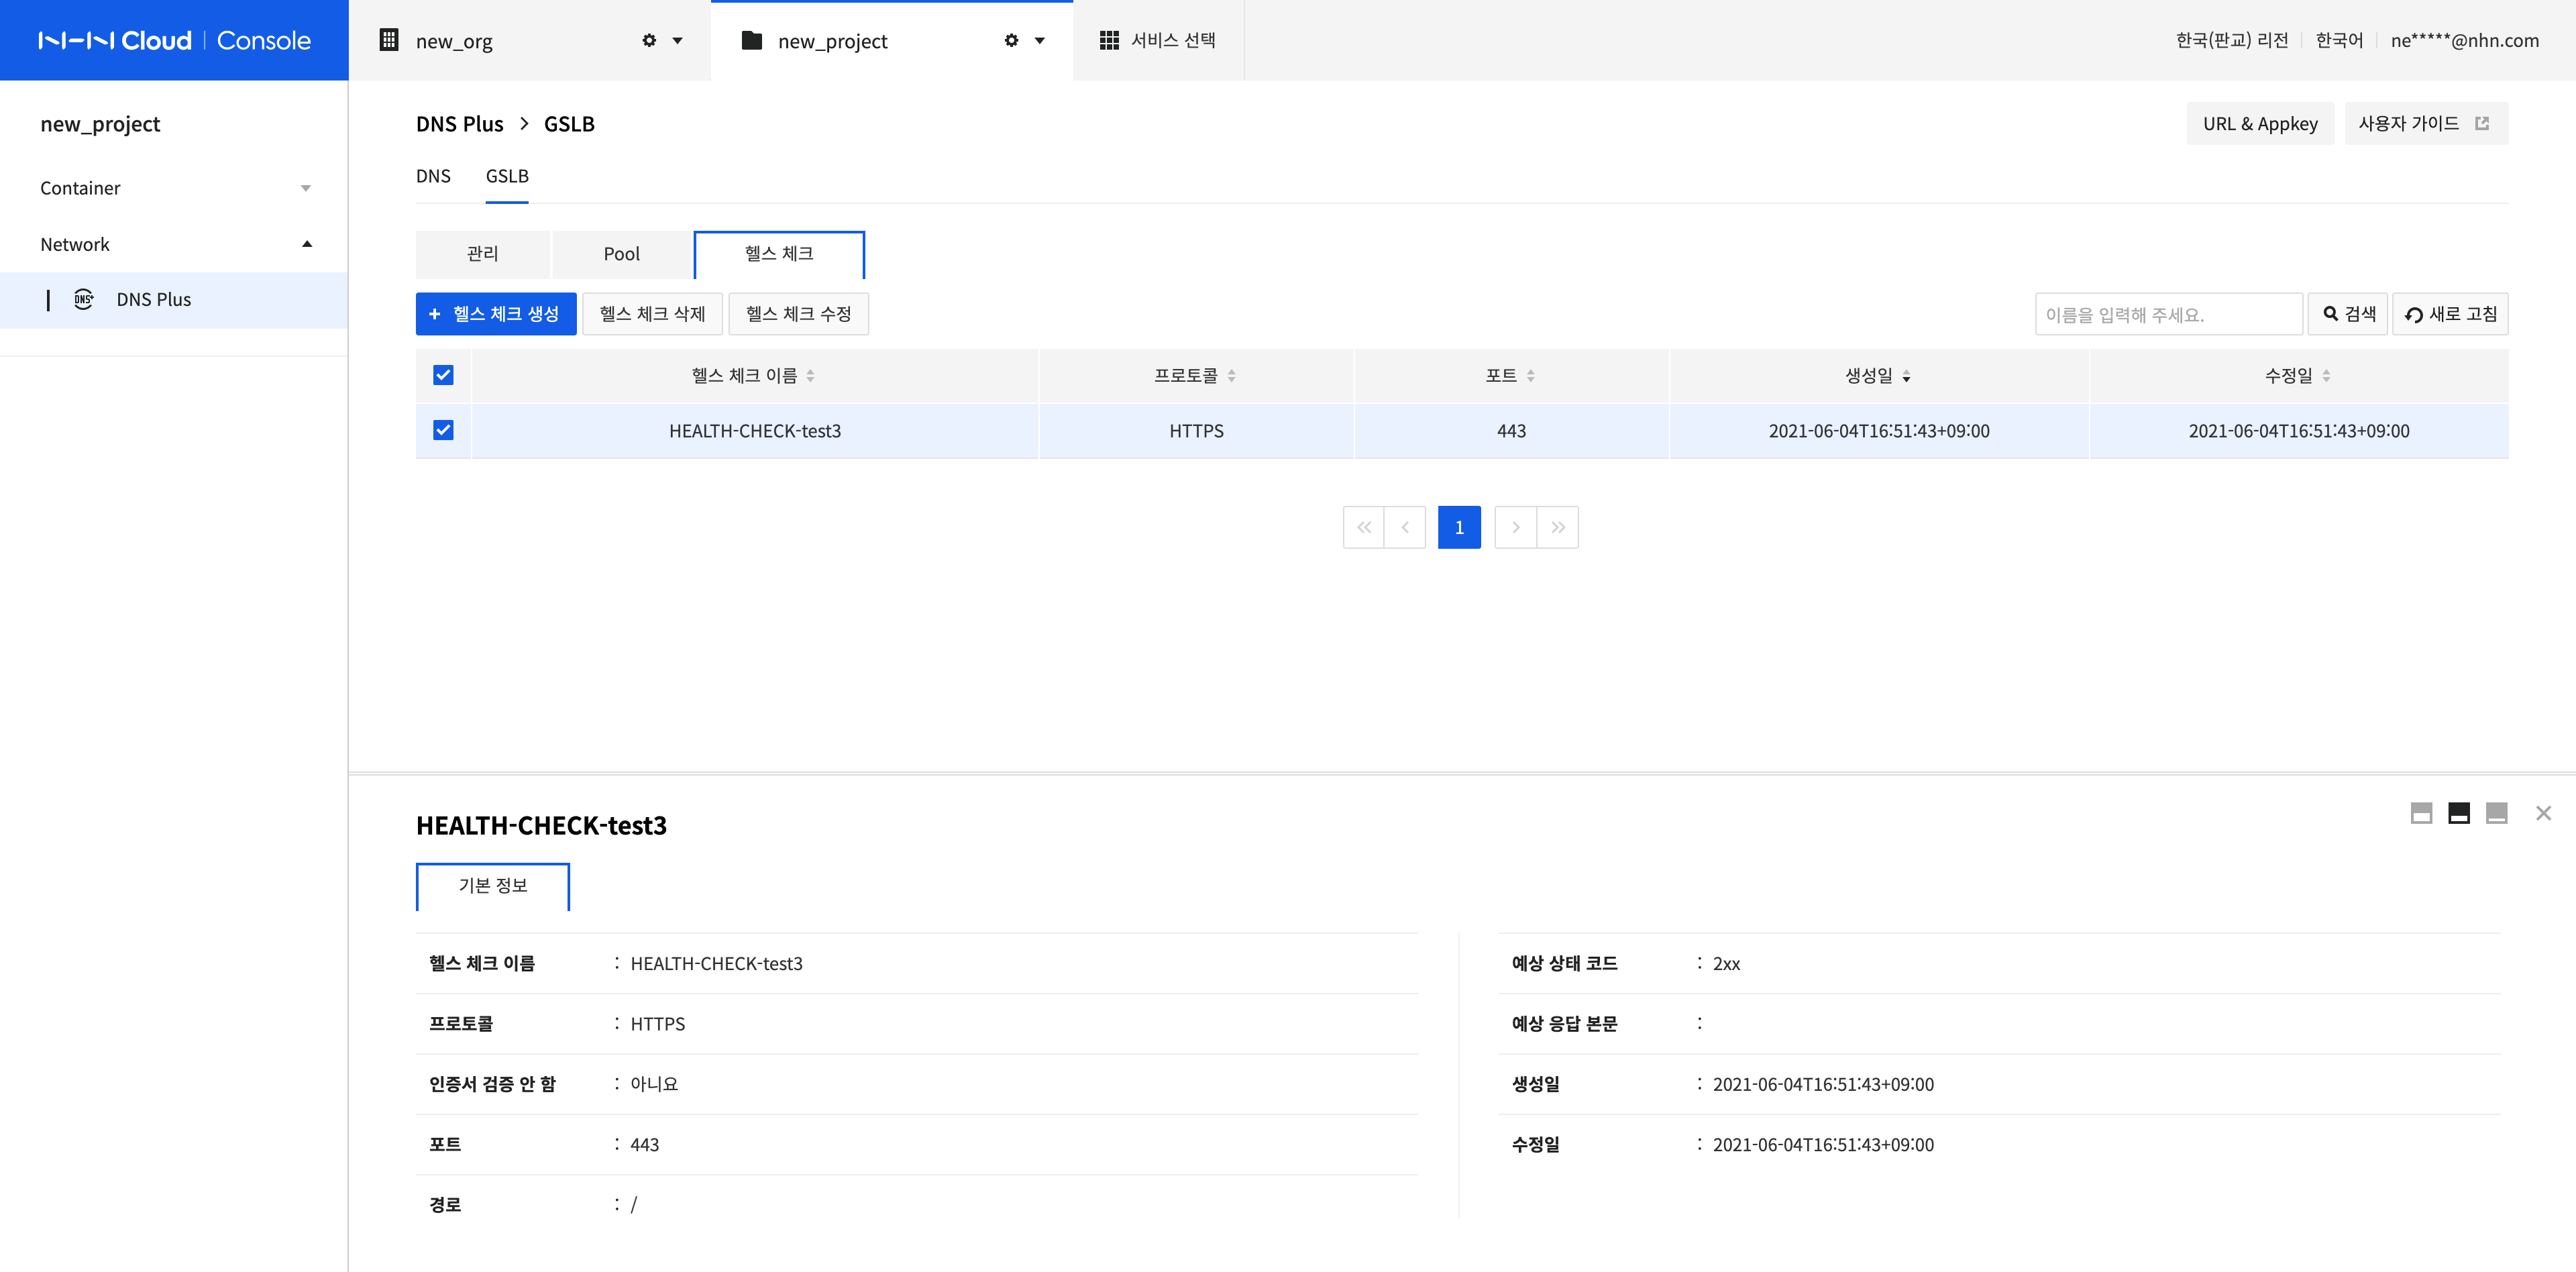
Table of Contents
- Network > DNS Plus > Console User Guide
- Manage DNS Zones
- Create a DNS Zone
- Modify a DNS Zone
- Delete DNS Zones
- Manage Record Sets
- Create a Record Set
- Create Multiple Record Sets
- Modify a Record Set
- Delete Record Sets
- Record Set Statistics
- Search Record Sets and View Results
- Manage GSLB and Connected Pools
- Create a GSLB
- Modify a GSLB
- Delete GSLBs
- Connect a Pool
- Modify Pool Connection
- Disconnect Pools
- Search GSLB and View Results
- Manage Pools and Endpoints
- Create a Pool
- Modify a Pool
- Delete Pools
- Search Pools and View Results
- Manage Health Checks
- Create a Health Check
- Modify a Health Check
- Delete Health Checks
- Search Health Checks and Check Basic Information